
If you’re renovating your home and need to install a new stovepipe, you may be wondering if you can connect a single wall pipe to a double wall pipe. The answer is yes, but there are a few things you need to keep in mind. There are two types of stove pipe – single wall and double wall.
Most stoves require a connection to double walled stove pipe. This guide will show you how to connect single wall stove pipe to double wall. In this article, we’ll walk you through the steps necessary to make the connection and explain what factors you need to consider when making your decision. Let’s get started!

Materials You Will Need
- Single-wall stove pipe
- Double-wall stove pipe
- Drill
- 1/4 inch drill bit
- Tape measure
- Hacksaw
How Can I Convert My Single-wall Stove Pipe to a Double-walled System?
A single-wall stove pipe is less efficient than a double-walled system because it does not have a layer of insulation between the inner and outer walls. As a result, heat is more likely to escape through the pipe, making your stove work harder to maintain a consistent temperature.
If you’re looking to improve the efficiency of your stove, converting to a double-wall system is a great option. The process is relatively simple and can be done in just a few steps. First, remove the single-wall stove pipe from your stove.
Next, measure the opening of your stove, and purchase a double-wall chimney liner that is the same size. Install the new liner according to the manufacturer’s instructions, and then reattach your stove pipe. With a few simple steps, you can upgrade your stove to a more efficient double-wall system.
9 Steps on How to Connect Single Wall Stove Pipe to Double Wall
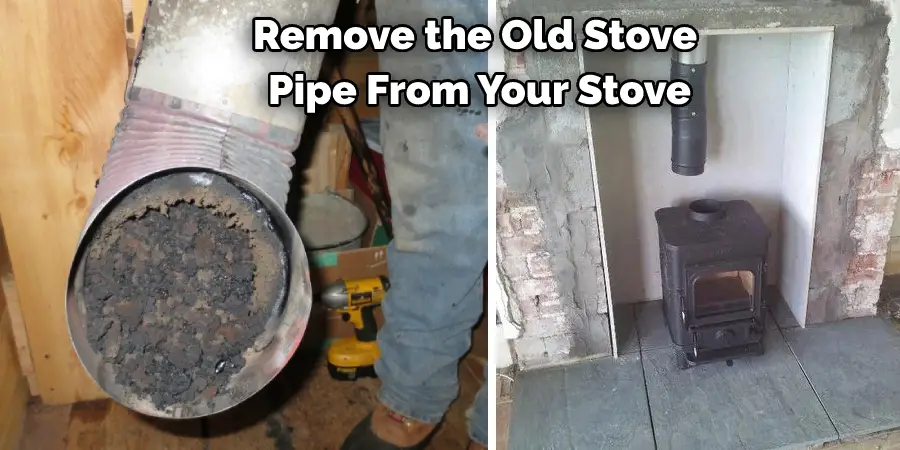
Step 1: Remove the Old Stove Pipe From the Stove
The first and most important step is to remove the old stove pipe from your stove. This will give you better access to the opening, and make it easier to install the new pipe. Before you can replace your old stove pipe, you need to remove the existing one. This can be a difficult and dangerous task, so it’s important to follow the steps below carefully.
Turn off the gas supply to the stove and make sure that the stove is cool. Remove the screws or bolts that hold the pipe in place. Be careful not to drop them into the stove. Once the pipe is loose, carefully pull it out of the opening. If it’s stuck, you may need to gently tap it with a mallet until it comes loose. Dispose of the old pipe according to local regulations. With the old pipe gone, you’re now ready to install a new one.
Step 2: Measure the Opening of Your Stove
If you have a wood-burning stove, one of the most important pieces of equipment you’ll need is a double-wall chimney liner. These liners are specifically designed to prevent heat loss and help your stove operate more efficiently.
To find the right liner for your stove, you’ll need to measure the opening of your stove and purchase a liner that is the same size. Once you have your liner, be sure to install it properly to ensure maximum efficiency. With a little bit of care, your wood-burning stove will be able to provide years of reliable service.
Step 3: Install the New Liner
Now that you have your new liner, it’s time to install it. This is a relatively simple process, but it’s important to follow the manufacturer’s instructions carefully. In most cases, you’ll need to attach the liner to the stove with screws or bolts. Once the liner is in place, you can reattach your stove pipe and start using your stove.
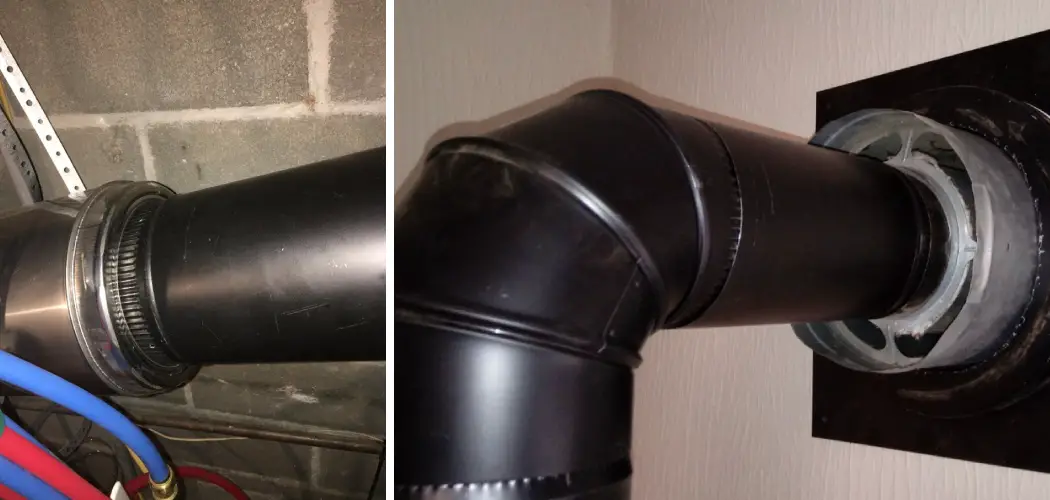
Step 4: Reattach Your Stove Pipe to the New Liner
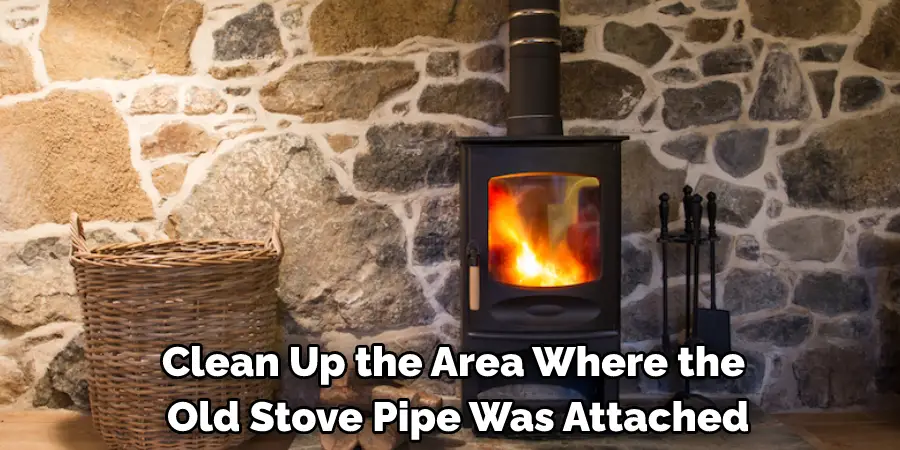
You will need to unbolt it from the collar and then disconnect it from the liner. Once you have done this, you will need to clean up the area where the old stove pipe was attached. This includes removing any debris or soot that may have built up over time.
Once the area is clean, you can begin attaching the new stove pipe. You will need to bolt the pipe to the collar. You will need to connect it to the liner. Make sure that the connection is secure before proceeding. You will need to test the new stove pipe to make sure that it is working properly.
Step 5: Drill Four Holes in the Pipe
As anyone who has ever tried to Repair a leaky pipe knows, it can be a frustrating process. Often, the source of the leak is not easy to access, and even when it is, fixing the problem can be difficult. One way to make the task easier is to drill four holes in the pipe, spaced evenly around the circumference.
This will give you a clear view of the inside of the pipe and make it easier to locate the leak. Once you have found the leak, you can then patch it or replace the section of the pipe. Although it may seem like a lot of work, drilling four holes in the pipe can save you time and frustration in the long run.
Step 6: Insert a 1/4 Inch Drill Bit Into the Holes
Once you have drilled the holes, you will need to enlarge them to accommodate the screws. To do this, insert a 1/4-inch drill bit into each of the holes and slowly twist it until the hole is big enough. Be careful not to make the holes too big, or the screws will not be able to grip properly. Once all of the holes have been enlarged, you can proceed to the next step.
Step 7: Screw the Pipe to the Wall Using Two Screws in Each Hole
Now that the holes are the right size, you can screw the pipe to the wall. Use two screws in each hole, and make sure that they are screwed in tightly. If the screws are not tight enough, the pipe may come loose and cause further damage. Once the pipe is securely attached to the wall, you can move on to the next step.

Step 8: Tape Over the Seams of the Pipe to Create a Seal
Now that the pipe is attached to the wall, you need to create a seal around the seams. To do this, simply apply a generous amount of tape over the seams. Make sure that the tape is applied evenly and that there are no gaps. Once the tape is in place, you can move on to the next step.
Step 9: Attach the Cap to the Top of the Pipe
The last step is to attach the cap to the top of the pipe. This will prevent anything from getting into the pipe and causing damage. To attach the cap, simply screw it onto the top of the pipe. Make sure that it is screwed on tightly so that it will not come loose. Once the cap is in place, you are finished! Congratulations on successfully repairing your pipe!
By following these simple steps, you can connect single-wall stove pipe to double-walled pipe and improve the efficiency of your stove. Keep in mind that you will need to purchase a double-wall chimney liner that is the same size as the opening of your stove.
What is the Difference Between Single and Double Wall Stove Pipes?
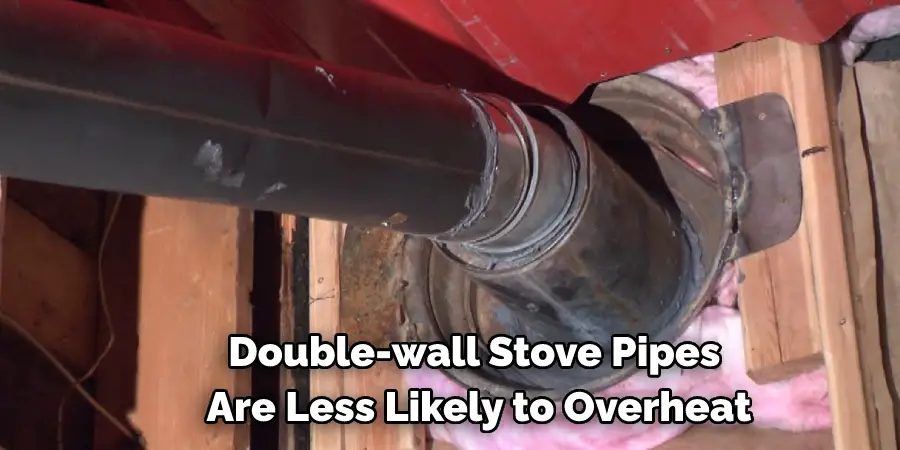
While both single and double-wall stove pipes are used to ventilate wood-burning stoves, there are some important differences between the two. Single-wall stove pipes are made from a single layer of metal, while double-wall stove pipes have an additional layer of insulation between the inner and outer walls.
As a result, double-wall stove pipes are less likely to overheat, making them safer to use. In addition, double-wall stove pipes are less likely to transmit noise, making them a better choice for use in areas where sound levels need to be kept low. While double-wall stove pipes cost more than single-wall stove pipes, they offer some benefits that make them well worth the investment.
Which Type of Stove Pipe is Better?
Stove pipes come in different shapes, sizes, and colors. But which one is the best? Well, it depends on what you’re looking for. If you want a stove pipe that is durable and long-lasting, then you should go with a stainless steel pipe. Stainless steel pipes are less likely to rust and corrode, and they can withstand high temperatures. However, they are more expensive than other types of stove pipes.
If you’re looking for a cheaper option, then you can go with a galvanized steel pipe. Galvanized steel pipes are made with a layer of zinc that helps to protect them from rust and corrosion. However, they are not as durable as stainless steel pipes and can eventually wear down over time. With so many different options on the market, it can be hard to decide which type of stove pipe is right for you.
Ultimately, it comes down to your budget and your personal preferences.
You Can Check it Out Stop Condensation on Walls in Bedroom
Conclusion
Now that you know how to connect a single-wall stove pipe to a double wall, you can be confident in your installation. You should determine carefully how to connect single wall stove pipe to double wall.
Following these steps will ensure a safe and secure connection. Remember to always consult your local code authority for the most up-to-date requirements. Doing so will give you peace of mind knowing that you are following all the necessary guidelines.