
If your Ninja blender rubber gasket is starting to look dirty or grimy, it’s important to clean it on a regular basis. A dirty gasket can lead to bacterial growth, which can contaminate your food and potentially make you sick. The rubber gasket on your Ninja blender is important for ensuring a tight seal and preventing leaks. If it becomes dirty or stained, it can affect the performance of your blender. Luckily, cleaning the gasket is a quick and easy process.

Are you having trouble cleaning your Ninja blender rubber gasket? Are food particles and stains sticking to it and making it difficult to rinse clean? If so, don’t worry – you’re not alone. This blog post will show you how to clean ninja blender rubber gasket easily and quickly. Keep reading for tips and tricks that will have your gasket looking like new in no time!
What Is Rubber Gasket?
A rubber gasket is a type of seal that is used to fill the space between two or more surfaces. It is usually made from various materials, such as rubber, metal, or plastic. Rubber gaskets are commonly used in various applications, including automotive, plumbing, and electrical.
There are many different types of rubber gaskets, each with its own unique properties and benefits. For example, some rubber gaskets are designed to be used in high-pressure applications, while others are better suited for low-pressure applications. Rubber gaskets can also be found in various sizes, shapes, and thicknesses.
When choosing a rubber gasket, it is important to consider the application in which it will be used. This will help to ensure that the gasket is able to withstand the forces that will be exerted on it. Additionally, it is also important to select a rubber gasket that is compatible with the materials that will be in contact with it.
Why Is It Important To Clean Rubber Gasket?
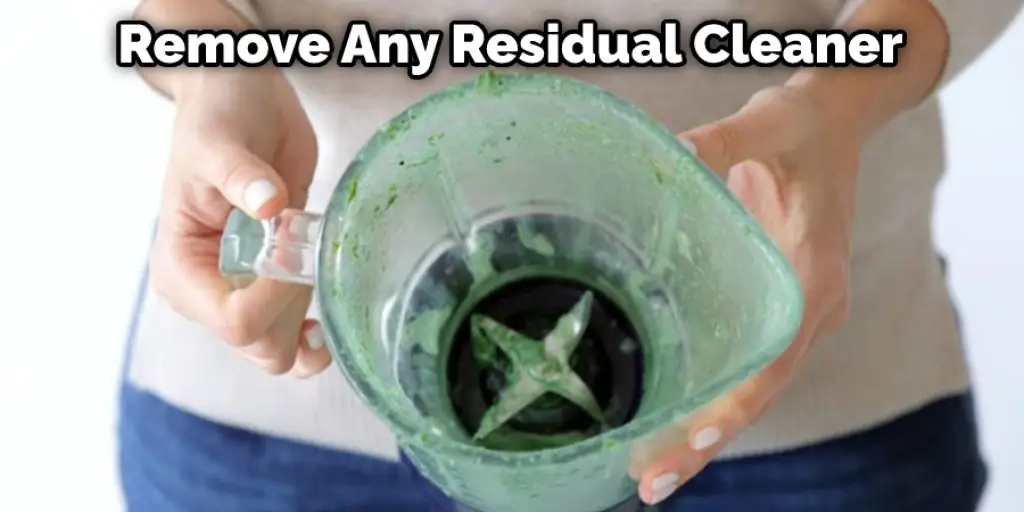
It is important to clean rubber gaskets on a regular basis because a dirty or stained gasket can cause a loss of seal, which can lead to leaks. In addition, a dirty gasket can be a breeding ground for bacteria and other microorganisms, which can cause illness if they come into contact with food or water. While most rubber gaskets can be cleaned with soap and water, more stubborn stains may require the use of a mild abrasive cleaner. The rubber gasket should be rinsed thoroughly with clean water after cleaning to remove any residual cleaner.
11 Easy Ways on How to Clean Ninja Blender Rubber Gasket:
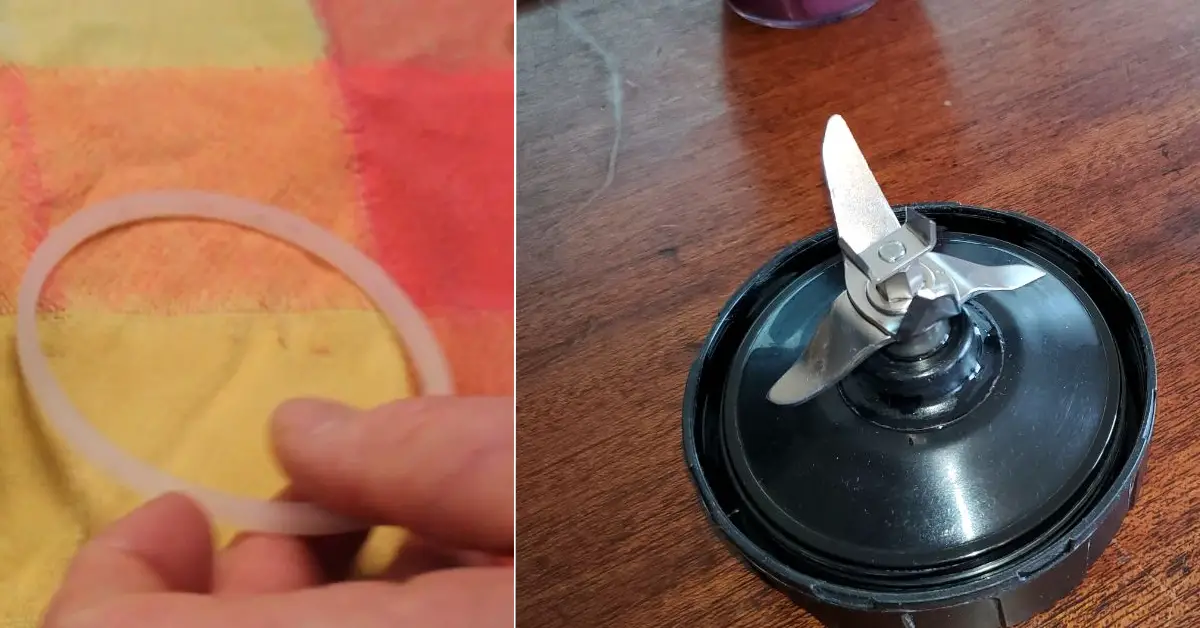
1. Remove the Rubber Gasket.
The first step is to remove the rubber gasket from the blender. To do this, twist it counter-clockwise and pull it off. If the gasket is stubborn, you may need to use a butter knife or other sharp object to help pry it off.
2. Wash the Rubber Gasket with Soap and Water.
Once the rubber gasket is removed, it can be washed with soap and water. Use a toothbrush to scrub away any residue that is stuck to the gasket. Rinse the gasket well and allow it to air dry completely before replacing it with the blender.
3. Sanitize the Rubber Gasket with Vinegar.
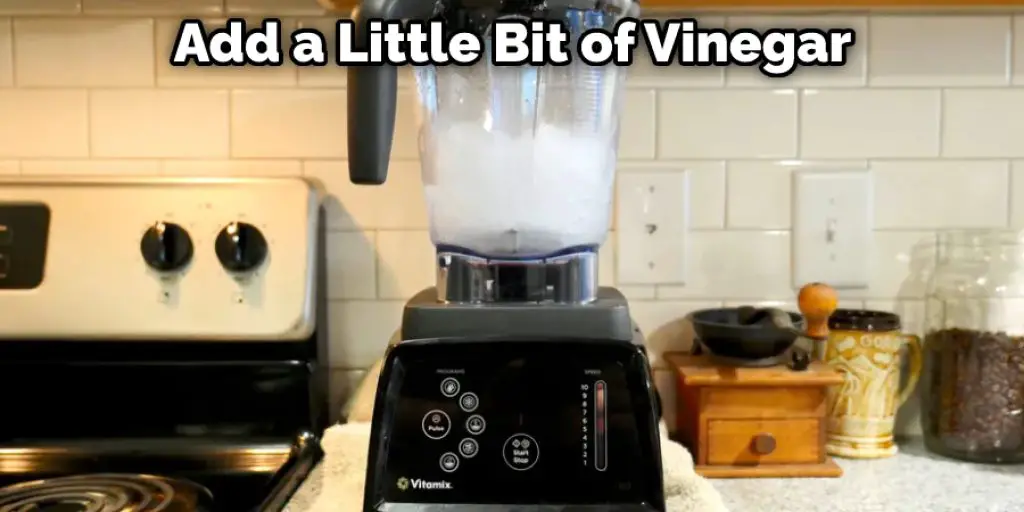
If you want to sanitize the rubber gasket, vinegar is a great way to do it. Just soak a paper towel or clean cloth in white vinegar and then rub down the rubber gasket. You can also add a little bit of vinegar to a blender and then run it on low for 30 seconds to 1 minute. This will help remove any bacteria that might be growing on the rubber gasket.
4. Rinse the Rubber Gasket with Water.
After you have cleaned the rubber gasket with vinegar, it is important to rinse it off with water. This will help remove any residual vinegar that might be left on the gasket. Make sure to dry the rubber gasket completely before putting the blender back together.
5. Soak the Rubber Gasket in Baking Soda and Water.
If you have a tough stain on your rubber gasket, you can try soaking it in a baking soda and water solution. Baking soda is a natural cleaning agent that can help to break down tough stains. To use this method, mix together a solution of 1 part baking soda to 2 parts water. Then, soak the rubber gasket in the solution for 30 minutes. After 30 minutes, remove the gasket and rinse it off with water.
6. Scrub the Rubber Gasket with a Toothbrush.
If you are still having trouble getting the rubber gasket clean, you can try scrubbing it with a toothbrush. This will help loosen any dirt or debris stuck on the gasket. Just be sure to use a clean and dry toothbrush so that you do not introduce any new bacteria to the gasket.
7. Wash the Rubber Gasket in the Dishwasher.
Another easy way to clean a rubber gasket is to wash it in the dishwasher. Just place the gasket in the top rack of the dishwasher and run it through a normal cycle. The dishwasher’s hot water and detergent will do the job of cleaning the rubber gasket.

8. Sanitize the Rubber Gasket with Boiling Water.
If you want to sanitize the rubber gasket, boiling water is a great way to do it. First, boil a pot of water and then place the rubber gasket in it for a few minutes. This will kill any bacteria that might be lurking on the gasket.
9. Clean the Rubber Gasket with Lemon Juice.
Lemon juice is a great natural cleaning agent that can help to clean and disinfect the rubber gasket on your Ninja blender. Mix together equal parts lemon juice and water and apply them to the gasket with a clean cloth. Rub the mixture into the gasket and then rinse it clean with warm water.
10. Remove Stains with a Magic Eraser.
If you have stubborn stains on your rubber gasket, you can try using a magic eraser. Just dampen the sponge and rub it on the affected area. Then, rinse with water and dry thoroughly. It is important to test the magic eraser on a small rubber gasket area before using it on the entire gasket.
11. Replace the Rubber Gasket.
Once you have cleaned the rubber gasket, it is important to dry it completely before replacing it on the blender. If you don’t dry it, the leftover moisture could cause the gasket to deteriorate. First, line up the posts on the gasket with the holes on the blender to replace the rubber gasket. Then, press the gasket into place, making sure that it is seated correctly. Once the gasket is in place, you can reattach the blender lid.
You Can Check It Out to Fix a Blender That Won’t Spin

It is important to clean the rubber gasket on your Ninja blender on a regular basis to ensure that it is in good condition. You can easily clean the rubber gasket and keep your blender working properly by following the above steps.
5 Common Reasons Your Ninja Blender Rubber Gasket Get Dirty
If you’re a fan of using a Ninja Blender to make smoothies and other healthy drinks, then you’re likely familiar with the rubber gasket that is found underneath the blade. This small but important component helps to keep the blender airtight and prevent leaks. However, over time it can become dirty or damaged, leading to problems with the blender’s performance.
Here are 5 common reasons your Ninja Blender rubber gasket gets dirty:
- Food Residue: When you use your blender, food particles can get stuck in the rubber gasket. Over time, this can build up and cause it to become dirty.
- Poor Cleaning Habits: If you don’t clean your blender regularly, the rubber gasket can become a breeding ground for bacteria and other germs. This can make it look dirty and also cause health issues.
- Overuse: If you use your blender frequently, the rubber gasket is likely to wear out faster. Overuse can result in the gasket becoming loose or damaged, which can lead to leaks.
- Exposure to Heat: If you put your blender in the dishwasher or use hot water to clean it, the rubber gasket can become damaged. This can lead to leaks and also cause it to look dirty.
- Aging: Like all mechanical components, the rubber gasket in your blender will eventually wear out over time. As it ages, it can become dirty and also lose its effectiveness at sealing the blender.
To keep your rubber gasket clean and in good working order, make sure to clean your blender regularly and avoid exposing it to extreme heat. If you notice that your gasket is worn out or damaged, it’s best to replace it as soon as possible to avoid any further issues.
Tips and Warnings on How to Clean Ninja Blender Rubber Gasket:
Tips:
- Unplug the blender before starting to clean it.
- Use a mild detergent and warm water to clean the rubber gasket.
- Rinse the gasket thoroughly with warm water after cleaning.
- Allow the gasket to air dry completely before reassembling the blender.
Warnings:
- Do not use harsh chemicals or abrasive cleaners to clean the rubber gasket.
- Do not clean the rubber gasket in the dishwasher.
- Do not allow the rubber gasket to contact heat sources, such as a stovetop burner.
- Be sure the rubber gasket is completely dry before reassembling the blender. Otherwise, mold or mildew could develop.
- If the rubber gasket becomes damaged, replace it with a new one before using the blender again.
How Long Should a Ninja Blender Rubber Gasket Last?
With proper care, the average Ninja Blender rubber gasket should last between 3 and 6 months. How often you need to replace your gasket will depend on how frequently you use your blender. Cleaning your rubber gasket will help extend its life. If you notice any cracks or tears in the gasket, it’s time to replace it.
Can Ninja Blenders Rubber Gasket Be Repaired?
If your rubber gasket has become damaged, it is possible to replace it. However, depending on the model of Ninja blender you have, the gasket may be different. To ensure you get the correct replacement gasket, we recommend taking a photo of your current gasket and bringing it with you to the store when you purchase the new one.
Conclusion
This article has shown you How to Clean Ninja Blender Rubber Gasket. So, there you have it! Everything you need to know about how to clean a Ninja blender rubber gasket. By following these simple steps and using some common household items, your blender will be good as new in no time at all. Have you tried this method yourself? What tips do you have for keeping your Ninja blender running like a well-oiled machine? Share your thoughts and experiences in the comments below.
About
Angela is the chief editor of Indoorense. She began her career as an interior designer before applying her strategic and creative passion to lifestyle and home.
She has close to 15 years of experience in creative writing and online content strategy for housekeeping and cleaning,home decorations as well as other efforts.
She loves her job and has the privilege of working with an extraordinary team. She lives with her husband, two sons, and daughter in Petersburg. When she’s not busy working she spent time with her family.