
Air compressors are a necessary piece of equipment for many businesses. The problem is that they can get dirty; when they do, it can be tough to clean them properly. In this post, we’ll give tips on how to clean air compressor tank effectively and efficiently. Keep reading to learn more!

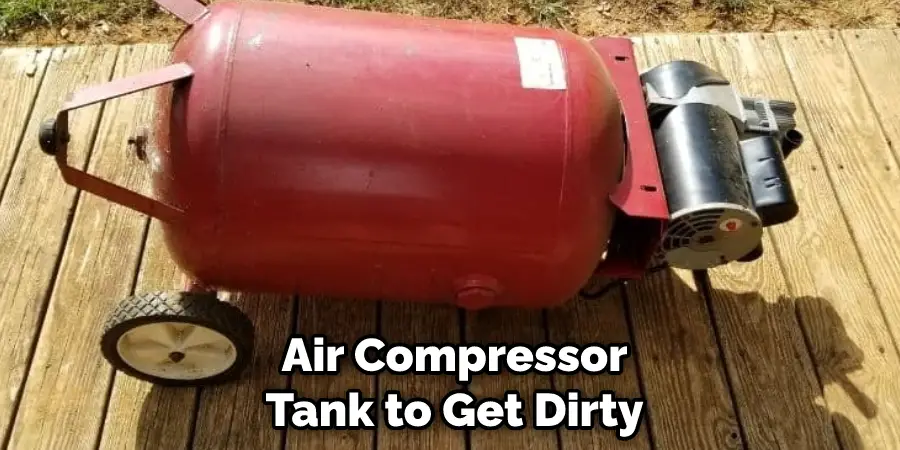
What Causes an Air Compressor Tank to Get Dirty?
There are a few different things that can cause an air compressor tank to get dirty. One of the most common is simply using the air compressor regularly. Over time, dust and debris will build up inside the tank.
This can eventually lead to clogs and other problems. Another common cause of a dirty air compressor tank is leaking. If there are any cracks or holes in the tank, air will escape. This can cause moisture to build up inside the tank, leading to mold and mildew growth.
Additionally, if the tank is not properly vented, this can also lead to moisture build-up. The other main cause of a dirty air compressor tank is not cleaning it regularly. Even if you don’t use the air compressor often, cleaning it out regularly is important to prevent debris and other buildups. Lastly, using the air compressor in dusty or dirty environments can also lead to a dirty tank.
Why Is It Important to Clean an Air Compressor Tank?
It’s important to clean an air compressor tank for several reasons. First and foremost, a dirty tank can cause the air compressor to malfunction. When there is debris or buildup inside the tank, it can clog up the system and cause the compressor to overheat. Additionally, a dirty tank can lead to decreased airflow and pressure.
This can make it difficult to use the air compressor for certain tasks. A dirty tank can also be a breeding ground for mold and mildew. If these spores get into the air, they can cause respiratory problems for those in the area. Another reason to keep the tank clean is to extend the life of the air compressor.
Regular cleaning and maintenance will help prevent wear and tear on the compressor and ultimately help it last longer. Finally, cleaning the tank will also help to improve the quality of the air that is being compressed.
Step by Step How to Clean Air Compressor Tank
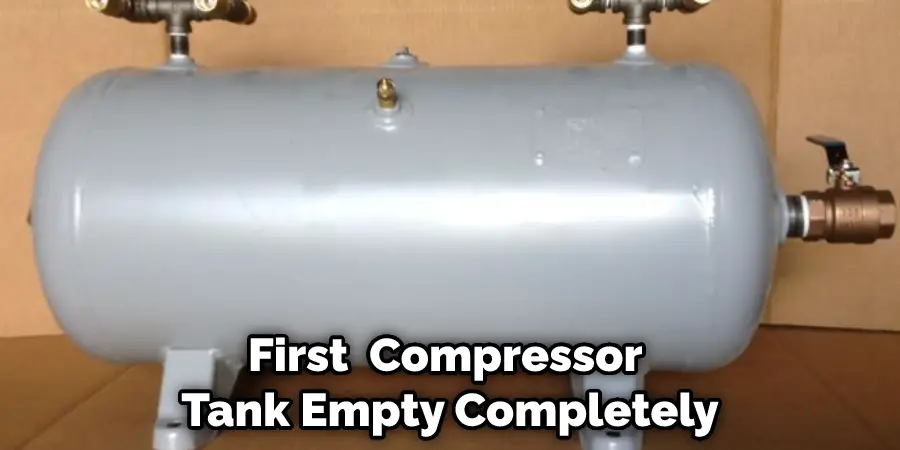
1. Empty the Tank
The first step in cleaning an air compressor tank is to empty it completely. This will help to prevent any further damage from occurring to the tank. Additionally, it will make it easier to clean the inside of the tank. To empty the tank, turn off the air compressor and disconnect it from the power source. Next, open the drain valve and allow all of the air to escape. Try to do this in a well-ventilated area, as the air that escapes can be harmful. Avoid touching the inside of the tank while it’s draining, as it may be hot. Once the tank is completely empty, close the valve and move on to the next step.
2. Remove the Cover
Once the tank is empty, you can remove the cover. This will give you access to the tank’s inside so you can clean it properly. To remove the cover, first, unscrew the bolts that are holding it in place. Once the bolts are removed, you should be able to lift the cover off of the tank. If it’s stuck, you may need to tap it gently with a rubber mallet. Once the cover is off, set it aside and move on to the next step.
3. Clean the Cover
Now that the cover is off, you can clean the cover itself. This is important because the cover can also harbor dirt, dust, and other debris. To clean the cover, first, remove any loose dirt or debris. Next, scrub the cover with a soft-bristled brush and soapy water. Once you’ve scrubbed the cover, rinse it off with clean water. Allow the cover to air dry completely before moving on to the next step.
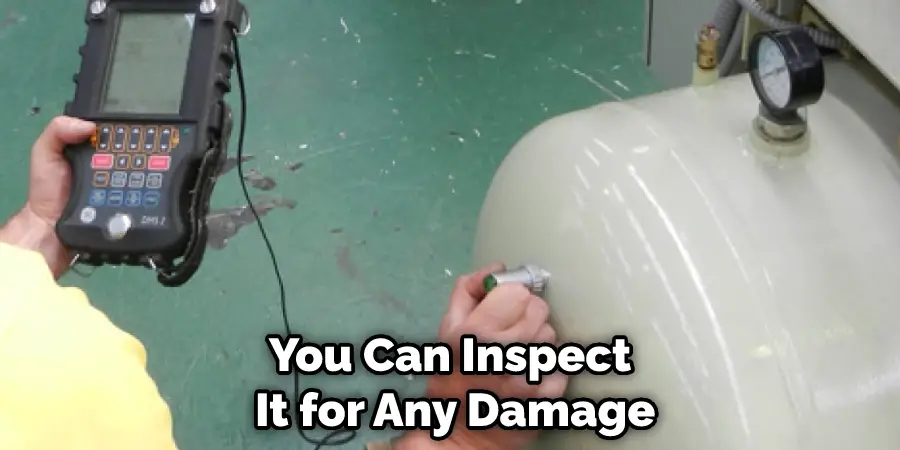
4. Inspect the Tank
Now that you have access to the inside of the tank, you can inspect it for any damage. Look for any cracks, holes, or other signs of damage. If you find any damage, you may need to have the tank replaced. However, if the damage is minor, you may be able to repair it with a patch kit. Once you’ve inspected the tank, move on to the next step.
4. Clean the Intake Filter
The intake filter is responsible for keeping dirt and other debris out of the air compressor. As such, it’s important to clean the intake filter regularly. To clean the intake filter, first, remove it from the air compressor. Next, rinse it off with clean water. Once you’ve rinsed it off, allow it to air dry completely before moving on to the next step. Try to avoid touching the filter with your bare hands, as this can cause the filter to become clogged.
5. Clean the Tank
Now that the cover is off and the intake filter is clean, you can start cleaning the tank. To clean the tank, first, remove any loose dirt or debris. Next, scrub the inside of the tank with a soft-bristled brush and soapy water. Once you’ve scrubbed the inside of the tank, rinse it off with clean water. Be sure to reach all of the nooks and crannies, as dirt can build up in these areas. Try to avoid touching the inside of the tank with your bare hands, as this can cause the tank to become clogged. Once you’ve finished cleaning the tank, move on to the next step.
6. Flush the Tank
After you’ve scrubbed the inside of the tank, you should flush it out with clean water. This will help to remove any soap residue that may be left behind. To flush the tank, first, fill it with clean water. Next, turn on the air compressor and allow the water to circulate for a few minutes. Once the water has circulated, turn off the air compressor and allow the water to drain out. Be sure to open the drain valve before you turn on the air compressor, as this will prevent the water from being forced back into the tank. Once the water has drained out, move on to the next step.
7. Dry the Tank
Once the tank is empty, you can dry it off with a clean towel. Be sure to dry the inside of the tank as well as the outside. To dry the inside of the tank, you may need to use a compressed air hose. First, attach the hose to the air compressor. Next, turn on the air compressor and hold the hose inside the tank. The compressed air will help to remove any moisture that’s left behind. Once the tank is dry, move on to the next step.
8. Reassemble the Air Compressor
Once the tank is dry, you can begin to reassemble the air compressor. First, replace the intake filter and cover. Next, replace the drain valve and cover. Finally, replace the pressure relief valve and cover. Once you’ve replaced all of the parts, you can turn on the air compressor and test it out. If everything is working properly, you’re done! If not, you may need to troubleshoot the problem.
Tips and Warnings on How to Clean Air Compressor Tank
Tips:
- Be sure to shut off and unplug the air compressor before starting to clean it.
- Drain all the air out of the tank by opening up the drain valve.
- Use a mild soap and water solution to clean the outside of the tank.
- Use a wire brush to remove any rust from the inside of the tank.
- Rinse the tank thoroughly with clean water.
- Dry the tank completely before storing or using it again.
Warnings:
- Never use harsh chemicals or cleaners on the air compressor tank, as they can damage it.
- Never use a pressure washer to clean the air compressor tank, as this can also damage it.
- Always follow the manufacturer’s instructions when cleaning the air compressor tank.
- If the tank is very dirty, it may need to be taken to a professional for cleaning.
How Often Should You Clean the Tank?
It would be best if you cleaned the air compressor tank every 3 to 6 months or as needed. If you use your air compressor frequently, you may need to clean it more often. How often you clean the tank depends on how dirty it gets and how often you use it. If you notice that the tank is getting dirty more quickly, you may need to clean it more often.
Conclusion
So there you have it! Now you know how to clean air compressor tank. Follow the tips and warnings above to avoid damaging the tank. If you have any questions, write them down in the comments below, and we’ll do our best to answer them. Happy cleaning!
You Can Chack It Out Fix a Luminara Candle
Rick is a handyman who grew up helping his dad with his business. He learned a lot from him about how to fix things, and also about how to work hard and take care of business. These days, Rick is still into fixing things- only now, he’s doing it for a living.
Rick is always looking for new ways to help people grow and develop. That’s why he started contributing to this blog: to share all his experience and knowledge so that he can help people who are interested in DIY repair.