

Do you want to give a room in your home a new look without spending too much money? Whitewashing stone is an ideal way to achieve this, as it provides you with an inexpensive yet stylish option for updating the interior of your home.
This tutorial will guide you through all the steps necessary for whitewashing stone, from choosing the best kind of whitewash for your needs to applying and finishing up with tips on how to prevent future staining.
By following this tutorial closely, you will be able to breathe fresh life into any room or outdoor area quickly and easily. So get ready! Let’s begin our journey into learning how to white wash stone today!
What Kind of Paint Do You Use on Whitewash Stone?
When whitewashing stone, the most important factor is to select the right kind of paint. Choose a paint that is specifically designed for exterior use and can withstand extreme weather conditions. You may also opt for acrylic or latex paint, which is easier to work with than oil-based paints.
It’s important that your chosen paint has a high level of water resistance, especially if you live in an area exposed to frequent rain or snowfall. Additionally, make sure that the paint has UV protection so it will not fade in direct sunlight. When applying the paint, it’s best to use two coats for extra durability and protection against moisture damage.
Be sure to allow each coat enough time to dry before applying the next one. Once you’re done painting, seal the stone with a waterproofing sealant to keep out moisture and protect your work. With the right paint and proper application, you’ll be able to enjoy your beautiful whitewashed stone for years to come.
9 Methods How to White Wash Stone
1. Chemical Stone Whiteners
One popular method for whitewashing stone is to use a chemical stone whitener. This type of product is typically applied with a brush or sponge and can be found at most hardware stores.
Chemical stone whiteners are effective at brightening up stone surfaces, but they can also be harsh and may damage the stone if not used correctly.
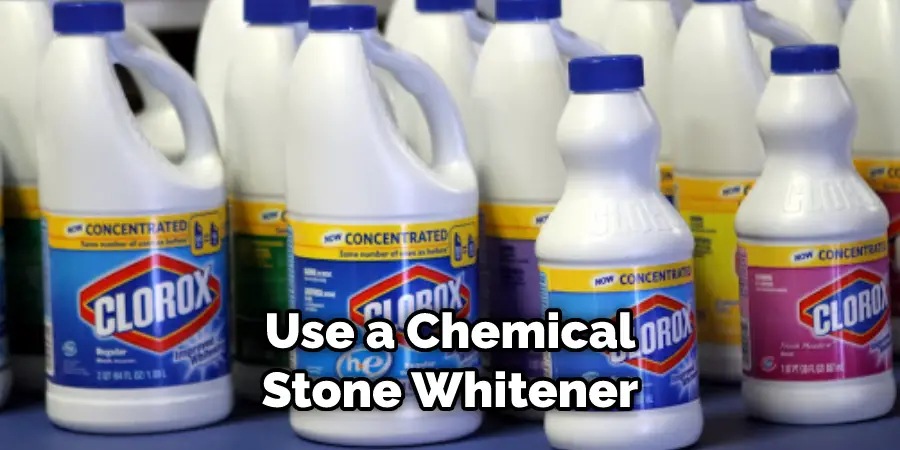
It’s important to follow the instructions on the product packaging carefully and to wear gloves while using it. If you have any doubts about your ability to apply the whitener correctly, it’s best to consult a professional stone cleaner or mason.
2. Chalk Paint
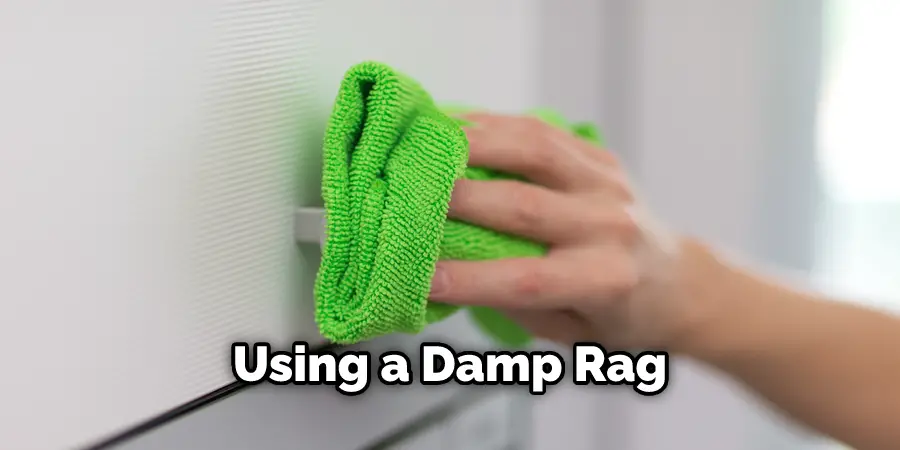
Another popular method for whitewashing stone is to use chalk paint. Chalk paint is a type of paint that dries to a matte finish and can be easily distressed to create a shabby chic look. When whitewashing with chalk paint, it is important to use a light hand as too much paint can make the stone look heavy and dated.
Begin by applying a thin layer of chalk paint to the stone and letting it dry. Then, add a layer of white paint over the top. Using a damp rag, wipe away the excess paint to reveal the natural stone underneath. For a more dramatic effect, use multiple layers of white and chalk paint. Chalk paint is a great way to give stone surfaces a modern makeover!
3. Lime Wash
Limewash is another popular method for whitewashing stone surfaces. Limewash is made from limestone that has been slaked in water and then mixed with pigment to create a paint-like consistency.
Limewash is typically applied with a brush or roller and can be thinned out with water if necessary. If you’re looking for a more natural or rustic look, then limewash is likely the best option. It will give your stone a subtle tinted hue while still providing some coverage. To get the best results with limewash, multiple coats should be applied in succession.
Once the limewash has been applied, it should be allowed to dry for several hours before adding a new coat. Due to its porous nature, limewash is also highly breathable, making it an ideal choice for older stone surfaces.
4. Milk Paint
Milk paint is another type of natural paint that can be used for whitewashing stone surfaces. Milk paint is made from milk proteins and pigments and dries to a chalky finish. Milk paint is typically applied with a brush or roller and can be thinned out with water if necessary. To create a whitewashed effect, simply dilute the paint with water and apply it to the stone in thin layers.
Allow each layer to dry before adding the next. Once dry, use a rag to rub the excess paint off the stone and create an aged finish. With milk paint, you can achieve a variety of colors and shades, from light off-white to deep eggshell white. For the best results, use multiple thin layers for a more even and controlled finish.
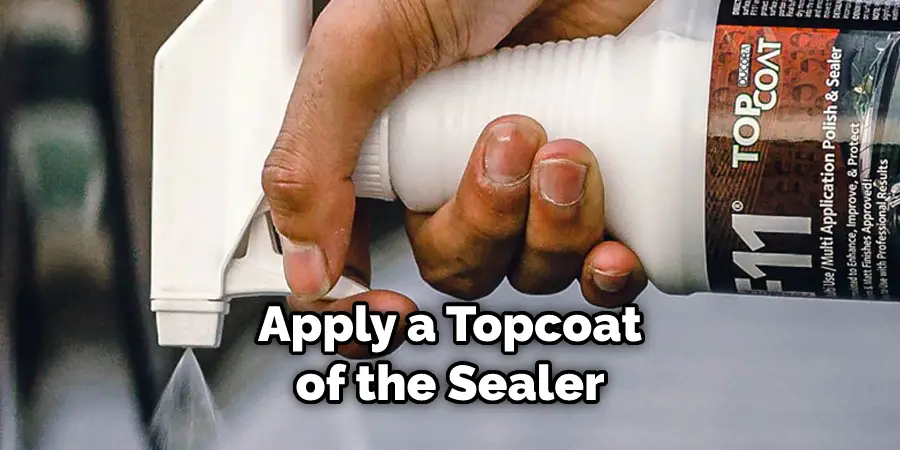
5. Whitewash Stain
Whitewash stain is another popular option for whitewashing stone surfaces. Whitewash stain is made from diluted white latex paint that has been mixed with water to create a translucent stain. Whitewash stain can be applied with a brush, roller, or sprayer and will dry to a semi-transparent finish.
After it is dry, you can apply a topcoat of the sealer to add protection and shine. The advantage of whitewash stain over traditional white paint is that it will allow the natural texture of the stone to show through and won’t completely obscure the surface. This makes it a great option for highlighting architectural details and natural variations in the stone.
6. White Limestone Paint
White limestone paint is another popular method for whitewashing stone surfaces. White limestone paint is made from calcium carbonate that has been ground into a fine powder and then mixed with water to create a slurry consistency.
White limestone paint can be applied with a brush or roller and will dry to a chalky finish. When the paint has dried, it can be sealed with a sealer to protect it from fading and moisture. This is an easy way to give a stone surface a white-wash look with minimal effort. It is also important to note that white limestone paint can be used on interior surfaces as well as exterior surfaces.
7. Tinted Sealer
A tinted sealer is another option that can be used for whitewashing stone surfaces. Tinted sealers are available in both water-based and solvent-based formulas and come in a variety of colors. Tinted sealers can be applied with a brush, roller, or sprayer and will dry to a semi-transparent finish.
Depending on the color chosen, they can be used to enhance the whitewashing effect or create a slightly different look. The sealer will help to protect the stone from moisture and weathering while also preserving the whitewashing effect. Always be sure to read and follow all manufacturer instructions before applying a tinted sealer.
8. Wax
Wax can also be used for whitewashing stone surfaces. Wax is typically applied with a brush or cloth and can be found in either liquid or paste forms. The wax will help to protect the stone and make it more resistant to dirt and other elements that could potentially cause discoloration.
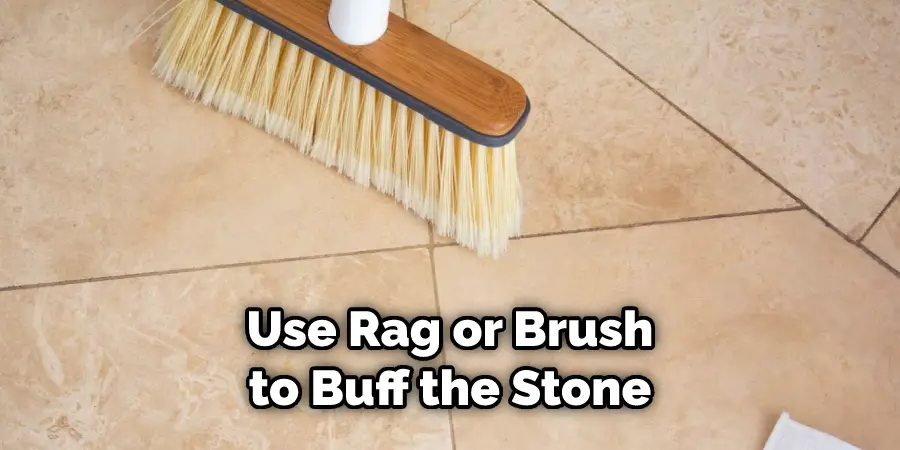
Be sure to follow the instructions on the wax product for the best results. After application, use a rag or brush to buff the stone and give it a polished, uniform finish. If the wax is not sealed properly, it may become yellow over time. To prevent this, make sure to reseal the surfaces every 6-12 months as necessary.
9. Cleaning and Maintenance
Once the whitewashing process has been completed, it is important to properly maintain the newly whitewashed stone in order to keep it looking fresh and attractive. Regular cleaning with a soft cloth and mild detergent is recommended.
Avoid using abrasive materials or chemicals, as these can damage the stone, causing it to lose its whitewashed appearance. If necessary, you can use a sealer to protect the whitewashed finish from staining.
It is important to choose a sealer that is compatible with the stone, and that won’t darken or yellow the surface. Finally, avoid exposing the stone to excessive heat or moisture as this could cause discoloration or other damage.
What Is the Difference between Limewash and Whitewash?
Limewash and whitewash are both techniques for giving the stone a white finish. Both work by coating the stone with a special paint that is designed to bond with the porous surface of the stone. The difference between limewash and whitewash is the ingredients used in each painting. Limewash typically contains a mix of lime, pigment, water, and an oil-based binder.
Whitewash usually contains calcium carbonate (chalk) instead of lime and sometimes includes linseed oil or casein glue to add durability. Both paints are very thin in consistency and create a natural matte finish that can be easily washed off if needed. When applied correctly, both limewash and whitewash can be effective solutions for giving stonework a white finish. However, limewash is usually more durable and can be used on interior and exterior surfaces. Whitewash is best suited for outdoor applications.
Some Common Mistakes When White Washing Stone
1. Applying Too Much White Wash:
Over-applying the whitewash can cause a patchy or uneven look on your stone surface. To avoid this, make sure you test the whitewash consistency on a spare stone piece or hidden area before starting your project.
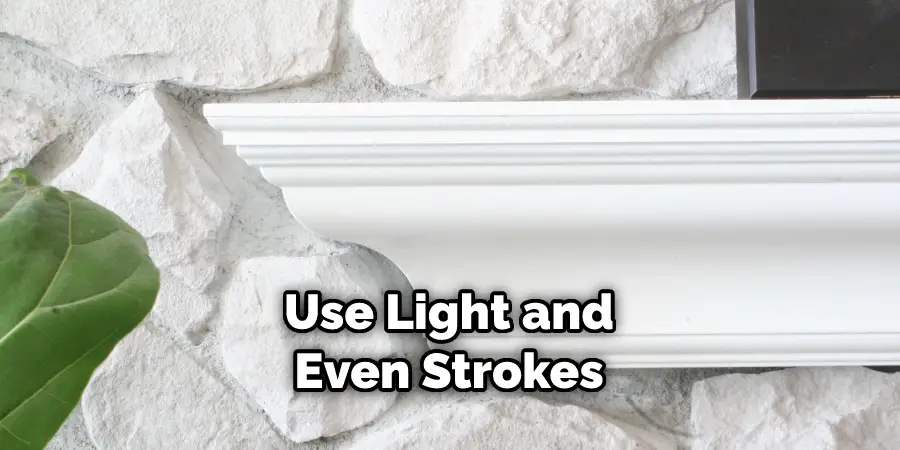
2. Leaving Brush Strokes:
Applying too much pressure or not being consistent with the application of the whitewash can leave visible brush strokes behind. To prevent this, use light and even strokes when applying the whitewash, and use a brush with soft bristles.
3. Not Preparing the Stone:
Before applying any whitewash, it is essential to properly clean and prepare the stone surface. If you fail to do this, dirt, grease, or other materials can become embedded in the whitewash and create a poor finish.
4. Not Testing First:
It’s important to test out your whitewashing technique on a small area of stone before committing to an entire surface. This will give you an idea of what the final finished product will look like before taking on a larger project.
Conclusion
Whitewashing stone is a great way to give any outdoor space an inviting, cozy, and rustic feel. Furthermore, it’s a relatively easy and cost-effective way to revitalize worn-out stone and bring out unique colors. After thoroughly preparing and ‘whitewashing’ your stone wall, you will be able to reap the benefits of years of lasting beauty.
Not only has your outdoor living space received an upgrade in appearance, but it’s also been transformed into a maintenance-free and strong piece of art that will add value to your property. With this easy-to-follow guide on How to White Wash Stone, you should have no problem accomplishing the perfect look for your outdoor living space. So what are you waiting for? Get whitewashing!