
Are you in the market for a new oven? If so, you may want to consider purchasing a self-cleaning Samsung oven. Samsung’s self-cleaning ovens are some of the best on the market, and they come with a variety of features that make them easy to use. It is important to know how to use self cleaning Samsung oven.
In this blog post, we will discuss how to use Samsung’s self-cleaning ovens. We will also provide tips on how to get the most out of these ovens. So, if you are interested in learning more about Samsung’s self-cleaning ovens, keep reading!
What You Will Need
- A self-cleaning Samsung oven
- Cleaning supplies
- Water
7 Steps Guide on How to Use Self Cleaning Samsung Oven
Step 1: Remove All of the Racks From Your Oven
Removing the racks from your oven can help improve airflow and circulation. This is especially important when you’re baking at high temperatures, as it helps to prevent hotspots and uneven cooking. Additionally, removing the racks from your oven can help conserve energy.
Since heat rises, the top rack in an oven is typically hotter than the bottom, so removing it can save you from having to heat more airspace than necessary. Taking out the racks in your oven can make it easier to clean.
By eliminating nooks and crannies where grease and grime can build up, you can reduce the time and effort required to keep your oven sparkling clean. So opening up your oven may be just what it needs to perform at its best.
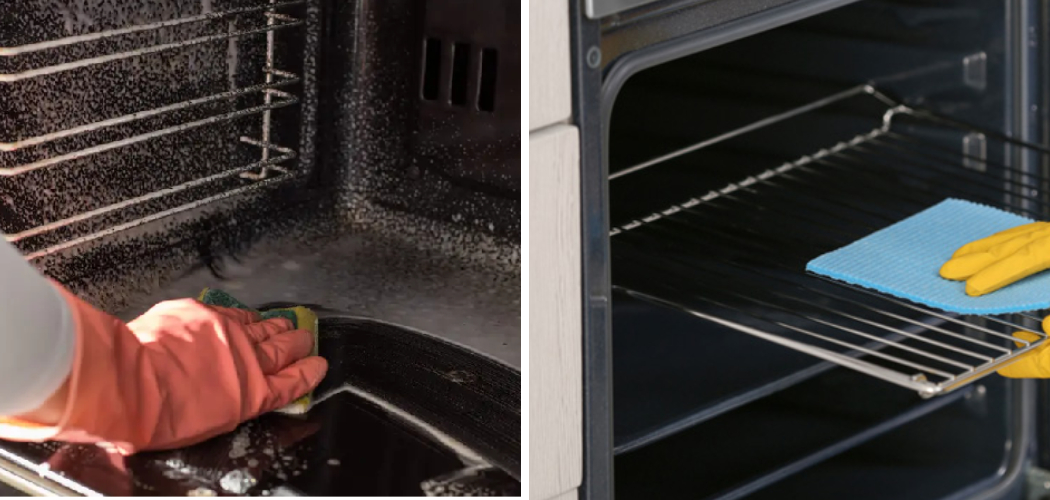
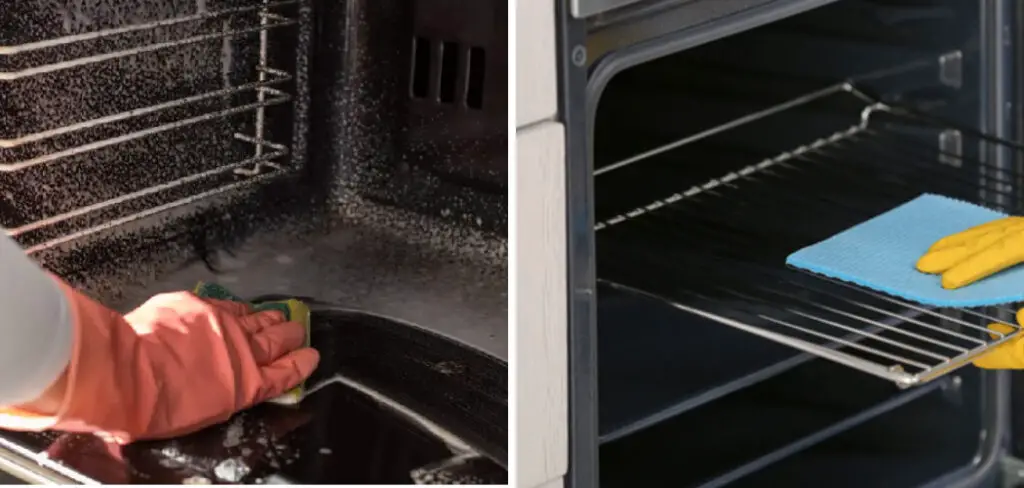
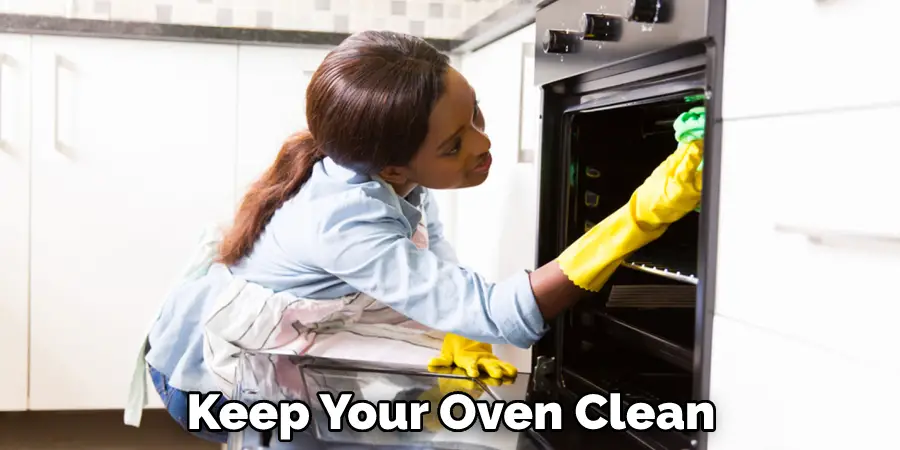
Step 2: Wipe Down the Interior of Your Oven
It’s important to keep the interior of your oven clean, as built-up dirt and grease can cause problems. Not only can it make your oven less efficient, but it can also be a fire hazard. You’ll want to give the interior a good wipe-down with soapy water. For tougher stains, you may need to use a mild abrasive cleaner. Just be sure to avoid harsh chemicals, as they can damage the finish of your oven.
Step 3: Activate the Self-Cleaning Cycle
The self-cleaning cycle is a feature of many modern ovens that helps to keep the oven clean with minimal effort. The cycle works by heating the oven to a high temperature, which burns off any food or grease that may be stuck to the walls or surface. While the cycle is effective at cleaning the oven, it can also be dangerous if not used properly.
There are no loose items in the oven, as they can be burned or melted during the cycle. Also, be sure to turn off the self-cleaning cycle before opening the door, as the sudden change in temperature can cause damage to the door seal.

Step 4: Wait for the Cycle to Complete
For anyone who has ever struggled with an addiction, the idea of waiting for the cycle to complete can be daunting. After all, addiction is a vicious cycle that leads to physical and emotional dependency. However, research suggests that waiting for the cycle to complete may be the best course of action.
In a study of recovering addicts, researchers found that those who waited for the cycle to complete before seeking treatment were more likely to maintain their sobriety over time. The study authors suggest that this may be because the act of waiting allows addicts to develop a stronger sense of commitment to recovery. In other words, waiting for the cycle to complete can give addicts the time they need to prepare for treatment and make a lasting change.
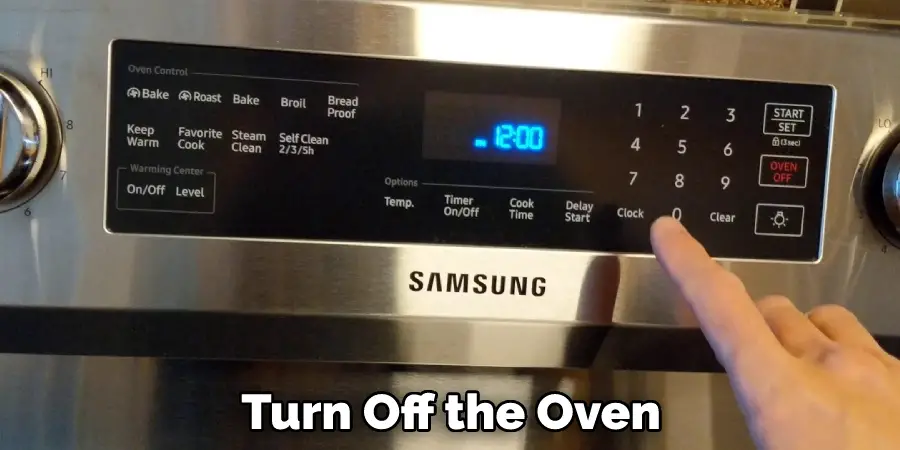
Step 5: Turn Off the Oven and Allow it to Cool
A hot oven is great for cooking, but it can also be a safety hazard. If you’re not careful, you could easily end up with a serious burn. That’s why it’s important to always turn off the oven and allow it to cool before attempting to clean it.
While the oven is still warm, you can use a damp rag to wipe away any loose food particles. Once the oven has cooled, you can then proceed with a more thorough cleaning. This will help ensure that your oven is safe to use and that your food comes out tasting great.

Step 6: Wipe Down the Interior of the Oven Again
The oven is one of the most important appliances in the kitchen, and it needs to be cleaned regularly to maintain its efficiency. The first step is to remove any food or grease buildup from the interior surfaces. This can be done by wiping down the walls and ceiling with a damp cloth or sponge. Next, scrub any stubborn dirt or grime with a soft-bristled brush.
Once the interior is clean, it’s time to focus on the door. Start by removing any grease or food residue from the glass surface. Then, use a putty knife to scrape off any caked-on dirt or grime. Finally, wipe down the entire door with a damp cloth to remove any streaks or fingerprints. With a little effort, you can keep your oven looking new for years to come.
Step 7: Replace the Racks and Other Removable Pieces
Inspect all of the racks, removable shelves, and other pieces that can be taken out of the oven. If any of these pieces are damaged or warped, it is best to replace them. That way, you can be sure that they will fit correctly and will not cause any problems when you are using the oven.
Additionally, make sure to clean all of the racks and other pieces before putting them back in the oven. A build-up of grease and grime can not only make the oven harder to clean, but it can also lead to fires. As such, taking a few minutes to clean and inspect the oven racks can save you a lot of time and hassle in the long run.
Enjoy Your Clean Oven! You are now ready to enjoy your clean oven! Be sure to clean it regularly to keep it looking and working its best. Samsung’s self-cleaning ovens are a great way to keep your oven clean with minimal effort. So, if you are in the market for a new oven, be sure to consider one of these models.
Tips on How to Use Self-Cleaning Samsung Oven
- Before using your oven’s self-cleaning cycle, remove all racks, pans, and other items from the oven.
- Close the door and press the “Self Clean” button on your oven’s control panel.
- Select the cleaning time based on how dirty your oven is. A longer cleaning time may be necessary for a very dirty oven.
- Once the cycle is complete, do not open the door until the oven has cooled completely. This could take several hours.
- After the oven has cooled, remove any ashes or debris that may have accumulated during the cleaning cycle.
- Wipe down the interior of the oven with a damp cloth to remove any residue left behind by the self-cleaning cycle.
- Replace the racks, pans, and other items that were removed before starting the cycle.
- Run the fan for a few minutes to ventilate the oven and remove any lingering fumes.
What Should I Do if There is Residue Left Behind After the Cleaning Cycle?
If you notice residue left behind after the cleaning cycle, there are a few things you can do. First, check to see if the dishwasher needs to be descaled. This can build up over time and prevent the dishwasher from properly cleaning dishes.
If descaling is necessary, follow the manufacturer’s instructions. You may also need to adjust the water hardness settings. If the water in your area is very hard, it can cause deposits to form on dishes and glassware. These can then be transferred back to the dishes during the next cycle, causing residue to be left behind.
To adjust the settings, consult your dishwasher’s manual. Finally, make sure you are using the correct detergent and amount. If you are using too much detergent, it can leave a film on the dishes. Conversely, not using enough detergent can cause poor cleaning performance. If you are unsure about how much detergent to use, check the manufacturer’s instructions or contact customer service for further guidance.
Can You Leave the Racks in a Samsung Oven When Self-cleaning?
Samsung recommends removing the racks from their ovens before self-cleaning. This is because the extreme heat that is used during the self-cleaning process can cause discoloration or warping to the racks. Leaving the racks in the oven can also interfere with the cleaning process, as they can become covered in ash or debris from the oven’s interior.
If you need to clean your oven racks, it’s best to do so separately from the self-cleaning cycle. You can clean your racks by hand with soap and water or use an oven rack cleaner that is specifically designed for this purpose. Be sure to follow the directions on the cleaner’s packaging, as some cleaners may require the racks to soak in the solution for a period of time.
Another option is to clean the oven racks in your dishwasher. It’s important to note that not all oven racks are dishwasher-safe. Check your oven manual to confirm whether the dishwasher can safely wash the racks. If they can, place the racks on the lowest rack of the dishwasher so that they can be exposed to the most amount of water and cleaning detergent possible.
Can I Open the Door While the Oven is Cooling Down?
During the cooking process, your oven will reach very high temperatures. The heat produced by the oven helps to cook food evenly and thoroughly. However, once you turn off the oven, the process of cooling begins.
Although it may be tempting to open the door to check on your food or let some of the heat out, it is important to resist the urge. Opening the door while the oven is cooling can cause a sudden and drastic drop in temperature, which can impact how well your food cooks.
In addition, opening the door too early can release hot air and steam, which can be dangerous. So, unless it is necessary, it is best to wait until your oven has cooled completely before opening the door.
Conclusion
Did you know that your oven could clean itself? It’s true! Samsung ovens have a self-cleaning feature that makes keeping your oven clean easy. You should determine carefully how to use self cleaning Samsung oven.
All you have to do is activate the self-cleaning cycle and let the oven do its job. In just a few hours, your oven will be sparkling clean – with no scrubbing required on your part. So if you’re looking for an easy way to keep your oven clean, consider investing in a Samsung self-cleaning oven.
You Can Chack It Out to Connect Single Wall Stove Pipe to Double Wall