

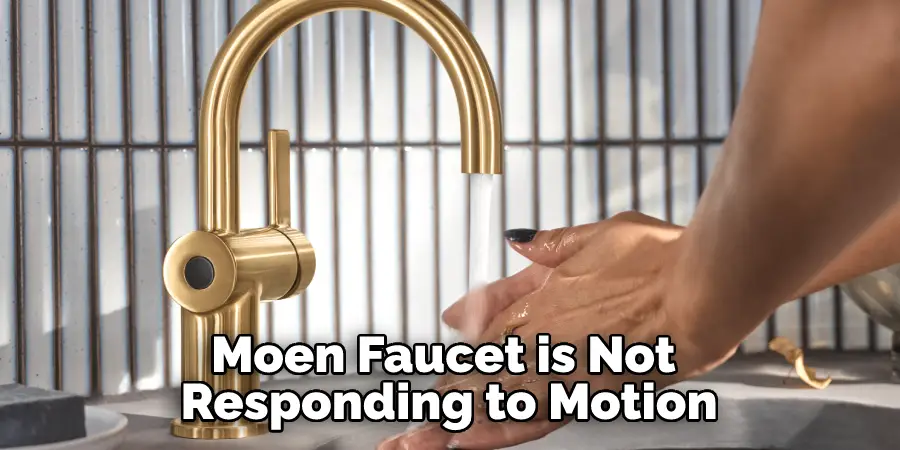
Using a Moen faucet is an essential part of many homeowners’ daily routines, so if the sensor stops responding it can be incredibly frustrating. Whether you’re a hands-on DIYer or prefer to leave plumbing fixes to licensed professionals, having to replace or repair your faucet’s sensor can seem daunting and expensive.
Fortunately, you may be able to save time and money by learning how to turn off the automatic sensors on your Moen faucet yourself! In this blog post, we’ll walk through all of the steps on how to turn off sensor on moen faucet. Read on for expert tips on shutting down the annoying overhead light that won’t shut up even though no one is using it!
How Do You Bypass a Faucet Sensor?
The first step to bypassing the sensor on your Moen faucet is to locate the power switch. Depending on the model of your Moen faucet, this could be a button located near the base of the spout or a lever on the handle. If you cannot find a power switch, then it may be necessary to remove the faucet’s handle to gain access. However, you should only do this if you are confident in your own abilities and understand the risks associated with any plumbing project.
Once you’ve located the power switch, simply press and hold it until the light stops flashing. This should turn off your faucet’s sensor and allow you to use the taps without any interference from an automated system. Thus, you have successfully bypassed the sensor and can now enjoy your Moen faucet without any annoyances!
10 Methods How to Turn off Sensor on Moen Faucet
1. Check the Batteries
The first thing you should do if your Moen faucet is not responding to motion is to check the batteries. If the batteries are low, they may need to be replaced. If they are not low, try replacing them to see if that helps. While you’re at it, make sure the battery contacts are clean and free of debris. However, if the battery replacement does not solve the issue, then you should move on to the next step.
2. Clean the Sensors
If the sensors are dirty, they may not be able to detect motion properly. Try cleaning the sensors with a soft cloth and see if that solves the problem. If the sensors are heavily soiled, use a cotton swab dampened with isopropyl alcohol to gently wipe away the dirt. Although alcohol may not damage the sensors, it can damage some of the other electrical components in your motion detector, so be careful. Also, make sure to avoid using any abrasive materials, as this may damage the sensors.
3. Adjust the Sensitivity
You may be able to adjust the sensitivity of the sensors so that they are less sensitive to motion. This can be done by turning the knob located under the sink. While this won’t stop the sensor from detecting movement, it will help reduce false alarms and prevent the system from being overly sensitive. Additionally, if you find that the sensors are too sensitive, you can also reduce their range by adjusting the angle of the sensor to narrow its field of vision.
4. Replace the Batteries
If replacing the batteries does not solve the problem, you may need to replace the entire battery pack. This can be done by unscrewing the battery cover and removing the old battery pack. Then, insert a new battery pack and screw on the cover. Try to test out your device to see if it is working properly.
5. Adjust the Water Pressure
If your Moen faucet has a water pressure regulator, you may need to adjust it. This can be done by turning the knob located under the sink. However, if you don’t have a regulator, you may need to adjust the pressure by turning off the supply valves to either increase or decrease the water pressure. You can also install an adjustable pressure-reducing valve on your main water line to make these adjustments easier.
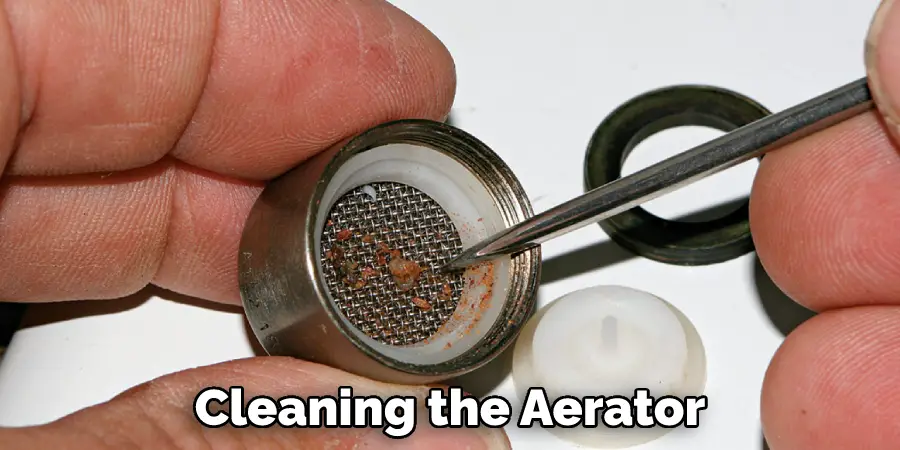
6. Clean the Aerator
If your Moen faucet has an aerator, it may become clogged over time and needs to be cleaned periodically. To clean it, unscrew it from the faucet and soak it in vinegar overnight. Then, scrub it with a toothbrush and rinse it well before screwing it back onto the faucet. If your Moen faucet does not have an aerator, you can skip this step. Make sure to turn off the water supply before cleaning the aerator.
7. Replace the O-rings
If your Moen faucet is leaking, it may be because of worn-out O-rings. To replace them, unscrew the retaining ring and remove the old O-rings. Then, insert new O-rings into place and screw on the retaining ring. However, make sure you do not overtighten the retaining ring, or you may damage the faucet. Although this is a relatively simple task, it can be time-consuming and requires some basic plumbing skills. If you are not comfortable doing this yourself, you should contact a professional plumber.
8. Replace the Valve Seat Washer
If your Moen faucet is leaking from around the handle, it may be because of a worn-out valve seat washer. To replace it, unscrew the cap and remove the old washer. Then, insert a new washer into place and screw on the cap. Be sure to use pliers when tightening or loosening any screws so as not to strip them.
9. Replace the Retaining Ring
If your Moen faucet is leaking from around the spout, it may be because of a worn-out retaining ring. To replace it, unscrew the cap and remove the old retaining ring. Then, insert a new retaining ring into place and screw on the cap. Be sure to use pliers when tightening or loosening any screws so as not to strip them.
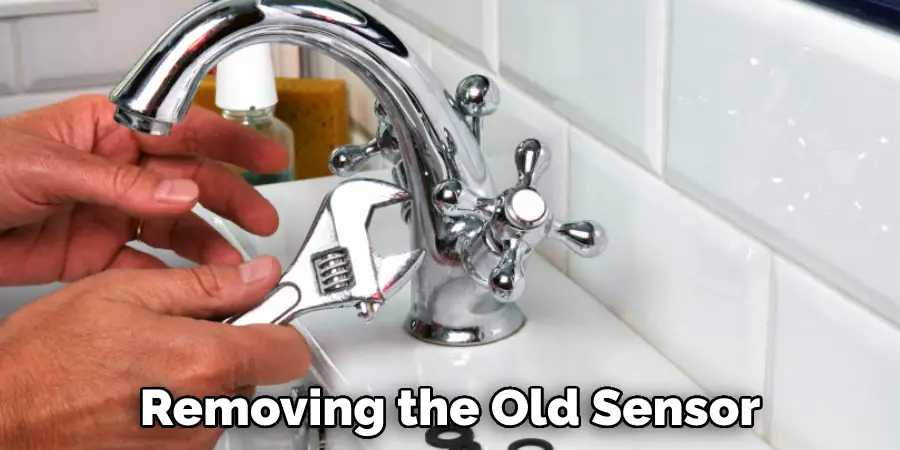
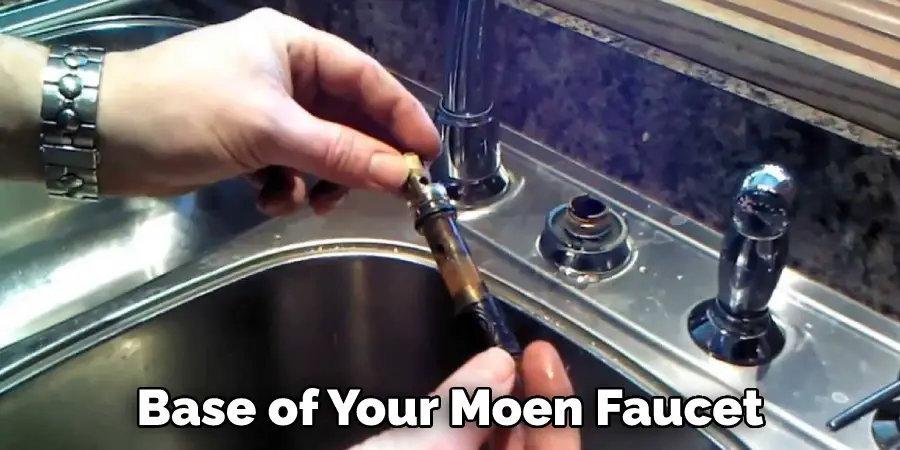
10. Replace the Faucet Sensor
Finally, if all other measures fail, you may need to replace the actual sensor itself. This can be done by unscrewing the retaining ring and removing the old sensor. Then, insert a new sensor into place and screw on the retaining ring. Be sure to use pliers when tightening or loosening any screws so as not to strip them.
Once the new sensor is in place, your Moen faucet should be functioning properly without the annoyance of a constantly running sensor! With the right tools and know-how, you can easily turn off the sensor on your Moen faucet and ensure that it is working properly.
Just remember to stay safe and always contact a professional if any part of the process proves too difficult or hazardous. With the proper precautions, you should be able to handle most plumbing projects without incident.
Things to Consider When Turning off the Sensor on Moen Faucet
1. Moen Faucet Is Turned off:
Before turning off the Sensor, ensure that the Moen faucet is completely turned off. This will prevent the water from flowing when you turn the Sensor off.
2. Check for Leaks:
After turning the Moen faucet off, check for any leaks around the base or handle of your faucet before turning off the Sensor.
3. Power Source:
If your Moen faucet is connected to a power source, such as a wall outlet or battery pack, make sure it is unplugged before turning off the Sensor.
4. Water Pressure:
If you have high water pressure in your home, you may want to turn the water main off while you are turning off the Sensor just to be extra safe. This will prevent any damage that could occur if too much water gets into the Sensor area when it is shut off.
5. Manual Override:
While most Moen faucets have an auto-shutoff feature built-in, some of them may also include a manual override switch for additional control over when the sensor will be turned off. Be sure to familiarize yourself with this switch before turning off the Sensor.
6. Cleaning:
Before turning the Sensor off, be sure to clean any dirt or debris from around the handle and base of your Moen faucet. This will help prevent any potential problems when you turn the Sensor back on again.
7. Test it:
After turning off the Sensor, test that it is no longer detecting movement by waving your hand in front of it. This will confirm that the sensor is indeed turned off and won’t detect anything until you turn it back on again.
8. Keep a Backup System in Place:
If possible, consider keeping an alternate water-shutoff system in place with your Moen faucet. This could be a manual switch or lever, or even an emergency shutoff valve near the faucet.
Conclusion
Following these simple steps should help you successfully turn off the sensor on your Moen faucet. As always, if you have any further questions or concerns, please feel free to reach out to any customer service team for assistance.Thanks for reading our blog post on how to turn off sensor on moen faucet! We hope you found it helpful and informative.
Rick is a handyman who grew up helping his dad with his business. He learned a lot from him about how to fix things, and also about how to work hard and take care of business. These days, Rick is still into fixing things- only now, he’s doing it for a living.
Rick is always looking for new ways to help people grow and develop. That’s why he started contributing to this blog: to share all his experience and knowledge so that he can help people who are interested in DIY repair.