
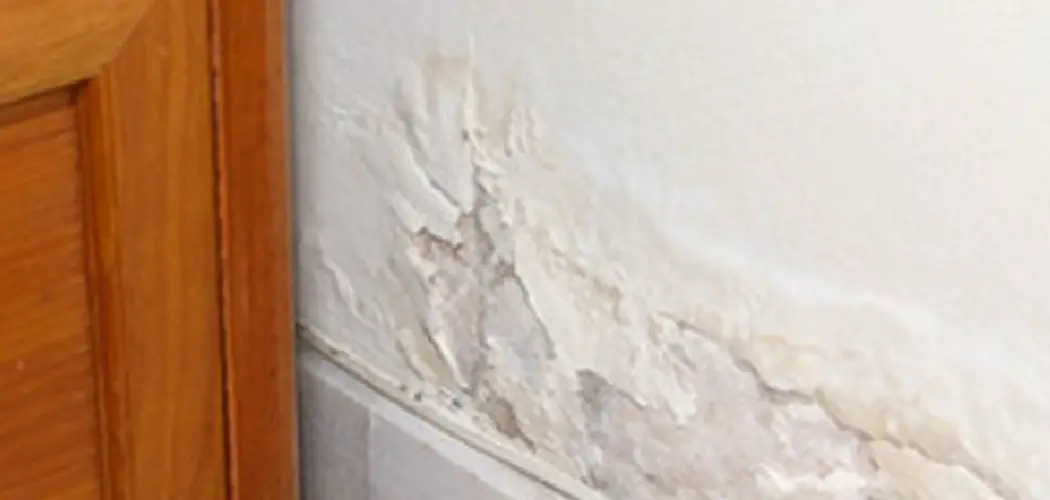
Powdery walls are a prevalent issue faced by homeowners and builders alike, often resulting from a variety of factors such as poor-quality paint, improper surface preparation, or environmental conditions like high humidity. When walls develop a powdery residue or chalky surface, it can lead to uneven paint jobs, causing the paint to peel or flake over time. These imperfections not only detract from the aesthetic appeal of a space but can also compromise the durability of the finish.

The purpose of this article is to offer a comprehensive guide on how to treat powdery walls, outlining the essential steps for diagnosing the extent of the problem, treating the affected areas, and implementing preventative measures. By following these expert recommendations, one can achieve a smooth and long-lasting finish that enhances the beauty and integrity of any interior or exterior wall surface.
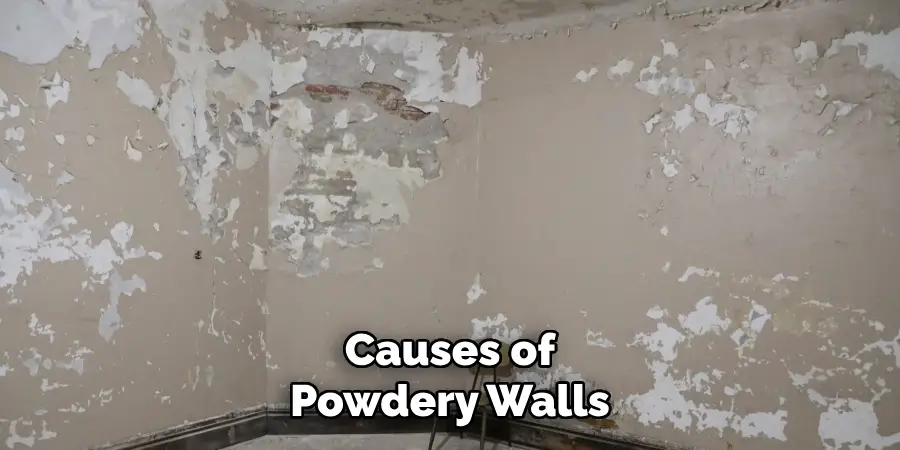
Understanding Why Walls Become Powdery
1. Causes of Powdery Walls
Walls can develop a powdery or chalky texture due to several factors, with poor-quality paint being a common culprit. Paints that lack the necessary binders may deteriorate quickly, leading to a dusty residue. Environmental conditions, especially high humidity, also play a significant role. Moist air can seep into the walls, causing the paint to break down over time. Another critical factor is the lack of a proper primer before painting.
Primers are essential as they create a binding layer between the wall and paint, enhancing adhesion and durability. Additionally, efflorescence, which is the deposition of salt crystals from moisture, can contribute to the powdery texture. This occurs when the moisture within the wall draws salts to the surface, leaving a white, chalky deposit. Deterioration of old paint over time can further exacerbate the problem, as the paint loses its cohesive strength and becomes powdery.
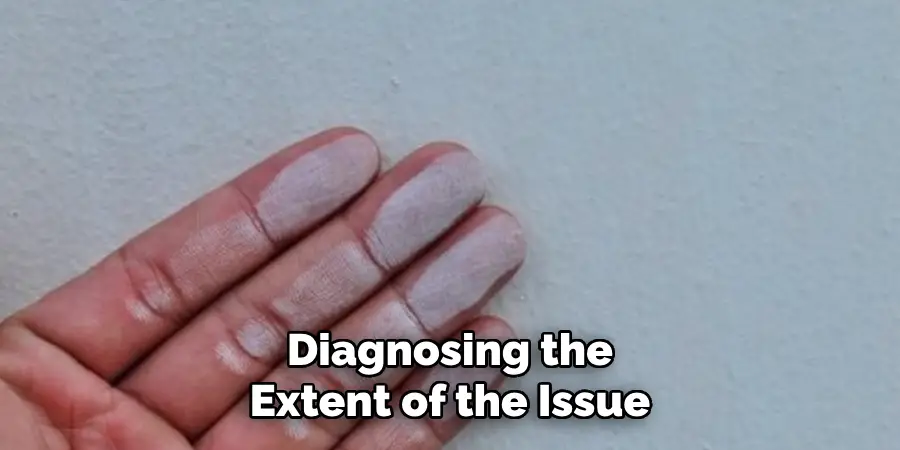
2. Diagnosing the Extent of the Issue
To effectively address powdery walls, it is crucial to diagnose the extent of the issue first. A simple test involves gently rubbing a hand or cloth against the wall surface to see if any powdery residue transfers. If the residue appears on your hand or cloth, it indicates a chalky surface. It is also essential to check if the wall’s structural integrity is compromised or if only the paint layer is affected. Inspect the wall for cracks or peeling paint, which may suggest deeper problems beyond surface-level issues.
In cases where the underlying structure is solid but the paint is compromised, targeted treatment focused on the surface is usually sufficient. However, if structural concerns are present, more comprehensive repairs might be required to ensure the wall’s long-term stability. By understanding both the causes and the extent of wall powdering, homeowners and builders can develop an appropriate plan for restoration and maintenance.
How to Treat Powdery Walls: Cleaning and Preparing the Wall
1. Remove Loose Powder with a Brush
Start by using a stiff-bristle brush to scrub the wall surface and eliminate as much loose powder as possible. Make sure to cover every inch of the wall, applying extra effort on corners, edges, and sections with notable residue. This step is crucial, as it will create a cleaner surface for further treatment and enhance the bonding of subsequent layers, whether primer or paint.
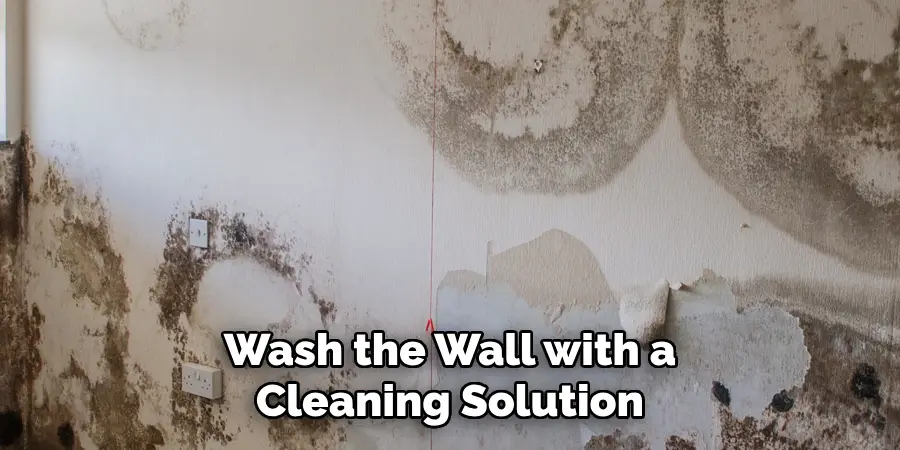
2. Wash the Wall with a Cleaning Solution
Prepare a mild cleaning solution by mixing warm water with a small amount of mild detergent. This gentle formula is effective in tackling dirt, dust, and grease that may have accumulated on the wall. Using a sponge or a soft cloth, diligently wipe down the entire wall surface, ensuring you reach all areas that might harbor residue. This process cleans and reduces the potential for future wall problems by removing contaminants that could weaken paint adhesion.
3. Allow the Wall to Dry Completely
Once the wall has been scrubbed and washed, it is imperative to let it dry thoroughly before moving to the next step. Residual moisture can undermine the effectiveness of primers and paint, potentially leading to further chalking or peeling. To expedite drying, enhance ventilation within the room by opening windows and doors or using fans and dehumidifiers. This thorough drying ensures that subsequent treatments adhere correctly, contributing to the long-lasting durability of the wall surface.
How to Treat Powdery Walls: Applying a Stabilizing Primer
1. Choose the Right Primer
When dealing with powdery or chalky surfaces, selecting the proper primer is crucial to creating a strong and stable foundation. Stabilizing or bonding primers are specifically designed for such conditions, forming an adhesive layer that binds loose particles and effectively seals the surface. They prevent additional chalking and ensure that the subsequent layers of paint adhere properly, enhancing both durability and finish quality. When choosing a primer, opt for a high-quality product known for its sealing capabilities and compatibility with the paint type you intend to use. It is also helpful to read customer reviews and expert recommendations to ensure the primer chosen will effectively address the specific issues of powdery walls.
2. Apply the Primer Evenly
Apply the stabilizing primer evenly across the powdery wall surface to achieve the best results. Begin by stirring the primer thoroughly to ensure a uniform consistency. Use a roller to cover large sections of the wall, and coat in even strokes to avoid streaks or clumps. For areas that are harder to access, such as corners and edges, employ a small brush to ensure these spots receive adequate primer coverage. Start at the top of the wall and work your way downwards, carefully checking for any areas that may have been missed. Uniform application is crucial for creating a consistent base, preventing future peeling or chalking.
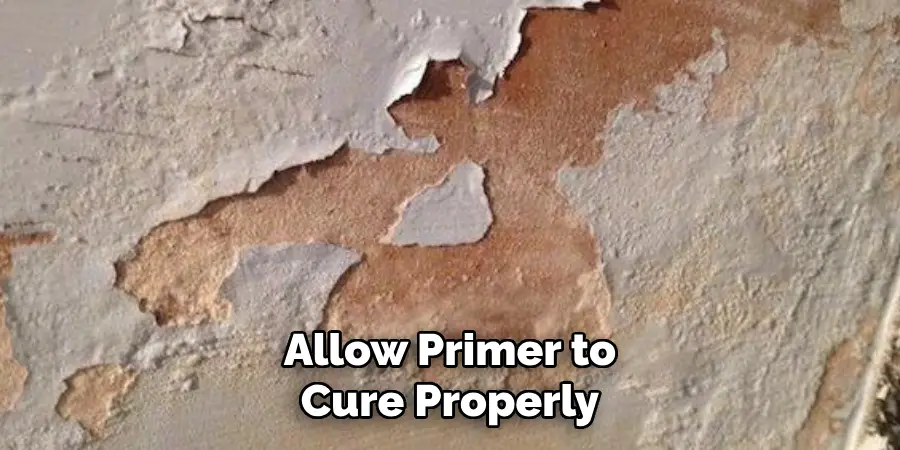
3. Allow Primer to Cure Properly
After the application, it is vital to let the primer cure fully before proceeding with painting. Each primer comes with specific instructions regarding drying and curing times, so it is important to follow these carefully to ensure optimal results. Typically, the primer should be allowed to dry for at least 24 hours, although this may vary based on the product and climatic conditions. Full curing is essential, as it strengthens the primer’s adhesion to the wall surface, providing a solid base for the paint. This step enhances paint adhesion and achieves a long-lasting and visually appealing finish, helping safeguard the wall against further deterioration.
Repairing Any Surface Imperfections
1. Inspect the Wall for Cracks or Holes
After the primer has cured, it is essential to thoroughly inspect the wall’s surface for any cracks, holes, or imperfections that need repair before painting. Begin by visually scanning the entire wall area for visible damage. Enhance this inspection process by using a flashlight held at an angle to the wall; this technique helps to cast shadows and reveal subtle defects that might otherwise be overlooked. A meticulous examination during this stage ensures that you address all potential issues, laying the groundwork for a smooth and professional paint finish.
2. Use Filler or Spackle for Repairs
Once you’ve identified any cracks or holes, apply spackle or a high-quality filler to repair them. Use a putty knife to apply the filler, pressing firmly to ensure it fully penetrates and fills each crack or void. Smooth the surface with the knife’s edge, removing excess material to create an even finish. Allow the filler to dry completely as per the manufacturer’s instructions. After drying, gently sand the repaired areas using fine-grit sandpaper to blend them seamlessly with the surrounding surface. This careful preparation not only enhances the appearance of the wall but also provides an ideal base for the next paint application, resulting in a flawless and long-lasting finish.
Painting the Treated Wall
1. Choose a Quality Paint
Selecting the right paint is essential to achieving a professional finish on previously chalky or powdery surfaces. Opting for high-quality paint with strong adhesion properties is recommended to ensure that it bonds effectively with the treated wall. Look for paints that come with a built-in primer, as these provide additional bonding strength, making them ideally suited for surfaces that have been problematic in the past. These paints can prevent future issues such as peeling or chalking, ensuring a durable and lasting finish. Always consult paint experts or reviews to find the best-suited product for your specific needs.
2. Apply Multiple Thin Coats
For optimal results, apply two to three thin coats of paint rather than one thick coat. This technique promotes better coverage and durability, preventing the finish from becoming too heavy and prone to cracking or peeling. Start by applying a thin, even coat using a high-quality roller or brush, ensuring that you follow the wall’s contours and edges to prevent streaks or uneven texture. Allow each coat sufficient time to dry completely before applying the next; this interval is crucial for ensuring proper adhesion and enhancing the paint’s bonding abilities. Building up the paint layers gradually ensures a resilient and attractive finish.
3. Inspect for Even Coverage
Once the final coat has been applied and dried, carefully inspect the painted surface to check for any uneven spots or areas where old residue may still show through. Use a consistent light source to illuminate the walls from different angles, as this can help reveal inconsistencies or patches that might require additional attention. Be prepared to execute touch-ups by applying additional paint to any detected imperfections, ensuring all areas are uniformly covered. This final inspection is key to achieving a flawless finish, providing visual appeal and securing the wall’s long-term health. By adhering to these guidelines, you can enjoy a smooth, vibrant paint job that withstands the test of time.
Preventing Future Powdery Wall Problems
1. Proper Ventilation to Control Humidity
Maintaining proper ventilation in rooms susceptible to high moisture levels, such as bathrooms and basements, is crucial for preventing future powdery wall issues. To achieve optimal air quality, consider installing exhaust fans or employing dehumidifiers to regulate humidity levels. Exhaust fans are particularly effective in removing excess moisture from the air, while dehumidifiers can help maintain a consistent dry environment by reducing overall humidity. Opening windows and doors when possible also encourages air circulation, further aiding in moisture control. By addressing humidity proactively, you can significantly reduce the risk of wall deterioration.
2. Use High-Quality Paints and Primers
Investing in high-quality paints and primers ensures long-lasting protection against wall problems like chalking. These products are specifically formulated for durability and adhesion, providing a reliable shield against environmental stressors. High-quality paints often contain added binders that enhance surface bonding, reducing the likelihood of peeling or powdering over time. Choosing paints with built-in primers also enhances the coating’s effectiveness, making them suitable for previously problematic surfaces. The upfront cost of these superior materials can result in savings and reduced maintenance needs in the long term.
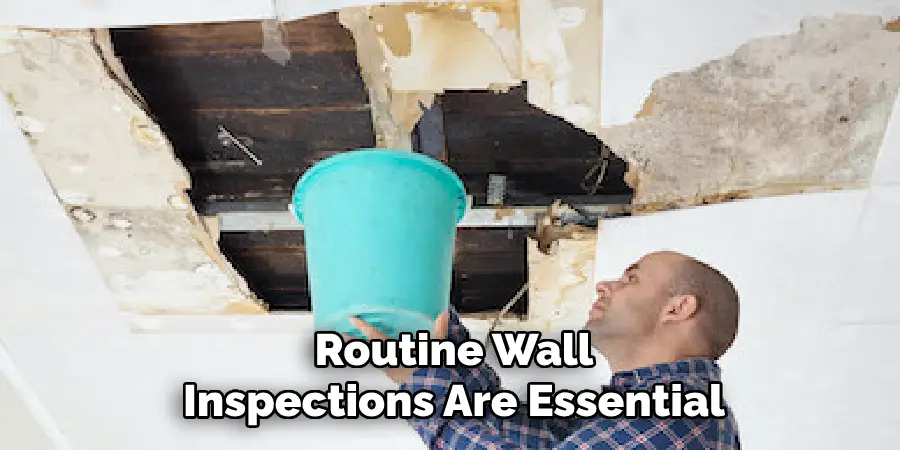
3. Regular Maintenance and Inspection
Routine wall inspections are essential for identifying early signs of powdering and addressing potential issues promptly. Conduct a visual check of the walls at least twice a year, paying special attention to areas with previous problems. Clean your walls gently with a soft cloth and mild soap solution to avoid compromising the paint’s integrity; harsh chemicals should be avoided as they can degrade the finish. Regular maintenance preserves the wall’s appearance and contributes to its longevity, averting costly repairs by catching issues early.
Conclusion
In conclusion, understanding how to treat powdery walls involves a few critical steps: thorough cleaning, priming with quality products, repairing imperfections, and applying multiple thin coats of high-quality paint. Each step is vital in ensuring the wall’s durability and aesthetic appeal. Following these methods, regular maintenance and proper ventilation will lead to long-lasting results and prevent future problems. By adhering to these guidelines, homeowners can confidently address any issues, achieving a smooth and visually appealing finish. Tackle your powdery walls with assurance using these tested techniques and reliable materials.
About
Angela is the chief editor of Indoorense. She began her career as an interior designer before applying her strategic and creative passion to lifestyle and home.
She has close to 15 years of experience in creative writing and online content strategy for housekeeping and cleaning,home decorations as well as other efforts.
She loves her job and has the privilege of working with an extraordinary team. She lives with her husband, two sons, and daughter in Petersburg. When she’s not busy working she spent time with her family.