

Are you looking for a way to breathe new life into your window fan? Cleaning it can help it run more efficiently and extend its lifespan, plus give it an aesthetic boost. Window fans provide both cooling and air circulation during the hot summer months, making them a great addition to any home. But while they make a convenient choice when it comes to cooling down your living space, like any other appliance, they need regular cleaning and maintenance in order to keep running properly.
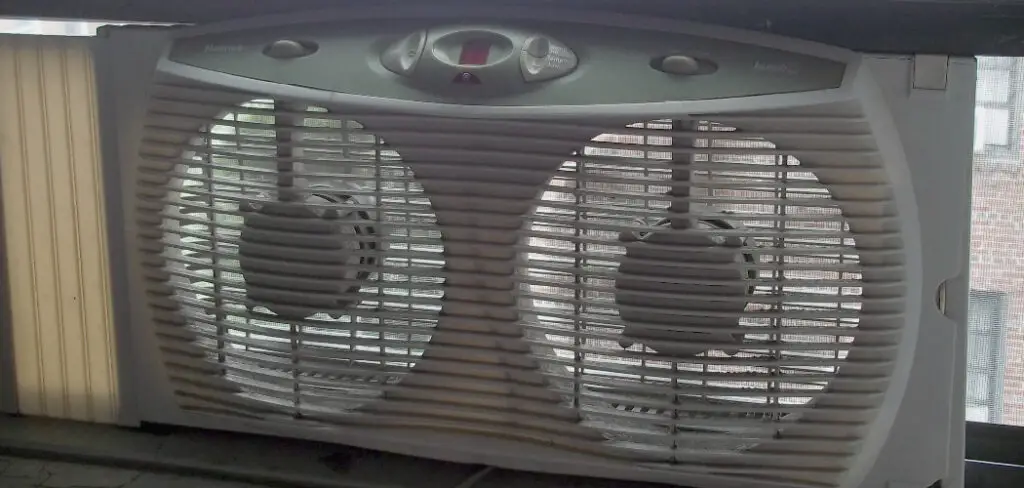
Whether your goal is to get rid of dust or simply freshen up an old fan blade or two, these simple instructions will help transform your window fan into something that can be proudly displayed on a mantelpiece.
In this blog post, we’ll walk you through the steps of how to clean a window fan effectively – so your pieces will look as good as new!
What Will You Need?
Before you get started, make sure you have the following items close by:
- Vacuum with a brush attachment
- Soft cloths
- Mild detergent or window cleaner
- Bucket of warm water
Once you have all the necessary items, it’s time to begin.
10 Easy Steps on How to Clean a Window Fan
Step 1: Unplug the Fan
The first and most important step to cleaning a window fan is to unplug it before you begin. This will help prevent any accidental electrocution. If you have a fan with multiple wings, be sure to unplug each wing separately.
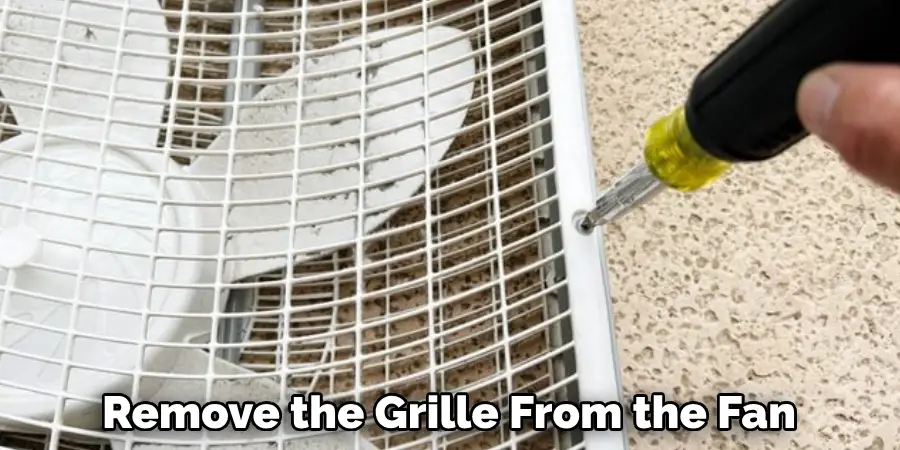
Step 2: Remove the Grilles
The next step is to remove the grille from the fan and set it aside. Most window fans have two levels of grilles, one on the front and one on the back. To remove them, use a flathead screwdriver or butter knife to pry off the screws that hold them in place carefully. Once you’ve removed both grilles, make sure they’re set aside in a safe place that won’t get damaged during cleaning.
Step 3: Vacuum Away Dust and Debris
Once the grilles are off, use your vacuum with the brush attachment and go over the fan blades to remove any dust, dirt, or debris that has accumulated on them. Ensure you also vacuum around the motor housing and get into all the crevices where dirt can hide. You can also use a damp cloth to wipe away any additional grime stuck onto the fan blades.
Step 4: Clean Grilles
Now it’s time to clean the grilles. Fill a bucket with warm water and add a few drops of mild detergent or window cleaner. Dip a soft cloth in this solution and wipe down both sides of each grille, ensuring they’re free of any residue or buildup. Once done, rinse off with a clean cloth dipped in plain water. Allow grilles to air dry before putting them back in place.
Step 5: Clean the Fan Blades
Once the grilles are dry, you can now move on to cleaning the fan blades. You’ll want to use a soft, bristled brush or damp cloth with soapy water to remove any remaining dirt and debris. Use caution when cleaning the blades, as they might be sharp. When you’re finished, make sure the fan blades are dry before putting them back into place. Once everything is dry, you can put the fan back together and enjoy a fresh breeze.
Step 6: Dry Enclosure
Use a soft, dry cloth to wipe down and dry all your fan’s enclosure surfaces, including inside, where dust can sometimes build up. Pay special attention to any crevices that may have been missed during vacuuming. You can also use a damp cloth to wipe away any dust that may have remained lightly.
Step 7: Reinstall Grilles
Now it’s time to put the grilles back in place. Place them over the fan blades and carefully screw them back into position. Make sure they are securely fastened before moving on to the next step.
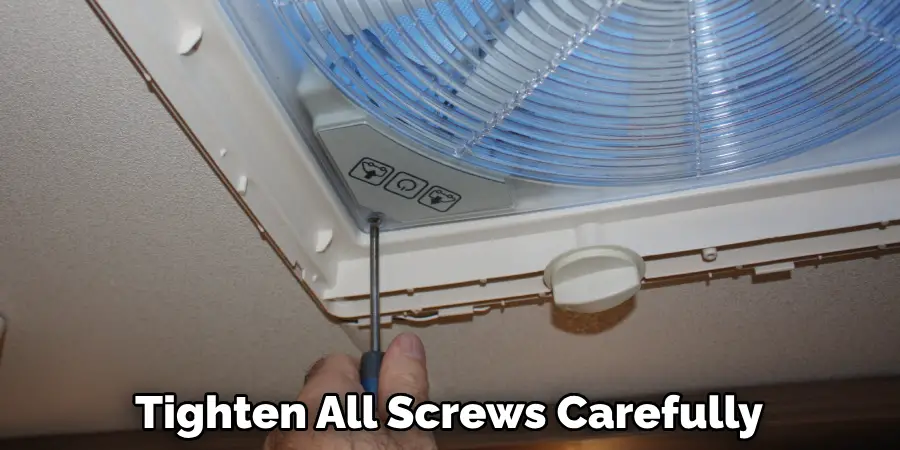
Step 8: Tighten the Screws
Once both grilles are in place, use a flathead screwdriver or butter knife to tighten all screws carefully. This will help ensure that the grille is secure and won’t come off during use. Be careful not to overtighten the screws, which could damage the fan.
Step 9: Test Fan
Before you plug your window fan back into its power source, make sure to test it out first. Turn the fan on low and let it run for a few minutes to ensure it works properly. Ensure that the fan blades are spinning correctly and no abnormal noise comes from the motor.
Step 10: Plug In and Enjoy
Now you can plug your window fan back in and enjoy the cool air! With regular cleaning and maintenance, your window fan should remain in good working order for many years to come. Remember, cleaning your window fan regularly is important to keep it working efficiently and looking its best.
By following these simple steps, you can easily learn how to clean a window fan and keep it running like new. Enjoy the fresh breeze! Good luck with your cleaning project – we hope you found this guide helpful!
5 Additional Tips and Tricks
1. Unplug the window fan before cleaning it. This is for your own safety and to prevent electric shocks or damage to the appliance.
2. Use a gentle cleaner on the fan blades, such as a mild soap or detergent solution, and a soft cloth or brush. Make sure to rinse off all of the soap residues with water when you are done so that it does not build up over time and cause harm to the motor inside of the fan.
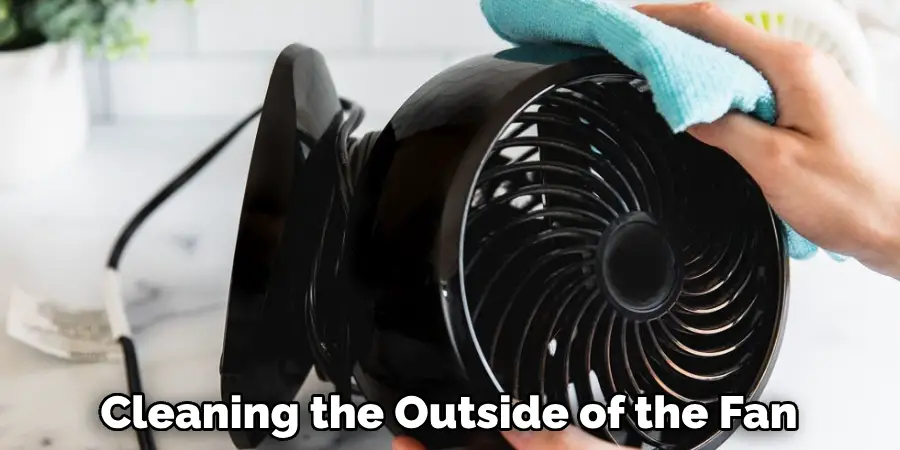
3. When cleaning the outside of the fan, make sure not to use any abrasive cleaners, as this could damage its plastic casing. Instead, opt for a gentle cleaner like glass cleaner or an all-purpose spray cleaner.
4. Once in a while, take apart your window fan and clean out the dirt and dust that has built up in its crevices. This will help keep your fan running efficiently and reduce the risk of fire should there be any sparks or static electricity buildup.
5. When storing your window fan for extended periods, wrap it in a cloth to protect it from dust and debris. Taking care of your appliance now will save you time and money in the long run!
By following these simple steps, you can make sure that your window fan is always in great condition and operating at peak performance! With a little bit of maintenance, your window fan should give you years of reliable use.
6 Things You Should Avoid
- Don’t use harsh chemicals on the fan blades, as these can corrode or damage them.
- Avoid using abrasive cleaners on the plastic casing of the fan.
- Don’t leave the window fan plugged in when you are cleaning it to prevent electric shocks or damage to the appliance.
- Keep flammable materials away from your window fan to reduce any risk of fire in case sparks should occur when it is running.
- Never leave your window fan outside for extended periods, as this could cause it to rust and stop working properly! Make sure to store it indoors whenever possible, preferably wrapped in a cloth for added protection against dirt and debris.
- Don’t forget to take apart your window fan every now and then for a deep clean. This will ensure the best performance and help extend its lifespan.
By avoiding these common mistakes, you can keep your window fan in top shape and ensure that it lasts a long time! With the proper care and maintenance, your window fan should provide many years of reliable service.
What Happens if You Don’t Clean Your Fan?
If you don’t clean your window fan, it can become clogged with dirt and dust, reducing its efficiency and effectiveness. Over time, this build-up of dirt and dust can even cause the motor to overheat or spark, leading to a potential fire hazard. Furthermore, a dirty fan is more likely to break down sooner than a properly maintained one.
To avoid these risks, be sure to give your window fan regular cleanings so that it stays in good condition! With proper care and maintenance, your window fan should give you years of reliable use.
Conclusion
It’s important to regularly clean your window fan in order to keep it running effectively and safely.
Following these simple steps on how to clean a window fan will help ensure that your window fan continues to work efficiently and last for many years. Furthermore, gathering the necessary materials beforehand makes your cleaning job much easier.
Ultimately, taking good care of your window fan can save you from costly repairs or replacements in the future. Plus, cleaning a window fan is a great tactile activity and can be used as motivation for young children who enjoy making crafts. Encourage them to make a ‘window-fan-cleaner’ out of household objects like cardboard tubes and pieces of string.
Making art out of basic materials is a great way to make any routine chore fun!
About
Angela is the chief editor of Indoorense. She began her career as an interior designer before applying her strategic and creative passion to lifestyle and home.
She has close to 15 years of experience in creative writing and online content strategy for housekeeping and cleaning,home decorations as well as other efforts.
She loves her job and has the privilege of working with an extraordinary team. She lives with her husband, two sons, and daughter in Petersburg. When she’s not busy working she spent time with her family.