
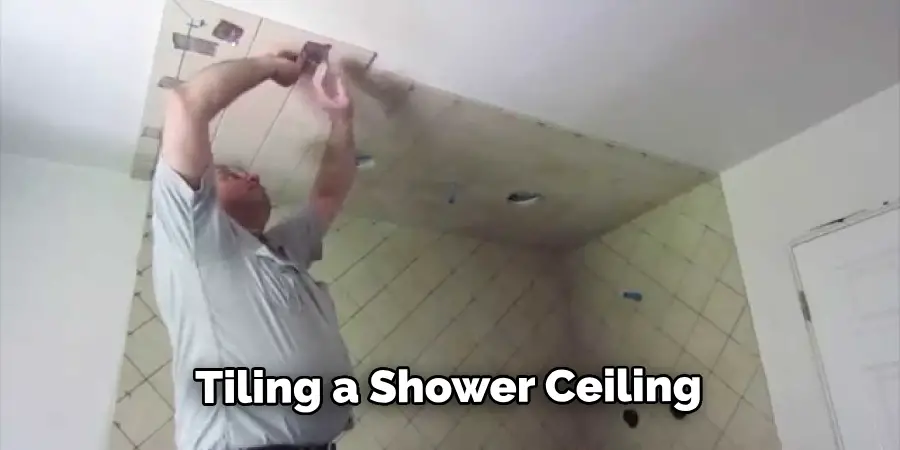
Do you want to give your bathroom an added touch of luxury? One way to do that is by tiling the shower ceiling. It can be a tricky task due to the awkward angles and height, but with the right instructions and knowledge, you’ll be able to tile a perfect shower ceiling in no time! Keep reading for our comprehensive guide on how to tile a shower ceiling so that you can make the most out of your DIY project.
11 Step-by-step Guidelines on How to Tile a Shower Ceiling
Step 1: Gather All the Necessary Materials and Tools
This includes:
- Tiles and Grout
- Tile Saw
- Notched Trowel
- Level
- Grout Float
- Sponge
- Bucket of Water
- Paper Towels
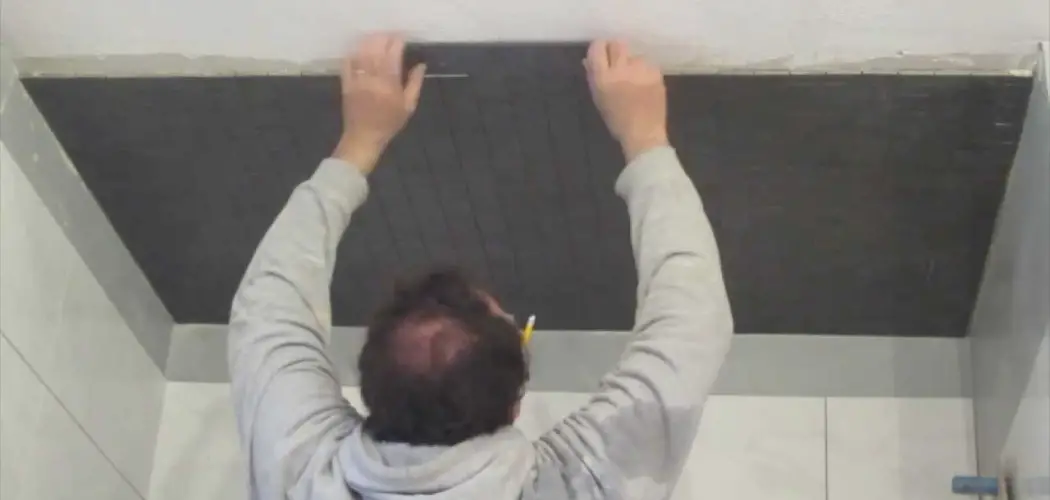
Step 2: Measure and Mark the Area
Make sure to measure twice, and cut once! It’s important to measure the area where you’ll be tiling and mark it with a pencil. This will ensure that your tiles are placed perfectly and evenly throughout the shower ceiling. It also helps to draw a few imaginary lines on the ceiling so you can plan out where your tiles will go. But be sure not to mark with a permanent marker as this can be difficult to remove once the tiles are installed.
Step 3: Cut Out Tiles as Needed
If necessary, use a tile saw to cut out any extra tiles for hard-to-reach areas or awkward corners. Make sure to wear safety glasses and gloves when cutting the tiles. It’s also important to take accurate measurements and keep the cuts as even as possible. This will ensure that the tiles look uniform and professional once they are installed. You can also use a wet saw to make cuts easier and smoother.
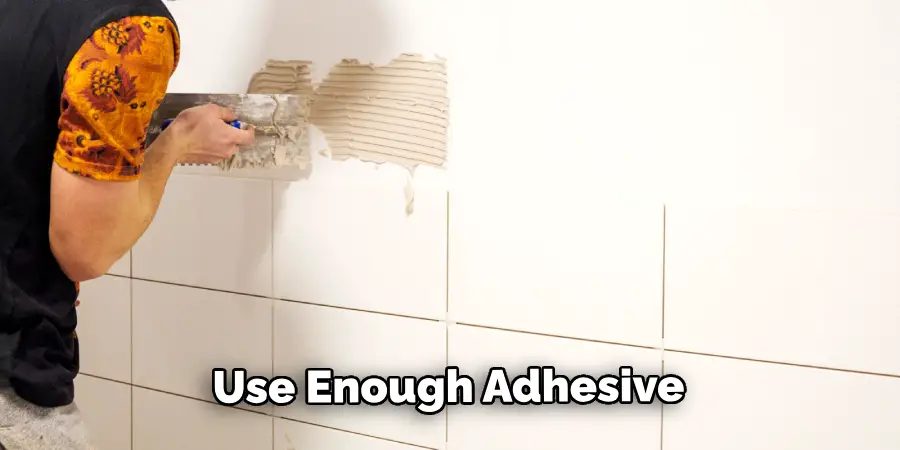
Step 4: Apply Adhesive to the Ceiling
Using a notched trowel, spread tile adhesive onto the ceiling where you plan on placing the tiles. Use enough adhesive so that it will hold all of your tiles in place without slipping or sliding. Make sure to apply the adhesive in an even and consistent way so that the tiles won’t be lopsided when you are done.
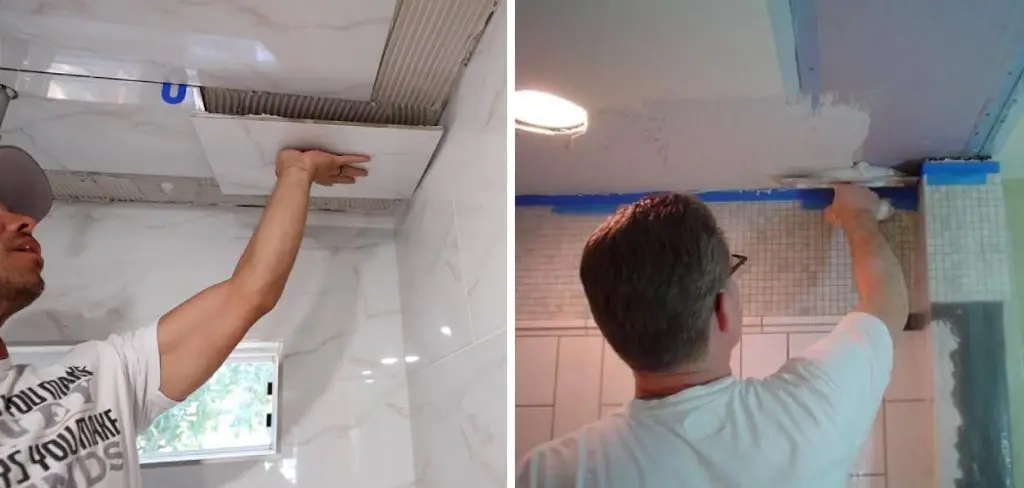
Step 5: Place Tiles on the Ceiling
Make sure to place tiles in a pattern that you like before pressing them onto the mortar. It’s also important to ensure that there is sufficient space between each tile for grout later on. You can use a level to make sure that the tiles are even and aligned correctly. It’s important to press each tile down firmly in order to ensure that it has adhered properly.
Step 6: Let Mortar Dry
After all of the tiles have been placed, it’s important to let the mortar dry completely. This could take up to 48 hours, so be sure to follow the instructions on your mortar packaging. But once the mortar has completely dried, it’s time to move on to the next step. If you skip this step, it could cause your tiles to come loose from the ceiling.
Step 7: Grout the Tiles
Mix grout according to directions, then spread it over tiles with a rubber float. Be sure to scrape off any excess grout before it dries. You can also use a sponge to wipe down the tiles and remove any remaining grout residue. But make sure not to press too hard, as this can damage the tiles. Once finished, let the grout dry for at least 24 hours before using your shower.
Step 8: Seal the Grout
When the grouted area has completely dried, it’s time to seal them with a grout sealer. This will help protect them from water damage and help keep them looking like new. It’s important to read the instructions thoroughly before applying a sealant, as different types of grout require different kinds of sealers. However, applying grout sealer is fairly simple and should take no more than a few minutes.
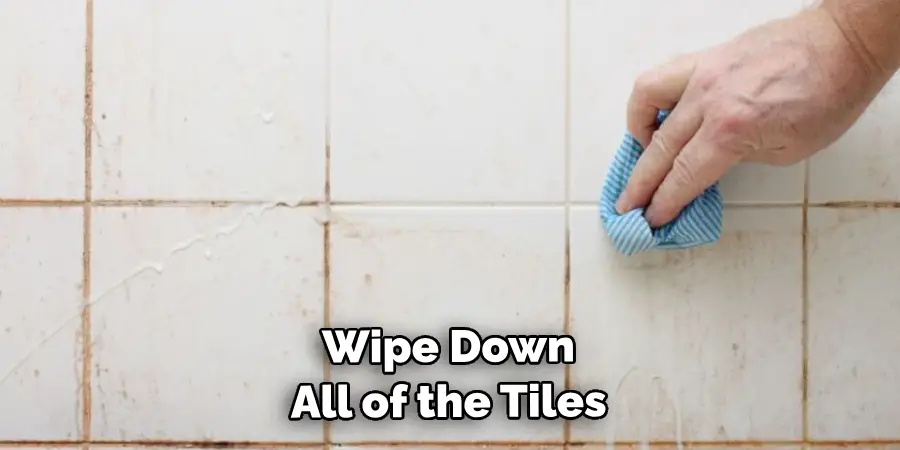
Step 9: Clean the Tiles
Using a damp sponge, wipe down all of the tiles so that they are clean and free of any dirt or debris. It’s also important to make sure that the tiles are free of any adhesive or grout residue, as this can affect the look and longevity of your tiles. It’s also a good idea to use a mild detergent and water solution when wiping down the tiles to ensure that they are cleaned properly.
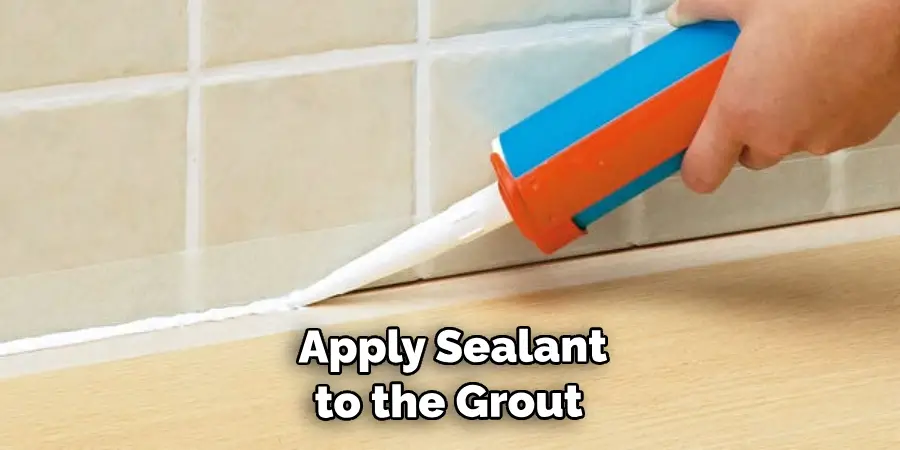
Step 10: Seal the Grout
Sealant needs to be applied to grout so that it is waterproof and protected. Make sure to follow the instructions on your sealant packaging. This is important to ensure that your grout remains in good condition and won’t crack or break over time. It’s also important to avoid using sealants that contain strong chemicals, as these can be damaging to both the tiles and the grout.
Step 11: Enjoy Your Finished Product!
After all of these steps, you can now enjoy the finished product! You’ll be able to admire your hard work every time you step into the shower. Always remember to clean and maintain the tiles regularly in order to keep them looking like new. With proper care, your shower ceiling should last for years to come! Although the process may seem intimidating at first, just follow these steps and you’ll have a stunning shower ceiling in no time!
And there you have it – a complete guide on how to tile a shower ceiling. We hope that this has been helpful and that you can now embark on tilting your own shower ceiling with confidence. Happy tiling!
Troubleshooting Tips
- Make Sure That All of the Tiles Are Level and Evenly Spaced Before Beginning the Process.
- Take Your Time When Cutting the Tiles and Make Sure to Use a Tile Saw for Any Difficult Areas.
- It’s Important to Let Both the Mortar and Grout Dry Completely Before Continuing to the Next Step.
- Wipe Down All of the Tiles With a Damp Sponge So That There is No Dirt or Debris Left Behind.
- Be Sure to Apply Sealant to the Grout So That It is Waterproof and Protected.
Now that you know how to tile a shower ceiling, you can start your project and enjoy the results of your hard work! It may be time-consuming and require some DIY skills, but it’s worth the effort in the end. With this comprehensive guide as your source of information, you’ll be able to tile a perfect shower ceiling in no time. Good luck!
Do you have any tips or tricks for tiling a shower ceiling? Let us know in the comments below! We’d love to hear from you and see how your project turned out. Happy tiling
Frequently Asked Questions
Q: How Long Does It Take to Tile a Shower Ceiling?
A: It can take anywhere from one day to two days, depending on the size and complexity of the project. Make sure to plan ahead and give yourself enough time for tiling.
Q: What Tools Do I Need to Tile a Shower Ceiling?
A: The tools you’ll need include: tiles and grout, a tile saw, a notched trowel, level, grout float, sponge, a bucket of water, and paper towels.
Q: How Long Does the Grout Take to Dry?
A: It can take up to 24 hours for the grout to dry completely. Make sure to follow the instructions on your grout packaging and give it enough time before proceeding to the next step.
Q: Do I Need to Apply Sealant After Grouting?
A: Yes, it’s important that you apply sealant to the grout after it has been applied. This will ensure that it is waterproof and protected from any outside elements. Make sure to follow the instructions on your sealant packaging.
Tiling a shower ceiling may seem like a daunting task, but with the right steps and knowledge, you can achieve a beautiful tiled ceiling in no time. With this comprehensive guide, you’ll be able to tile the perfect shower ceiling and complete your DIY project with ease! Good luck, and happy tiling!
Conclusion
Tiling a shower ceiling doesn’t have to be a daunting task. With some patience, the right tools and materials, and careful preparation of your space, you can create a look that you’ll love in no time. When it comes to DIY projects like tiling, practice makes perfect; take your time and pay close attention to detail for the best results.
Keep in mind that areas such as shower ceilings are prone to large amounts of moisture buildup which can ruin your new tile job if not taken care of properly. By following sound installation steps, you should be able to achieve an attractive and professional-looking shower ceiling with minimal difficulty and stress. With any luck, this article has provided enough information necessary for approaching this project safely and effectively. Best of luck with your tiling endeavors! Thanks for reading this article on how to tile a shower ceiling.
About
Angela is the chief editor of Indoorense. She began her career as an interior designer before applying her strategic and creative passion to lifestyle and home.
She has close to 15 years of experience in creative writing and online content strategy for housekeeping and cleaning,home decorations as well as other efforts.
She loves her job and has the privilege of working with an extraordinary team. She lives with her husband, two sons, and daughter in Petersburg. When she’s not busy working she spent time with her family.