

Are you trying to determine how to take apart your Shark vacuum handle? Don’t worry; it’s not as complicated as it might seem! In this blog post, we’ll be providing a step-by-step guide on how to safely and easily break down the handle of your Shark vacuum.

From figuring out which screws need to come off first, all the way through reassembling the handle after everything is done – we’ve got you covered. So don’t despair – just follow our instructions on how to take apart shark vacuum handle, and you should have no problem getting your shark back up and running quickly!
Can You Wash the Shark Handheld?
Yes, you can wash the Shark handheld. Unplug the device and remove all detachable parts. Use warm water and soap or mild detergent to clean the outside surface of the unit. Dry it with a soft cloth or let it air dry before reassembling and using it again. Avoid submerging the device in any liquid, as it could damage the internal components.
Additionally, use caution when cleaning around any of the electrical parts to prevent water from entering and damaging them. Make sure all parts are completely dry before you put them back together and plug them back in.
Finally, don’t forget to check the filters to make sure they are also clean and free of dirt or debris. Regular cleaning and maintenance of your Shark handheld will help ensure its maximum performance and longevity.
Enjoy the convenience and power of your Shark handheld vacuum cleaner! With proper care and regular cleaning, it should give you years of trouble-free service.
10 Methods on How to Take Apart Shark Vacuum Handle
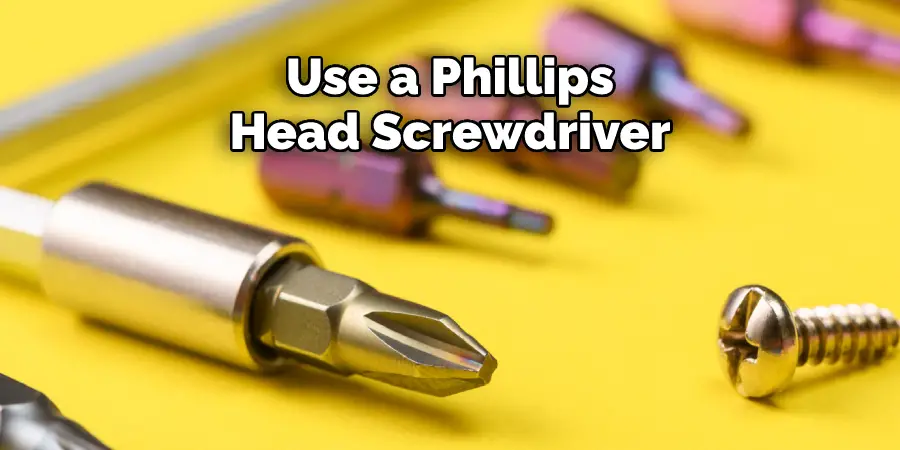
1. Using a Phillips Head Screwdriver:
Unscrew the screws from both sides of the handle. Be careful not to strip the screws or damage any surrounding surfaces. If they are very tight, use some lubricant or a pair of pliers to loosen them. However, be sure to use caution when doing so.
2. Disconnect the Handle Assembly:
Once the screws have been removed, disconnect the handle assembly. This will allow you to easily access and remove any internal components or wiring. If there are any pieces of plastic or metal that need to be removed, do so with care. You may also want to check for any signs of wear or damage that could signal a need for replacement parts.
3. Separate Connected Parts:
If the handle is connected to any other parts, such as a hose, cord wrap, or dust cup, carefully separate these pieces and set them aside for later reassembly. This can be done by gently pulling on the connection points and wiggling the pieces apart.
Some models may require more force than others, so always be careful and proceed slowly. Once the handle has been separated from all connected parts, it is ready to be taken apart.
4. Unplug Wiring Harness:
Locate and unplug the wiring harness. Pay attention to make sure that all wires are properly disconnected before proceeding. If the wires are difficult to disconnect, you may need to use pliers or a flathead screwdriver.
Be sure to take note of the position of the wires before disconnecting them. This will make it easier to reassemble them once you are finished. Although it may seem tedious, taking the time to do this step now will save you a lot of hassle later on.
5. Remove the Top Cover:
Carefully remove the top cover and set it aside for later reassembly. Make sure to take note of the exact placement of any screws or other components before removing them. If possible, take digital photos of the process. However, make sure your photos are in focus and that the lighting is adequate to clearly see the parts.

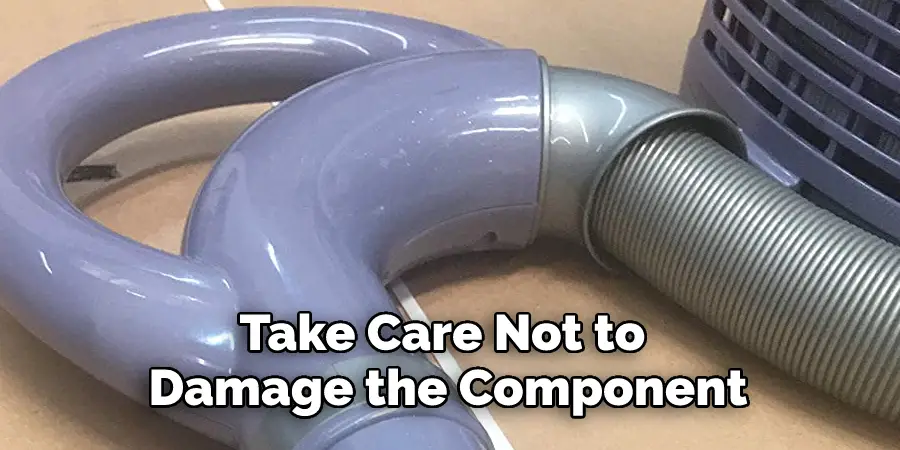
6. Disconnect the Hose from Main Unit:
Carefully disconnect the handle from the main unit by pulling apart the hose that connects them together. Be careful not to damage or rip any surrounding material in the process.
However, if the hose does tear, there are replacement hoses available for purchase. While pulling apart the hose and main unit, make sure to note where each piece of the handle attaches. This will help when reassembling the vacuum.
7. Remove Any Internal Components:
If there are any internal components, such as dust filters or crevice tools, carefully remove them from their slots and set them aside for later reassembly. If they are stuck, gently pry them away with a flathead screwdriver. Be sure to take care not to damage the component or its slot when doing so. Once the internal components have been removed, the handle should be almost entirely disassembled. Make sure to keep track of all the components and their positions so that they can be reassembled later.
8. Remove Any Wires and Cables:
Check to make sure all wiring, cables, or hoses are properly disconnected before proceeding. If any wires or cables remain in the handle, carefully remove them as well. Once all wires and cables have been disconnected, take a moment to inspect the handle for any damage or wear.
If parts are broken or rusty, it may be time to replace the handle. Make sure to also check that all screws have been removed and any other components are unscrewed before proceeding. Although it may be tempting to try and force components out, it is not recommended as this could result in permanent damage.
9. Put Handle Back Together:
Once everything has been removed from the handle, it’s time to start putting it back together again. Start by replacing any internal components that were previously removed and then reconnecting the wiring harnesses and other cables or hoses. Make sure everything is securely connected before moving on to the next step.
Reattach the handle cover using the screws that were previously removed. Once everything is back in place, it’s time to test out your work. Turn on the Shark Vacuum and see if you successfully took apart the handle and put it back together again. If everything seems to be working as normal, give yourself a pat on the back for a job well done!
10. Reattach Cover:
Finally, place the top cover back onto the handle and secure it with the screws that were previously removed. Try to avoid over-tightening the screws, as this may cause damage to the handle. Once all screws are in place, you should be left with a handle that looks like new and functions as normal.
By following the steps outlined above, you should have successfully taken apart the Shark Vacuum handle and reassembled it without any damage or wear. Now that you know how to take apart the handle, you can easily perform maintenance or repairs when needed. Plus, breaking down and reassembling the handle on a regular basis can help to keep your vacuum running smoothly and efficiently. Good luck!
Things to Consider When Taking Appart Shark Vacuum Handle
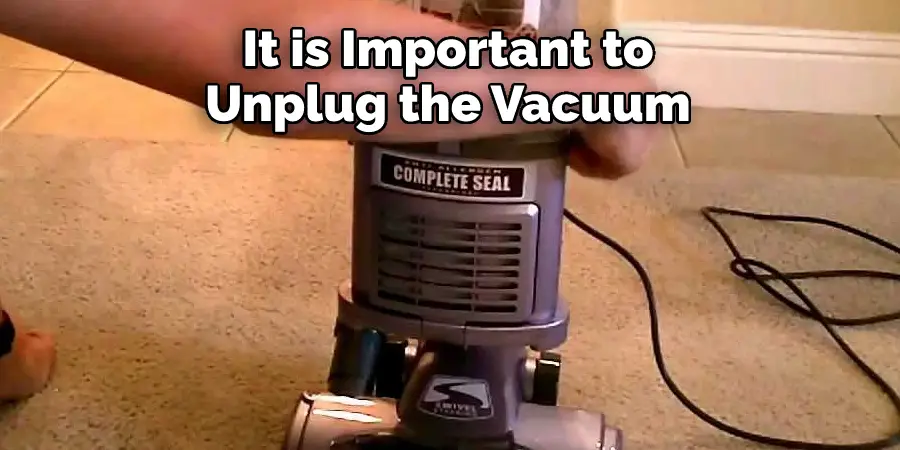
1. Unplug the Vacuum:
It is important to unplug the vacuum before beginning any repairs or maintenance. This will help avoid electric shock or other potential hazards.
2. Have Replacement Parts Ready:
You should have all the necessary parts on hand before attempting to disassemble the handle. Parts such as O-rings, screws, nuts, bolts, and washers may be needed to replace worn or broken components.
3. Gather Necessary Tools:
You will need a variety of tools depending on the type of handle being taken apart. Common items include a screwdriver, pliers, metal files, wire cutters, and an adjustable wrench.
4. Inspect Parts:
Before attempting to disassemble any part of the vacuum handle, looks it over carefully for signs of wear or damage. If something looks wrong it is best not to proceed until the problem has been identified and fixed.
5. Take Photos:
Taking photographs along the way can help ensure that all parts are put back in their correct places. This can also help reduce the amount of time spent on reassembly.
6. Document All Steps:
Documenting each step as it is taken apart can help save time and effort when it comes to reassembly. It also helps identify any parts that may be missing or need replacing.
7. Replace Parts as Necessary:
If a part needs to be replaced, do so with an exact replica of the original part. Using a different type of part could cause damage to the handle or other components.
You Can Check it Out Vacuum Hand Knotted Wool Rug
Conclusion
Now that you understand how to take apart shark vacuum handle, you can easily keep your vacuum cleaner in good working condition. By regularly taking apart the handle and cleaning it, you will extend the life of your vacuum and save money in the long run.
Plus, it’s really not that difficult once you know what to do! So next time your shark vacuum isn’t working as well as it should be, don’t hesitate to take a look at the handle – it just might be the problem.
Rick is a handyman who grew up helping his dad with his business. He learned a lot from him about how to fix things, and also about how to work hard and take care of business. These days, Rick is still into fixing things- only now, he’s doing it for a living.
Rick is always looking for new ways to help people grow and develop. That’s why he started contributing to this blog: to share all his experience and knowledge so that he can help people who are interested in DIY repair.