
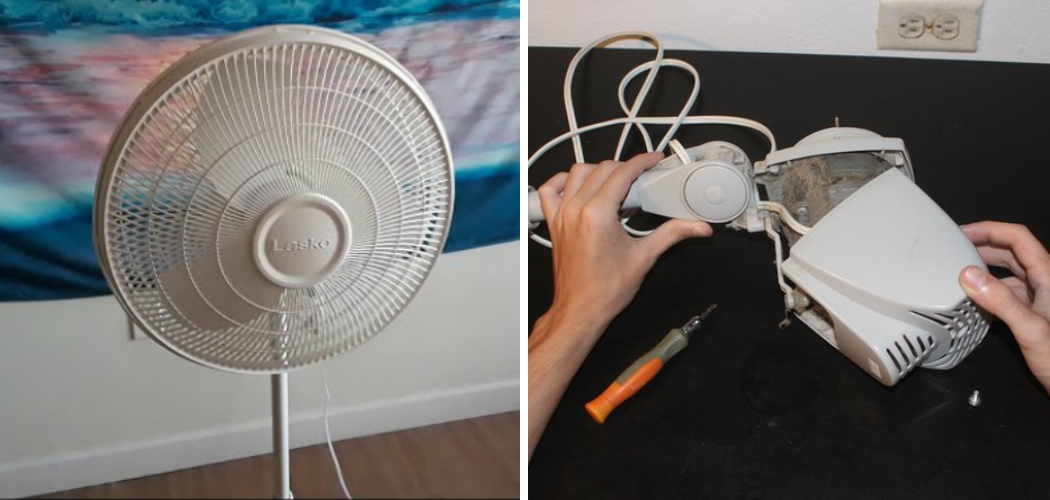
Do you have an old Lasko standing fan that needs a bit of TLC? Taking apart your Lasko fan doesn’t require any special tools, but it does need patience and attention to detail. In this blog post, we’ll walk through all the steps required to safely take apart your fan so you can inspect or replace parts like grills or filters. We’re here to help make the process as stress-free as possible for you with our easy step-by-step guide!

Taking apart and cleaning the parts of your fan can be a daunting task, however with proper guidance and instruction it doesn’t have to be. Knowing how to disassemble even something as seemingly simple as a standing fan will open up many possibilities when it comes to making repairs or upgrading the components inside. In this blog post we’ll take an in-depth look at how to take apart a lasko standing fan so that regardless of any issues you may be facing, you know exactly what needs doing!
Why May You Want to Take Apart a Lasko Standing Fan?
1 . To Replace Parts
You may want to take apart your Lasko standing fan if certain parts start malfunctioning. You can replace the faulty components with new ones and restore the fan’s original efficiency. It is important to use only genuine Lasko parts when replacing components in order to ensure the proper functioning and maximum durability of the product.
2 . To Clean the Fan
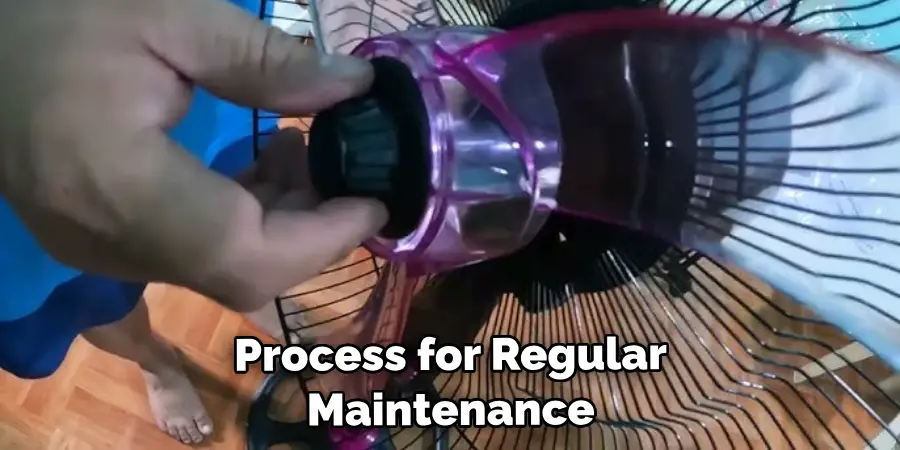
Another reason why you might want to take apart your fan is to give it a thorough cleaning. It is advisable to go through this process for regular maintenance and improved performance of the appliance. Disassembling the fan will help you get into all nooks and crannies, making sure that there is no dust build-up in hard-to-reach places.
3 . To Move the Fan
You may also need to take apart your Lasko standing fan if you are planning on moving it. This will make it easier to transport and reassemble. Taking the fan apart will reduce its volume, allowing you to carry it in more manageable pieces. Additionally, taking the fan apart will protect it from damage during the moving process.
How to Take Apart a Lasko Standing Fan in 7 Easy Steps
Taking apart your Lasko standing fan is not as complicated as you might think. All you need is a screwdriver and some patience to get the job done right. Here are the steps you should follow to take apart your Lasko fan:
Step 1: Gather All The Tools
The very first step is to gather all the tools you need. You’ll need a Phillips head screwdriver, an adjustable wrench and some needle nose pliers if necessary.
Step 2: Find The Screws
Now it’s time to locate the screws on your fan. Most Lasko fans have 6-10 screws that hold the fan together. Look for them at the base of the fan, around the stand and near the handle.
Step 3: Unscrew The Screws
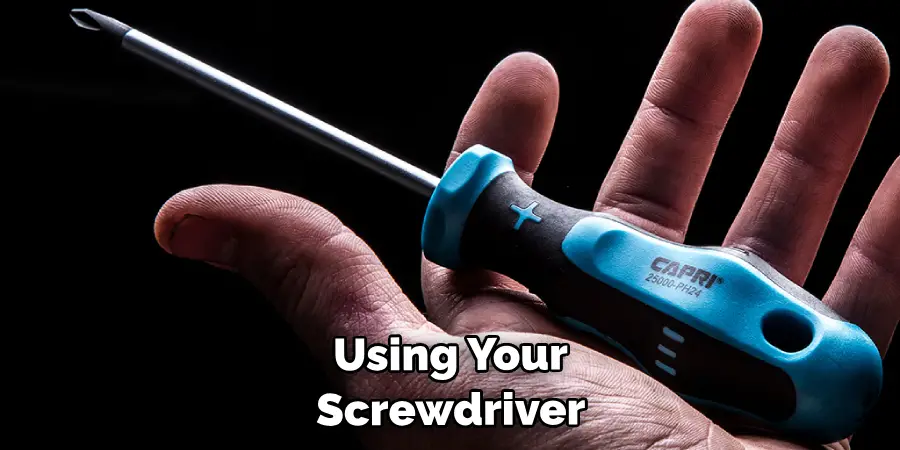
Using your screwdriver, carefully unscrew each one of the screws you found in step 2. Be sure to keep track of how many screws you have removed so you don’t get confused when reassembling later.
Step 4: Remove The Fan Blades
Once all the screws have been removed, you can easily take off the fan blades. Pull each blade out one by one and set them aside for now. Also make sure to check for any screws that might have been hidden underneath the blades.
Step 5: Remove The Stand
The stand should now be easy to remove. Simply pull it out from the main body of the fan and set it aside.
Step 6: Remove The Motor Assembly
Now you’re ready to take apart the motor assembly. Begin by unscrewing the screws that hold the motor in place. Once all the screws have been removed, carefully lift out the motor assembly and set it aside.
Step 7: Reassemble Everything
The last step is to reassemble everything. Simply reverse the steps you took earlier to put your fan back together again. Be sure to tighten the screws properly so that your fan runs smoothly and safely after reassembly.
Congrats! You’ve successfully taken apart and reassembled your Lasko standing fan – all by yourself! Now you can easily disassemble and clean the components whenever necessary without any hassles.
Some Extra Tips to Take Apart a Lasko Standing Fan
1 . Make Sure the Fan is Unplugged and Powered Off
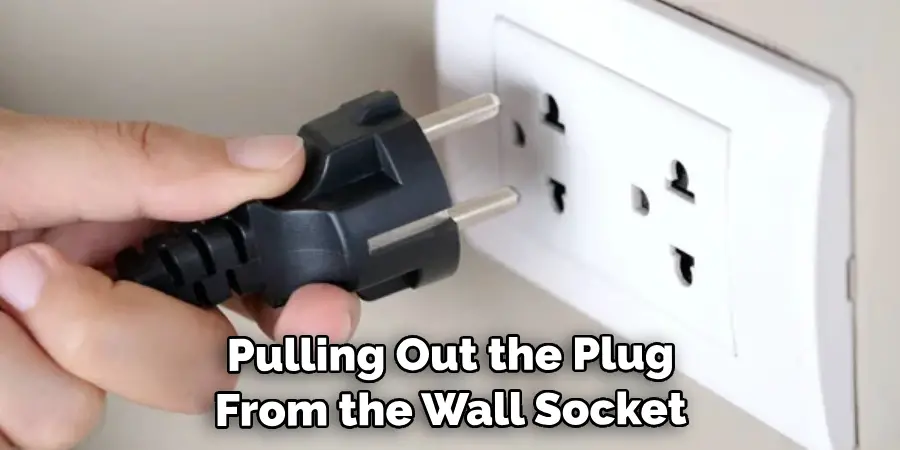
This is a simple safety precaution that should never be overlooked. Even if you’re certain there’s no power to the appliance, it’s always best to make doubly sure by pulling out the plug from the wall socket or switching off its circuit breaker before attempting any type of repair or disassembly.
2 . Start With the Front Grill and Blades
The top cover of a Lasko fan is composed of two parts: a front grill with blades attached to it, and a rear grill for air intake. To access the inner components of your fan, you’ll need to remove these components first. Begin by unscrewing the front grill, which will allow you to access the fan blades. You should be able to easily remove these with a flathead screwdriver or your hands.
3 . Remove the Rear Grill
Once you have removed the front grill and blades, it’s time to move on to the rear grill. This part is typically held in place by several screws, so you’ll need to use a Phillips screwdriver or drill bit to loosen them. Once the screws have been removed, you can easily lift off the rear grill and set it aside.
4 . Remove the Motor Assembly
After you’ve taken apart the front and rear grills, you should be able to access the fan’s motor assembly. Before you attempt to disassemble the motor, make sure to disconnect all of its electrical components first. This will help prevent any damage from occurring while you work on the fan. Once this is done, carefully unscrew the motor and lift it out of its housing.
5 . Dispose of or Recycle Unwanted Parts
At this point, you should have your Lasko standing fan completely taken apart. Before proceeding further, it’s important to dispose of or recycle any unwanted parts such as the motor assembly and electrical components. This will help keep your work area clean and tidy while ensuring that all hazardous materials are handled properly.

6 . Clean and Reassemble the Fan
Now that your fan is taken apart, it’s time to clean any dirt or dust that has collected on its inner components. This can be done using a soft cloth and some mild detergent. Once everything is cleaned up, you can begin reassembling the fan in reverse order of disassembly. Make sure all of the screws and electrical connections are tightened securely before testing the unit out.
7 . Test Your Work
Once you have reassembled your Lasko standing fan, it’s time to power it back on and make sure everything is working correctly. Plug the fan into a wall socket and switch it on. If the fan runs smoothly without any issues, your repair or disassembly was a success! If not, you may need to investigate the issue further.
Remember: it’s important to always take safety precautions when working on electrical appliances like standing fans. Make sure the appliance is unplugged and powered off before beginning any sort of repair or disassembly. Also, never attempt to repair or take apart a fan if you’re not comfortable with the task at hand. If needed, consult an experienced technician for help. With these tips in mind, you should be able to safely and successfully take apart your Lasko standing fan.
Frequently Asked Question
What Precautions Should I Take Before Taking Apart a Lasko Standing Fan?
Before taking apart a Lasko standing fan, you should make sure to unplug it from the wall and turn off all power sources. Additionally, it is important to use appropriate tools for dismantling the fan. You may want to use a Philips-head screwdriver or needle nose pliers depending on the type of fan. Finally, be sure to wear eye protection and gloves when taking apart any electrical device.
How do I Take Apart a Lasko Standing Fan?
The process for taking apart a Lasko standing fan will vary slightly based on the model of the fan you have. Generally speaking, you will need to remove the screws that hold the fan together. Once all of the screws have been taken out, you should be able to carefully lift off the outer cover and reveal the inner workings of your fan. You may need to further unscrew components in order to gain access to certain areas of your fan. Be sure to keep track of the screws and other parts that you are removing in case you need to reassemble them.
Can I Replace Parts on a Lasko Standing Fan?
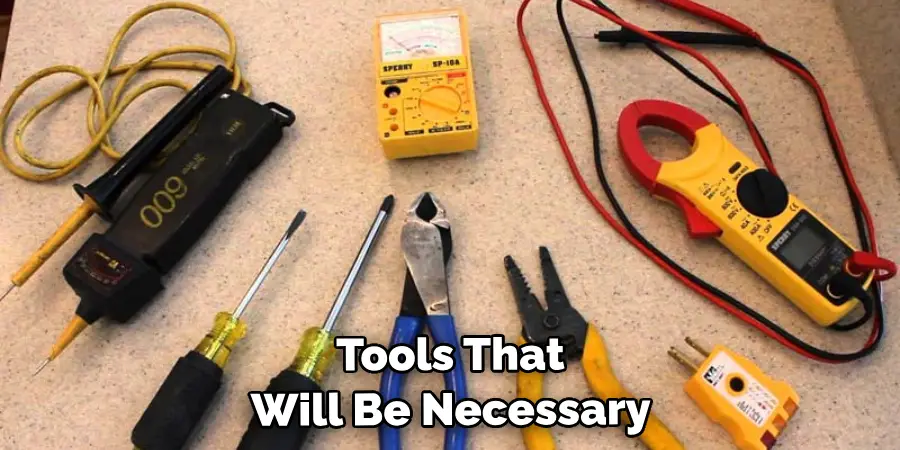
Yes! If you are handy with tools, it is possible to replace parts on a Lasko standing fan. Many common replacement parts can be found online or at hardware stores. Before attempting to replace any parts, be sure you are familiar with the inner workings of your fan and the tools that will be necessary for the job. It is also important to have access to a manual so that you can properly reassemble your fan after replacement. If you do not feel comfortable replacing parts on your own, it is best to contact a professional who is experienced in fan repair.
What Should I Do if My Lasko Standing Fan Needs Professional Repair?
If your Lasko standing fan needs professional repair, you should first contact the manufacturer or an authorized service provider. They may be able to provide detailed instructions on how to fix the issue yourself or offer a repair service. If you are unable to find a solution, you may want to consider purchasing a new fan. This is usually the safest and most cost-effective option.
What Can I Do If My Lasko Standing Fan Is Not Working?
If your Lasko standing fan is not working, it can be difficult to determine the cause of the problem without taking it apart. If you are handy with tools, you may want to try and dismantle the fan yourself in order to troubleshoot any issues. You can then inspect each of the components for signs of damage or wear. In some cases, just cleaning out the fan and replacing worn-out parts can rectify the issue. However, if your attempts at solving the problem are unsuccessful, you may need to contact a professional for help.
Can I Prevent My Lasko Standing Fan From Breaking Down?
Yes! In order to keep your Lasko standing fan running smoothly, it is important to perform regular maintenance. This includes regularly dusting off the fan and cleaning out any debris that has built up on the blades. Additionally, it is important to make sure that all of the screws are securely tightened and that there are no loose wires or other components inside the fan. Finally, be sure to keep an eye on your fan for any signs of damage or wear and tear. If you notice anything unusual, you should contact a professional as soon as possible to avoid any further problems.

Conclusion
Taking apart a Lasko Standing fan is a great way to familiarize yourself with the parts of the fan and get yourself acclimated to taking things apart. You will become more comfortable and confident in making repairs or alterations, which can save you money. Additionally, you will gain an appreciation for how these small appliances work, and it can even be quite satisfying!
Now you know how to take apart a lasko standing fan! But regardless of the motivation, make sure to keep track of all the screws, bolts, shields and other components as you move along; otherwise reassembling them from memory may be challenging. Taking apart a Lasko Standing fan is only as difficult or easy as your dexterity and comfort level allows – if need be – don’t be afraid to take your time. If done with caution and attention, whatever issues or mistakes you had run into should soon be fixed!
You Can Check It Out To Take Apart Shark Vacuum Handle
Rick is a handyman who grew up helping his dad with his business. He learned a lot from him about how to fix things, and also about how to work hard and take care of business. These days, Rick is still into fixing things- only now, he’s doing it for a living.
Rick is always looking for new ways to help people grow and develop. That’s why he started contributing to this blog: to share all his experience and knowledge so that he can help people who are interested in DIY repair.