

Have you ever had the experience of picking up a rock and realizing that it is covered in dirt? It can be frustrating to try and clean the dirt off the rock when all you want to do is admire its natural beauty. When you are digging a hole, especially if it is in rocky soil, you will often find that there are rocks mixed in with the dirt. It can be frustrating to stop every few minutes from removing rock from the hole. In this blog post, we will show you how to sift rocks from dirt so that you can continue digging without interruption.
What Can I Use to Sift Rocks From Dirt?
There are a few different tools that you can use to sift rocks from dirt. The most common tool is a screen or sifter. This is a tool that has a mesh or screen over it. The mesh will allow the dirt to fall through while the rocks stay on top of the mesh. Another tool that you can use is a garden hose. If you have a garden hose with a spray nozzle, you can turn the water onto a low setting and spray the rocks and dirt.
The water will help to separate the two so that you can easily scoop up the rocks. Finally, you can also use a strainer. This is a tool that has small holes in it. You can put the dirt in the strainer and shake it. The dirt will fall through the holes while the rocks will stay in the strainer. All of these tools can be used to sift rocks from dirt. You can use one or all of them depending on what you have available and what you prefer. Experiment with each one to see which one works best for you.
Here are Different Ways How to Sift Rocks From Dirt:
1. Use a Screen or Sifter.
The most common tool to use when sifting rocks from dirt is a screen or sifter. This is a tool that has a mesh over it. The mesh will allow the dirt to fall through while the rocks stay on top of the mesh.
2. Use a Garden Hose with a Spray Nozzle.
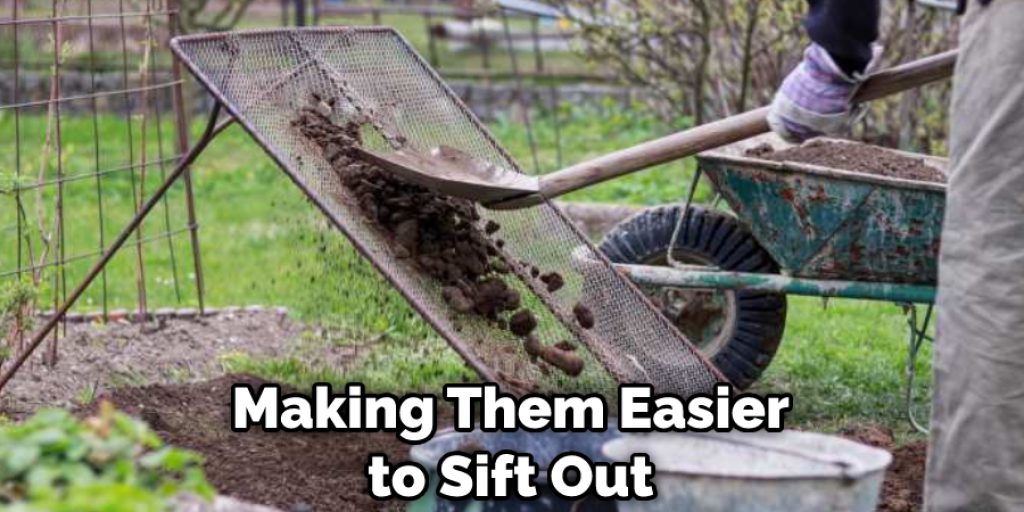
If you have a garden hose with a spray nozzle, you can use it to help remove rocks from your dirt. Simply attach the hose to a water source and turn on the water. Then, aim the nozzle at the dirt and rocks and blast them with water. The force of the water will dislodge the rocks, making them easier to sift out.
3. Use a Strainer.
To remove smaller rocks from your dirt, pour the contents of your bucket through a strainer. The strainer will catch the rocks while allowing the dirt to fall through. You may need to do this in batches, depending on the size of your strainer and the amount of dirt you have.
4. Use Your Hands.
One of the best ways to sift rocks from dirt is to use your hands simply. This method is best for small areas, as it can be time-consuming. Feel through the dirt and rocks until you find a rock that doesn’t belong. Set it aside in a different pile and continue until you’ve gone through all of the dirt.
5. Use a Bucket.
Place the strainer over the bucket, then pour the dirt and rocks into the strainer. The smaller rocks will fall through the holes in the strainer, while the larger rocks will be left behind in the strainer. You can then pour the rocks and dirt out of the strainer into the bucket, leaving the rocks behind.
6. Use a Wheelbarrow.
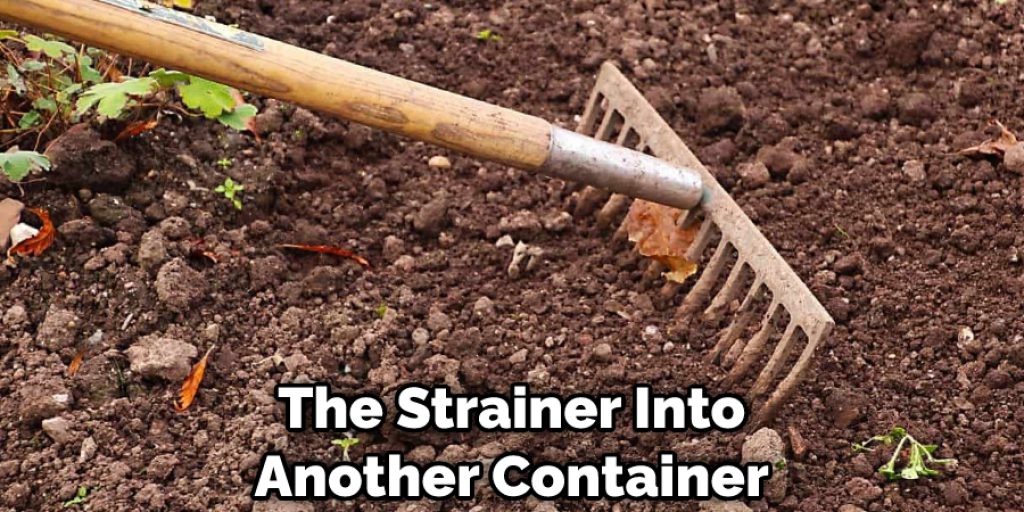
If you have a lot of dirt and rocks to sift through, a wheelbarrow can be a helpful tool. Place the strainer in the wheelbarrow and pour the dirt and rocks into the strainer. The smaller rocks will fall through the holes in the strainer, while the larger rocks will be left behind in the strainer. You can then dump the contents of the strainer into another container and repeat the process until you have only rocks left.
7. Use a Shovel.
If you’re working in a large area, a shovel can be a helpful tool for sifting rocks from dirt. Scoop up a shovelful of dirt and rocks and pour it onto the strainer. The smaller rocks will fall through the holes in the strainer, while the larger rocks will be left behind in the strainer. You can then pour the dirt and rocks back into the hole and repeat the process until all of the rocks have been removed.
8. Use a Rake.
If you don’t have a lot of rocks and dirt, or if the proportion of rocks to dirt is low, you can use a rake to remove the rocks. This method is best suited for large areas like a garden or lawn. Rake over the area, and the tines will catch on the rocks while allowing the dirt to fall through. You can then scoop up the rocks and dispose of them.
9. Use a Hoe.
If you have a hoe handy, you can use it to help sift rocks from dirt. First, dig a trench around the area’s perimeter where you think the rocks are. Then, use the hoe to chop at the ground in the trench, turning over the soil to see any rocks that may be mixed in. Finally, use the hoe to scoop up the rocks and remove them from the area.
10. Use a Pickaxe.
Pickaxes are one of the most basic and essential tools for mining. Not only are they necessary for breaking up rocks, but they can also be used for sifting through dirt and other materials to find hidden gems and minerals. When using a pickaxe, be sure to swing it downward so that the blade hits the ground first. This will help to loosen any rocks that may be embedded in the dirt.

11. Use an Excavator.
An excavator is a large piece of construction equipment that can be used to dig up large amounts of dirt and rocks. If you have access to an excavator, you can use it to sift through a large pile of dirt and rocks to find the rocks that you’re looking for. If you don’t have access to an excavator, you can try to rent one from a local construction equipment rental company.
12. Use an Ultrasonic Cleaner.
If you have access to an ultrasonic cleaner, you can use it to remove dirt and debris from your rocks. Place the rocks in the cleaner and let them run for a few minutes. The ultrasonic waves will loosen the dirt and make it easy to rinse away. If you don’t have an ultrasonic cleaner, you can use a similar method with a bucket of water and a drill. Attach a wire brush to the end of the drill and run it over the rocks in the bucket of water. Again, the vibrations will loosen the dirt so that it can be rinsed away.
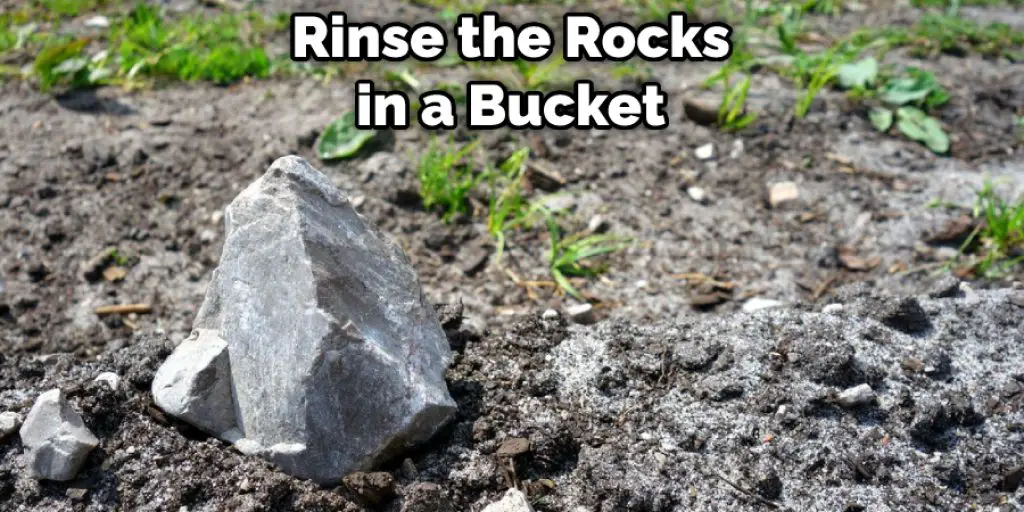
13. Rinse the Rocks.
Once you have separated the rocks from the dirt, it is important to rinse them off. This will help to remove any residual dirt and rocks to find the rocks you are looking for. Rinse the rocks in a bucket of water and then set them out to dry.
14. Sort the Rocks.
Once the rocks are dry, you can sort them by size, shape, and color. This will help you find the ones you want to keep and use for crafts and those you want to discard. You can also use a sifter to sort the rocks by size.
15. Enjoy Your Rocks!
Now that your rocks are sorted and sifted, it’s time to enjoy them! You can use them for crafts, decorating your garden, or admiring their beauty. Whatever you do with them, enjoy your newfound treasures.
Tips and Warnings – How to Sift Rocks From Dirt:
Tips:
- Always use a big enough sieve to fit the number of rocks and dirt you have.
- If you are using a standard kitchen sieve, make sure to line it with cheesecloth or a coffee filter to prevent the smaller rocks from falling through.
- When sifting, be patient and go slowly so don’t miss any rocks.
- If you have a lot of rocks to sift, it might be helpful to do it in batches.
Warnings:
- Don’t use a sieve that is too small, or the rocks will fall through.
- Be careful not to damage the sieve while you are sifting.
- Don’t try to sift too much at once, or you will be there all day.
Conclusion:
This concludes our guide on how to sift rocks from dirt. It can be easy to get bogged down by the little things and lose sight of our goals. When it feels like we’re constantly sifting through rocks and dirt, it’s important to remember why we started in the first place. Let these tips remind you that with a little perseverance, you will find the success you seek. What strategies do you use to stay focused on your goals? Comment below and let us know.