

Summer is in full swing, so the hot, sticky weather is here to stay for a while. If you’re like me and can’t stand the heat, then you’re probably using your window air conditioner to keep cool.
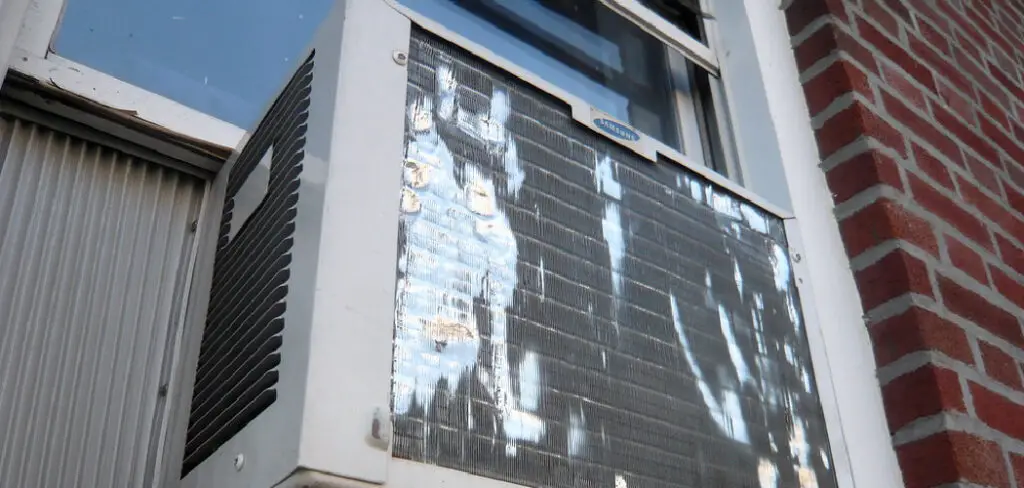
But have you ever noticed how space around the air conditioner gets condensation on it?
Window air conditioners are a great way to cool down a room without paying for central air conditioning. However, if you don’t seal them properly, they can let in a lot of hot air in the summer and cold air in the winter.
Well, today, I’m going to show you how to seal window air conditioner to help stop condensation from happening. Sealing your window air conditioner is an easy process that can help you save money on your energy bill! Keep reading for instructions!
Why Should You Seal Window Air Conditioner?
- It improves the efficiency of your air conditioner by reducing the amount of hot or cold air coming in from outside.
- It helps stop condensation from forming on your walls and windows.
- It can also reduce noise levels from outside and inside the room.
Tools and Materials Needed
- Caulk gun
- Window insulation kit or foam weather stripping
- Scissors
- Utility knife
With these tools and materials, you can easily seal your window air conditioner.
10 Easy Steps on How to Seal Window Air Conditioner
There are a few different ways to seal a window air conditioner, but here’s one easy method that only takes a few minutes.
Step 1: Measure the Area Around the Air Conditioner
Measure the height and width of the area around your air conditioner, leaving about 1/2 inch on each side for the sealant to adhere. Write down these measurements so you can purchase the correct size of insulation or weather stripping.
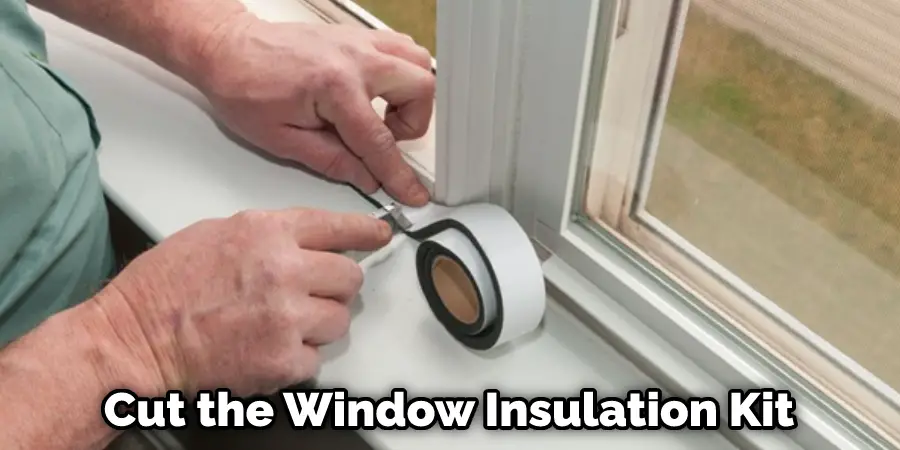
Step 2: Cut Insulation or Weather Stripping to Size
Cut the window insulation kit or foam weather stripping using scissors or a utility knife to fit the measured area around your air conditioner. It’s important to leave a little extra room on each side for a secure seal.
Step 3: Apply Adhesive to Window Insulation Kit
If using a window insulation kit, follow package instructions to apply adhesive to one side of the material. Make sure to evenly spread the adhesive so it sticks well to the window frame.
Step 4: Apply Window Insulation Kit or Weather Stripping
Carefully apply the insulation kit or weather stripping around the air conditioner, pressing firmly to ensure a secure seal. If using weather stripping, you may need to use caulk on top for extra hold. Make sure to leave no gaps for air to come through.
Step 5: Measure and Cut Caulk Gun Tube
Cut off the end of your caulk gun tube at a 45-degree angle using scissors or a utility knife. This will give you better control over where you apply the caulk. Be careful not to cut too much off, as this can cause a mess.
Step 6: Apply Caulk Around Air Conditioner
Starting at one corner of the air conditioner, carefully squeeze the caulk gun to apply a thin line of caulk around the edges. Be sure to fill any gaps or cracks for a secure seal. If any gap is too big for caulk to fill, apply more insulation or weather stripping.
Step 7: Smooth Caulk
Using your finger or a damp cloth, smooth the caulk to ensure it adheres well and creates a seamless seal around the air conditioner. Allow the caulk to dry before continuing to use the air conditioner. This step is important for a secure seal and can also make your window and air conditioner look more aesthetically pleasing. Repeat steps 1-7 on the other side of the air conditioner, making sure to measure and cut appropriately for a secure seal.
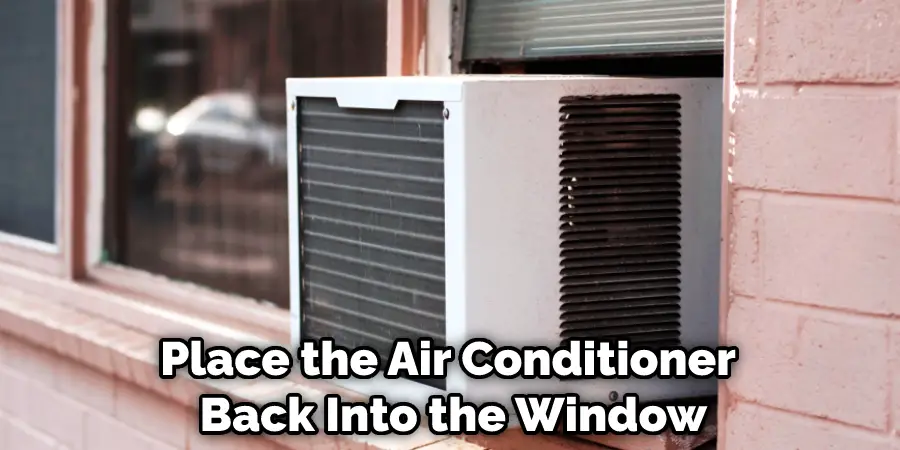
Step 8: Replace Air Conditioner
Carefully place the air conditioner back into the window and ensure it’s securely in place. Be careful not to disrupt the sealant and caulk when placing the air conditioner back in. Now close the window, ensuring it fits snugly against the insulation or weather stripping. You may need to use extra caulk if there are gaps between the window and frame.
Step 9: Turn on Air Conditioner
Turn on your air conditioner to test if it’s still functioning properly and if cool or hot air is coming through the sealant. Suppose there are any gaps, repeat steps 1-8 until a secure seal is achieved.
Step 10: Enjoy Your Cool or Warm Air
You can now enjoy cool or warm air without worry of outside air leaking in, and you may also notice a decrease in outside noise levels. Make sure to check and maintain the sealant every few months to ensure it’s still secure and effective. Sealing your air conditioner not only keeps outside air from coming in, but it can also decrease energy costs and improve the overall efficiency of your air conditioning unit.
Following these steps should help seal your window air conditioner and make it run more efficiently. It’s an easy way to improve the comfort of your home and save money in the long run. Happy sealing!
5 Additional Tips and Tricks
- You can use foam weather stripping to seal gaps and ensure proper fit.
- Use a sealant to fill any cracks or holes in the frame of the air conditioner.
- Make sure to turn off and unplug your air conditioner before beginning any sealing process.
- Cover the outside of the air conditioner with sheet metal or a plastic cover during the winter to prevent further damage.
- Regularly check and maintain your air conditioner’s seal to ensure it works efficiently and effectively. This includes cleaning debris from the area around the unit and reapplying sealant as needed.
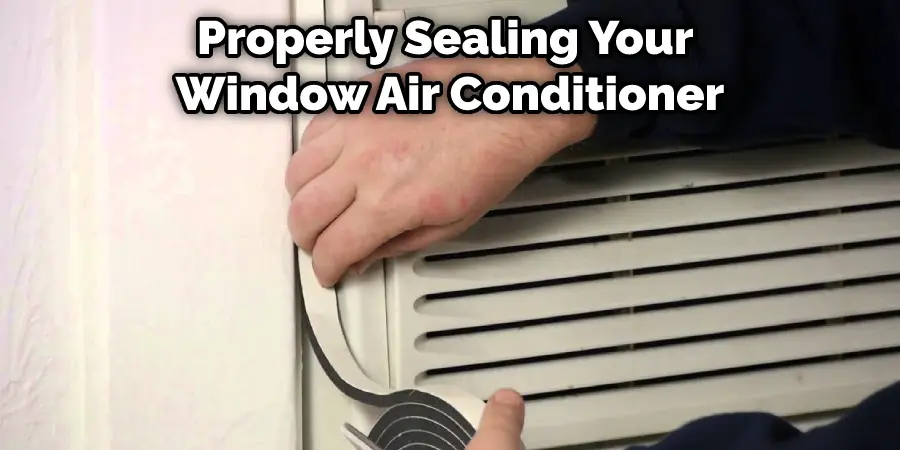
Ultimately, properly sealing your window air conditioner can save you money on energy costs and extend the life of your unit. Don’t forget to take these extra steps in maintaining your air conditioner’s seal.
5 Precautions You Can Take
- Measure the unit’s dimensions and cut a sheet of insulation to fit snugly inside the window frame.
- Use weather-proof adhesive or silicone sealant to secure the insulation in place.
- Apply caulk around the edges of the air conditioner where it meets the window frame for added protection against drafts and leaks.
- Cover the air conditioner outside with a waterproof cover or tarp during inclement weather.
- Check for any gaps or drafts regularly and re-seal as necessary.
Remember, it’s important to properly seal your window air conditioner in order to maintain efficiency and save energy costs. Follow these steps, and you’ll be on your way to a well-sealed unit. Happy cooling!
Can You Run Window Air Conditioner All Day Long?
It is not recommended to run a window air conditioner all day long. Doing so can put a strain on the unit and may lead to technical issues or a shorter lifespan. It is more energy-efficient to set an appropriate temperature and allow the unit to cycle on and off as needed.
Additionally, constantly running the unit may increase your electricity bill. It is best to use the air conditioner only when necessary and turn it off or set it to a higher temperature when not at home. The Environmental Protection Agency recommends setting your thermostat to 78 degrees while you are at home and using fans to circulate cool air. This can also help save energy and lower electricity costs.
How Can You Protect Ac in Winter?
- Cover the unit with a waterproof cover or tarp during winter months.
- Install foam insulation around the edges of the air conditioner where it meets the window frame to prevent drafts and leaks.
- When not in use, remove the unit from the window and store it indoors, preferably in a climate-controlled space.
- Regularly clean the unit and check for any signs of damage before using again in the summer.
- Disconnect and properly store the air conditioner’s window kit to prevent damage from winter weather.
- Consider using a protective sheet or wrapping to cover the unit’s exterior during storage.
These precautions can help protect your air conditioner during the winter and extend its lifespan. Don’t forget to properly maintain and store your unit when not in use to ensure it is ready for the next warm season.
Conclusion
Window air conditioners are a great way to keep your home cool during summer. But if they’re not properly installed, they can be a source of drafty air and high energy bills. By following these simple steps, you can seal your window air conditioner, so it doesn’t leak any cold air into your home.
Now you know how to seal window air conditioner and protect it during the winter months. Hopefully, these tips will help you save both energy and money in the long run.
Remember to regularly check for drafts and maintain the seal of your window air conditioner for optimal efficiency and a longer lifespan. Enjoy a cool and energy-efficient home all year long with these tips in mind. Happy cooling!
Rick is a handyman who grew up helping his dad with his business. He learned a lot from him about how to fix things, and also about how to work hard and take care of business. These days, Rick is still into fixing things- only now, he’s doing it for a living.
Rick is always looking for new ways to help people grow and develop. That’s why he started contributing to this blog: to share all his experience and knowledge so that he can help people who are interested in DIY repair.