

Sealing the edges of kitchen cabinets is a crucial maintenance task that helps protect against potential damage caused by moisture and humidity. Over time, kitchen environments, with their frequent spills and fluctuating temperatures, can lead to problems such as warping, cracking, or peeling of cabinet edges. This is particularly common in high-traffic areas around sinks or near stoves where exposure to moisture is highest.
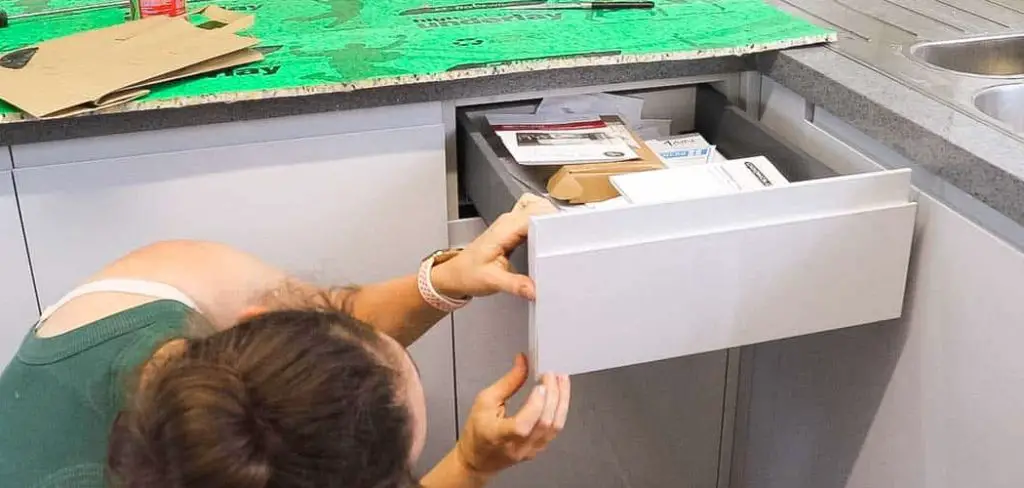
Addressing these issues by learning how to seal kitchen cabinet edges can prolong the life of your cabinetry, maintain its aesthetic appeal, and prevent costly repairs. This article aims to provide you with a comprehensive guide to sealing kitchen cabinet edges, ensuring a smooth and protective finish that not only guards against damage but also enhances the overall look of your kitchen space. Through this process, your cabinets will be well-protected and visually pleasing for years to come.
Why Sealing Kitchen Cabinet Edges is Important
Sealing kitchen cabinet edges is vital in kitchen maintenance as it provides moisture protection, prolongs cabinet lifespan, enhances aesthetic appeal, and prevents structural issues. First and foremost, the seal acts as a barrier, blocking moisture from seeping into the wood. This is crucial in preventing swelling, warping, and even potential mold growth, especially in areas with frequent water use, like around sinks and stoves. By creating a robust seal, the integrity of the cabinets is preserved, significantly reducing the risk of damage in high-moisture kitchens.
Moreover, sealed edges contribute to a longer lifespan for your cabinetry. By effectively protecting against water spills and steam exposure, you extend the usability of your cabinets, reducing the need for frequent replacements or repairs. From an aesthetic standpoint, sealed edges craft a tidy, polished appearance, eliminating any rough or exposed areas that could detract from the kitchen’s overall look. Lastly, sealing prevents the cabinet edges from peeling, cracking, or splitting, which are common issues with unsealed cabinets. Addressing these potential problems beforehand ensures that your kitchen remains pristine and wards off the need for costly repairs or replacements in the future.
Tools and Materials Needed
To effectively seal kitchen cabinet edges, having the right tools and materials is essential for achieving a professional finish. Below are the key items required for this task:
Tools:
- Sanding block or fine-grit sandpaper: This tool smooths rough surfaces or edges, ensuring an even application of sealant.
- Caulking gun (for sealants): Facilitates the precise application of silicone caulk, which is essential for sealing gaps.
- Putty knife: Assists in applying wood filler or putty and smoothing it into any cracks or imperfections.
- Painter’s tape: Protects nearby surfaces and helps achieve clean lines where sealant or paint is applied.
- Soft cloth or tack cloth: Cleans the surfaces before beginning the sealing process, removing dust and debris for a flawless finish.
Materials:
- Wood filler or putty (for gaps or cracks): Fills any irregularities in the cabinet surface, providing a smooth base for sealing.
- Silicone caulk or wood sealer: This acts as a barrier against moisture and is vital for protecting cabinet edges.
- Primer (for painted cabinets): Prepares the surface for paint, ensuring better adhesion and coverage.
- Paint or varnish (to match existing cabinet finish): Completes the look by matching the cabinet’s existing color and finish, enhancing the overall aesthetic.
Preparing the Cabinet Edges
Proper preparation ensures a smooth and durable finish when sealing kitchen cabinet edges. Follow these steps to get your cabinet edges ready for sealing:
Step 1: Clean the Edges
Start by thoroughly wiping down the cabinet edges with a damp cloth. This removes any dirt, grease, or dust that could interfere with the adhesion of sealants or paint. Once cleaned, make sure the surface is completely dry before moving on to the next step.
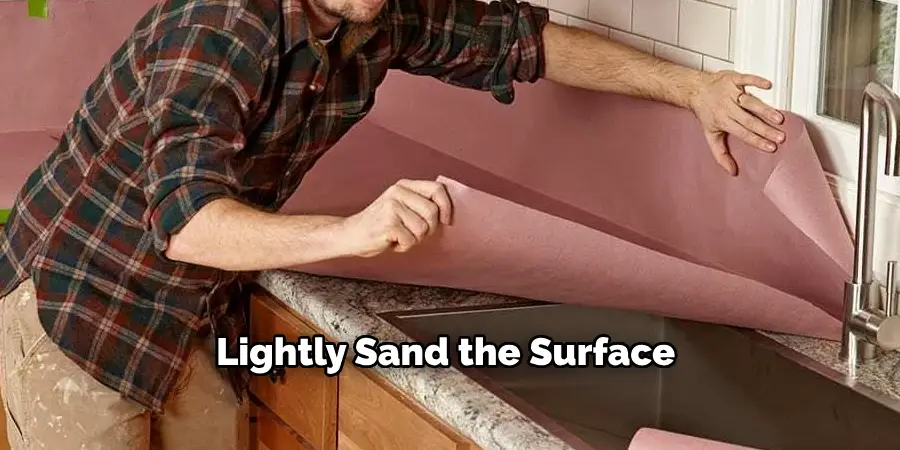
Step 2: Lightly Sand the Surface
Use fine-grit sandpaper to gently sand the edges of the cabinets. This process smooths out the surface, allowing for better adhesion of sealant or paint. Pay special attention to any rough areas, peeling veneer, or chipped paint, ensuring a uniformly smooth surface.
Step 3: Fill Gaps or Cracks
Examine the cabinet edges for any gaps, cracks, or imperfections. Use wood filler or putty to fill these areas, applying the filler with a putty knife. Smooth it into the cracks, then allow it to dry completely. Once dry, sand the filled areas flush with the cabinet surface to ensure an even base for sealing.
Step 4: Tape Off Surrounding Areas
Use painter’s tape to avoid accidentally applying sealant or paint to nearby surfaces, such as countertops or cabinet doors. This will help achieve clean, straight lines around the edges, protecting these adjacent surfaces from potential messes and enhancing the final look.
How to Seal Kitchen Cabinet Edges: Sealing the Edges
Step 1: Choose the Right Sealant
Selecting the appropriate sealant is crucial for ensuring effective protection. In areas prone to moisture, such as around sinks or dishwashers, opt for a silicone-based sealant due to its water-resistant properties. For painted or stained cabinets, a wood sealer or polyurethane varnish is a better choice to maintain the finish and appearance of the cabinetry.

Step 2: Apply Silicone Caulk (if needed)
Applying silicone caulk is essential for sections of the cabinet edges that are frequently exposed to water. Use a caulking gun to apply a thin, consistent bead of caulk along the edge. With a caulk tool or your finger, smooth out the caulk to ensure it adheres properly and provides a seamless barrier against moisture.
Step 3: Apply Wood Sealer or Varnish
Apply a clear wood sealer or polyurethane varnish to achieve a natural look while protecting the cabinet edges. Use a soft brush for application and long, even strokes for consistency. Once the first coat has dried, consider adding a second coat for enhanced protection.
Step 4: Prime and Paint (for painted cabinets)
For painted cabinets, ensure the edges are primed for better paint adherence. After applying a coat of primer, paint the edges using matching paint and a small, fine-tipped brush for precision and control. This step offers both protection and aesthetic continuity.
Step 5: Allow Drying Time
Allow the sealant or paint to dry thoroughly, following the specific manufacturer’s instructions regarding drying times. Depending on the product, this may require several hours or overnight. Proper drying solidifies the protective barrier and ensures a lasting finish.
Preventing Future Damage
Taking proactive steps to prevent damage to your kitchen cabinet edges will prolong their life and keep them looking new. Here are some essential practices:
Clean Regularly
Regular cleaning is crucial in preventing the buildup of grime and grease, which can deteriorate the cabinet edges over time. Use a soft cloth and mild soap to keep the edges clean, wiping them down at least once a week, especially in high-traffic areas.
Reapply Sealant Annually
For cabinets in areas exposed to moisture, such as near sinks or dishwashers, reapplying a fresh coat of sealant once a year helps protect against water damage. Choose a sealant that matches your cabinet finish and follow the manufacturer’s instructions for application.
Use Cabinet Edge Protectors
Consider installing rubber or silicone edge protectors on the underside of cabinets near water sources. These protectors act as a barrier against moisture infiltration, reducing the risk of swelling or cracking caused by water exposure.
Check for Damage
Regularly inspect the edges of your cabinets for signs of wear, peeling, or moisture damage. If you notice any issues, such as peeling varnish or watermarks, address them promptly to avoid larger repairs in the future. This vigilant maintenance ensures your cabinets remain in optimal condition.

When to Call a Professional
In certain situations, calling a professional carpenter or contractor is advisable to ensure the longevity and aesthetics of your kitchen cabinets. For instance, extensive water damage that leaves cabinet edges warped or deteriorated often requires expert intervention. A professional can assess the damage and determine if sections need replacing or structural repairs are necessary. Additionally, if you notice veneer or laminate peeling from the cabinet edges, a skilled carpenter can often re-laminate the surfaces or replace the damaged portions effectively.
Custom cabinetry often involves intricate designs and materials and may benefit from professional touch-ups and sealing to preserve its value and appearance. In these cases, hiring a professional ensures that the cabinetry is handled with care, maintaining its functionality and beauty for years to come.
Conclusion
Sealing kitchen cabinet edges is a crucial step in preventing moisture damage and maintaining the look and longevity of your cabinets. The process is straightforward and effective by selecting the appropriate materials, such as silicone caulk for moisture-prone areas or a wood sealer for a natural finish. Maintaining your cabinets involves more than just the initial sealing; regular inspections and maintenance are key to ensuring lasting protection and preventing costly repairs.
A diligent approach to checking for damage and reapplying sealant ensures that your cabinetry stays robust and aesthetically pleasing. Proper sealing not only shields your kitchen cabinets from moisture and wear but also enhances their overall appearance, creating a polished and well-maintained look in your kitchen. By understanding “how to seal kitchen cabinet edges,” you equip yourself with the knowledge to keep your cabinets in top condition, preserving their functionality and beauty for years to come.
About
Angela is the chief editor of Indoorense. She began her career as an interior designer before applying her strategic and creative passion to lifestyle and home.
She has close to 15 years of experience in creative writing and online content strategy for housekeeping and cleaning,home decorations as well as other efforts.
She loves her job and has the privilege of working with an extraordinary team. She lives with her husband, two sons, and daughter in Petersburg. When she’s not busy working she spent time with her family.