

Many people take baths and do not think about the possibility of water spilling over the edge of the bathtub and onto the floor. But if this happens, it can cause a lot of damage, especially if there is carpet on the floor. So if you have a bathtub, you know that it is likely to overflow at some point.
The water can damage your floors and seep into the walls when this happens, causing costly repair bills. Fortunately, there is a way to prevent this from happening. This blog post will discuss how to seal bathtub overflow to prevent water from leaking onto the floor. It’s a quick and easy process, so follow along with us!
Require Tools and Materials:
- Screwdriver
- Perforated metal flashing
- Silicone caulk and caulk gun
- Metal putty knife
- Angle grinder with the diamond blade attachment
Step by Step Guide: How to Seal Bathtub Overflow
Step 1: Use A Bathtub Overflow Drain Cover
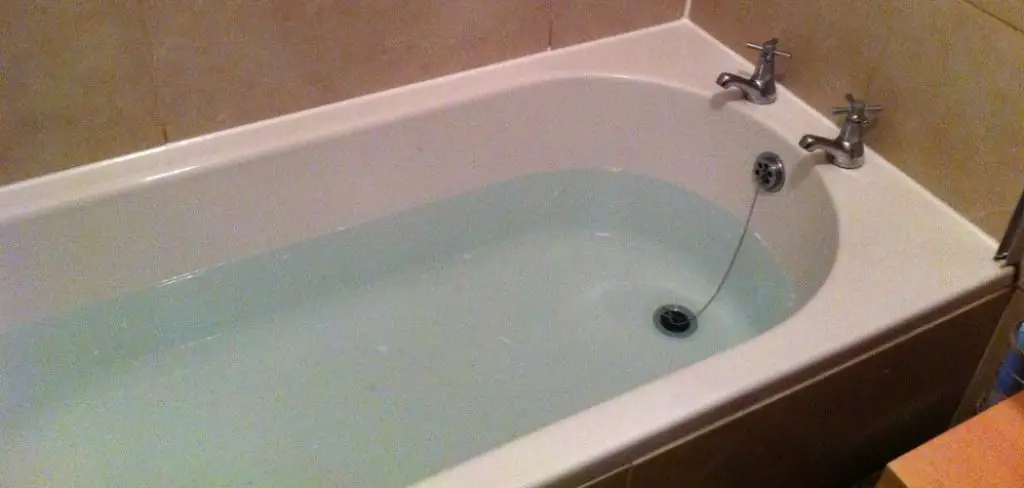
First, you must locate the overflow drain of your bathtub. It will be located on the side of your tub near the faucet closest to the wall. The hole in this area is where all excess water runoff goes through when it starts to overflow.
Step 2: Purchase A Tub Drain Cover
There are many different bathtub overflow drain covers that you can use to prevent water from spilling out over the hole. There are also downspout drain covers, which work the same way as overflow covers do. Just make sure you choose one that fits your bathtub’s size; for example, if your tub is 10 inches in diameter, you’ll need a smaller-sized cover than a 15-inch cover.
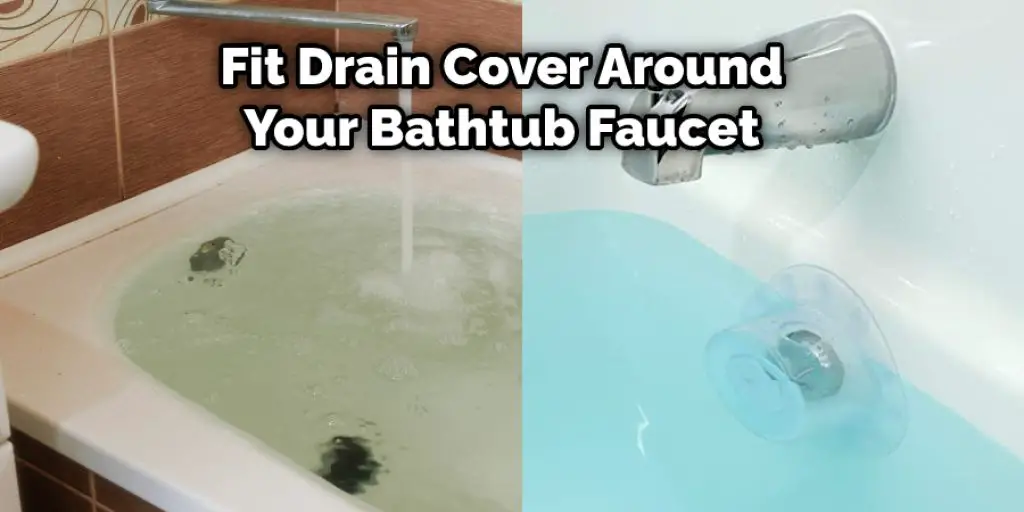
Step 3: Place The Cover Over The Drain Hole
Once you have your overflow drain cover in hand, you can place it over the drain hole that’s located on the side of your bathtub near the faucet. But, again, be sure to push firmly so that it fits securely over the faucet.
Step 4: Cut Drain Opening If Necessary
At this point, it’s essential to cut the overflow drain cover if you need to fit it around your bathtub faucet. You’ll have to use a pair of scissors and trim off the excess portion of the overflow drain cover.
Step 5: Remove the Old Overflow Plate and Bracket
You’ll have to remove the old overflow plate and bracket on your bathtub. This is usually located right below the drain cover, so it will be easy to take off. Be sure that you don’t break it while you attempt to remove it, or else you will have to replace the entire plumbing system of your bathtub.
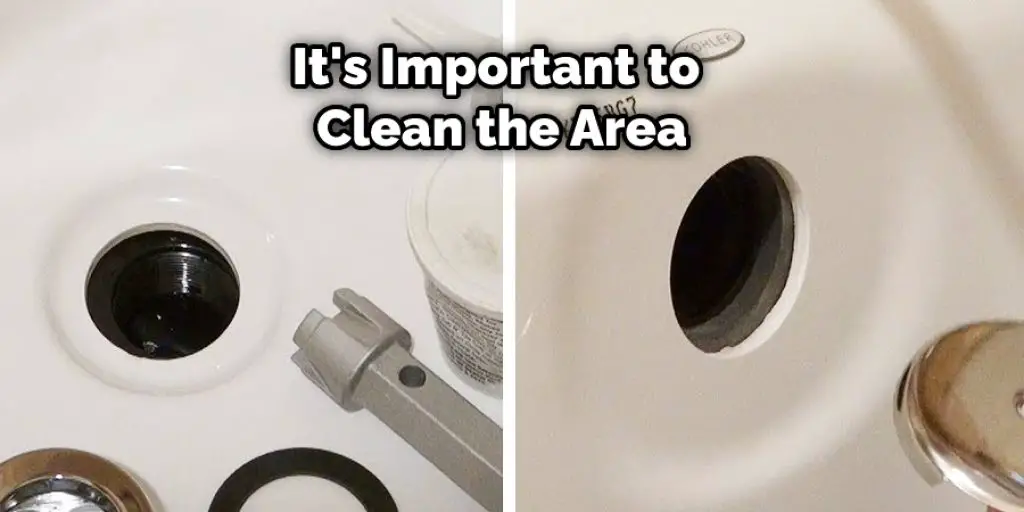
Step 6: Clean The Area
Before you put in your new overflow cover, it’s important to clean the area around the drain so that no dirt or debris from the old cover will be transferred onto it when you remove it. You can use a wet rag to wipe away any dirt and dust in this area before inserting a new overflow cover.
Step 7: Maintain The Seal
Once the overflow drain cover is in place, you must ensure that it maintains its seal throughout the entire time. It should not pop out when pressure is applied to it; otherwise, water will begin spilling over the hole again. Now that your tub’s overflow drain area is covered and sealed correctly, there’s no need to worry about water spilling out.
Step 8: Secure The Cover With Screws And Plumbing Putty
Once you have your new overflow drain cover in hand, go ahead and place it over the drain hole of your bathtub. Be sure to push firmly so that it fits securely over the faucet. You can then screw on the locking screws onto both sides of the overflow drain cover. However, be sure that you don’t tighten them too much just yet; you’ll want to insert the plumber’s putty, so there is a secure seal between the overflow plate and your bathtub.
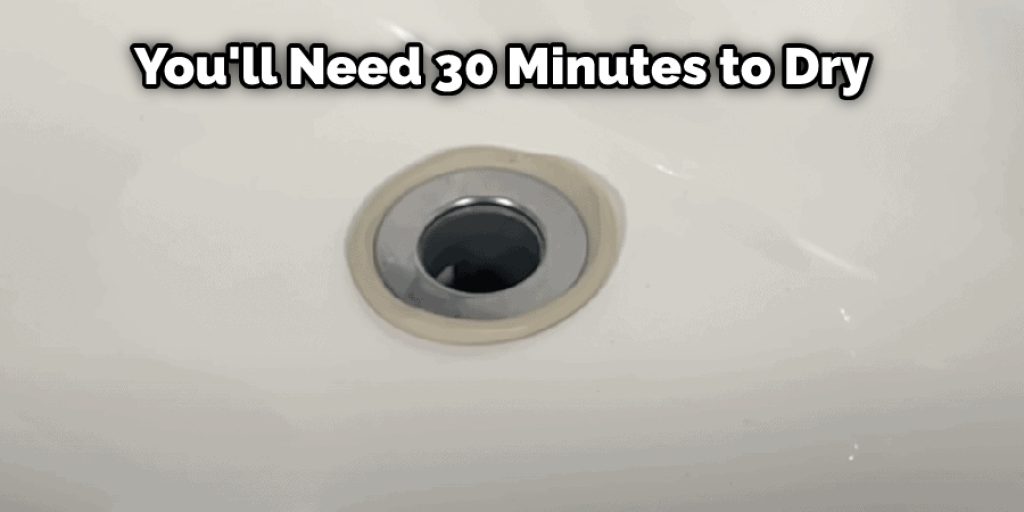
Step 9: Allow The Plumbing Putty To Dry
It would help if you allowed the plumbing putty to dry completely before continuing with the next step of this process. You’ll need about 30 minutes for it to dry correctly, so make sure you get started on this task early enough in advance. This will also help ensure that the plumber’s putty does not stick onto your hands during the process.
Step 10: Remove the Old Gasket
Once the plumber’s putty has dried, you can remove the old gasket and replace it with a new one. Next, place the rubber around the overflow drain faucet to create a tight seal that will prevent water from spilling out. Now that your overflow area is properly sealed and secured, you won’t have to worry about water spilling out and causing damage to your bathroom.
Step 11: Tighten The Screws Completely
Finally, you can tighten the locking screws all the way so that there’s no space between the overflow drain cover and the plumber’s putty. This will make sure that the overflow area is properly sealed and secure. Plus, you can even tighten the screws on both sides of the overflow drain cover to make sure that it’s completely secure.
Some Helpful Tips and Suggestions:
Here are some tips and suggestions on how to seal bathtub overflow.
1. Check to make sure the overflow cover is broken. For example, some tubs have a large plastic disk attached to a small metal nipple with a rubber o-ring that runs out from the center of the disk. If this is the case, usually, you can push on the far side of the disk to tighten it up.
2. If your tub has a metal screw cap covering the overflow drain, try tightening it down with an adjustable wrench. Do this slowly so that you don’t strip out the threads on the cap or grate your knuckles on the sharp edges.
3. If your overflow cover is a metal grate, you may be able to tighten it down with a flat head screwdriver or Allen key. Make sure you turn each bolt slowly as not to strip the threads on the bolts. Also, take care as you tighten these bolts because they can become very slippery and difficult to grip, and they can cut your hand if you aren’t careful.
4. If the overflow drain is still leaking, you may need to replace it. The easiest way to do this is to remove the overflow cover with a screwdriver or Allen key. Then take the cover down to the hardware store and match up a similar one (the same diameter, not necessarily the same model). Make sure you get a cover for your tub, as they vary in size.
5. If the overflow drain is still leaking after you replace it, tighten all of the screws or bolts surrounding it one more time. If this doesn’t do the trick, take out each screw or bolt and put a small piece of silicon between the screw and the metal surrounding it, then tighten. If you don’t want to use silicon, try putting a skinny layer of caulking around the perimeter of the drain before you replace it.
6. Consider replacing your bathtub overflow cover with a plug-style overflow cover. These plugs usually have rubber flaps that open and close. If the rubber flaps are damaged or missing, you can replace them with your old overflow cover’s rubber o-ring.
Precautions and Warnings:
1. Once the tub is drained, never turn on the water supply to refill it until you finish the project.
2. With a sharp knife or utility blade, cut an X into the silicone that protrudes from the overflow cover so water can drain out of it when refilling. If there is a lot of build-up around your overflow, use a screwdriver to pry the cover out gently.
3. You need three hands for this project: one to hold the tub drain, one for the utility knife or other sharp object, and one to turn off the water supply after making sure it’s free of debris.
4. Disconnect your hot and cold water supply lines from the faucet before working on the tub to avoid getting cut with exposed metal edges. Turn off the main water supply after disconnecting these hoses; this is very important, as it will save you a lot of headaches later if you forget to turn off the water.
5. Wear eye protection and gloves when working with chemicals and power tools.

6. Be careful around electricity and water, as they can be dangerous if you’re not careful.
7. Clean your tub and apply masking tape to the paint surrounding the drain flange before beginning this project, as you do not want silicone on your painted walls or bathtub.
Conclusion
Bathtub overflow can be a huge inconvenience, and if not fixed quickly, it can lead to much bigger problems. The overflow hole in a bathtub is designed to let excess water out of the tub and into your sink or floor. Therefore, it is important to take some preventative steps to avoid this issue in the first place. However, if you do experience an overflow, there are some methods that you can use to clean it up quickly and efficiently.
By following these tips, you can keep your bathroom looking great and avoid any potential water damage. After reading this blog post, you should better understand how to seal bathtub overflow. If you still need help with your specific situation and would like us to assess the problem for free, don’t hesitate to contact our team. We’re ready and waiting!
You Can check it Out to Drain a Bunn Coffee Maker
About
Angela is the chief editor of Indoorense. She began her career as an interior designer before applying her strategic and creative passion to lifestyle and home.
She has close to 15 years of experience in creative writing and online content strategy for housekeeping and cleaning,home decorations as well as other efforts.
She loves her job and has the privilege of working with an extraordinary team. She lives with her husband, two sons, and daughter in Petersburg. When she’s not busy working she spent time with her family.