
Do you have a networking problem that needs to be solved and don’t know where to start? Running an Ethernet cable through the ceiling is one of the most efficient ways of connecting your home network but it can seem quite intimidating.
Don’t worry- we’re here to provide a step-by-step guide on how to run ethernet cable through ceiling; so whether it’s networking for your office, entertainment system, or any other reason, you should be able to complete this project confidently!
Whether you’re a networking professional or want to give it a go, we’ve got you covered. In this blog post, we’ll cover what you need to know before getting started, how to plan and lay the cables safely, and lastly, how to connect your router.
What Should You Know Before Getting Started?
Before you start running ethernet cables through the ceiling, there are a few things you should consider. First, what type of cable will you need, and are the wall outlets in your home compatible with it?
It’s also important to plan where your router will be located and how many cables you’ll need to run. You may also want to check whether or not your ceiling is accessible and if there are any obstacles that may prevent you from running the cables safely.
What Will You Need?
Once you have a good idea of what type of cable and how many cables are needed, you’ll need the following materials to get started:
- Ethernet Cable
- Fish Tape
- Wire Cutter
- Marker Pen
- Network Switch (optional)
Before you start running the cables, make sure to double check that all of your cables are compatible with each other.
10 Easy Steps on How to Run Ethernet Cable Through Ceiling
Step 1: Mark Your Cable Paths
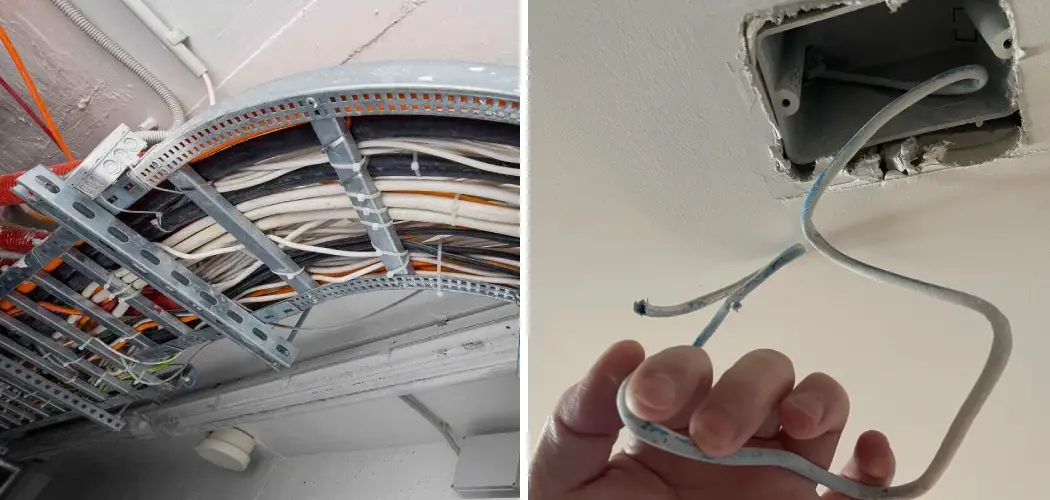
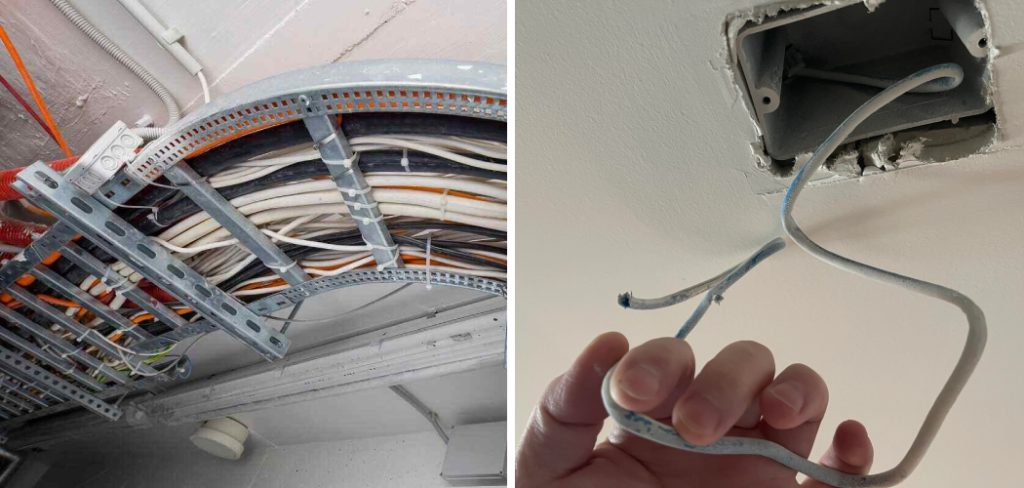
Start by carefully planning and marking the path your Ethernet cables will follow. Use your marker pen to trace the routing from your network source to where the cable will drop down through the ceiling. This marking will guide you when running the cables and help ensure you avoid any potential obstructions in the ceiling. Remember, the shorter and more direct the path, the better your network performance.

Step 2: Drill the Holes
After you’ve marked the cable paths, the next step is to drill the holes where the Ethernet cables will go through. Using a suitable drill bit, carefully make holes at the start, end, and any turn points of your marked path. Make sure the holes are big enough for the Ethernet cable to easily pass through but not too large that they create unnecessary damage to your ceiling. Safety is paramount – always ensure you’re wearing protective gear and aware of any potential hazards such as electrical wires or pipes when drilling.
Step 3: Thread the Cable
With your holes drilled, it’s time to start running the cable. Attach one end of your Ethernet cable to the fish tape. Then, start at the hole nearest your network source and feed the fish tape through. Fish tape is a flexible tool that pulls wires through confined spaces such as walls or ceilings. Keep pushing the fish tape through until it reaches the next hole. Once there, carefully pull the fish tape and the attached Ethernet cable through the hole.
Step 4: Secure the Cable
Once you’ve successfully threaded the Ethernet cable through the ceiling, the next step is securing it. Use cable clips or ties to fasten the cable along the marked path. Ensure the cable is tightly secured but not overly strained to prevent damage. It’s also important to ensure the cable is not near any power lines or sources, as this can interfere with your network’s performance.
Step 5: Continue the Process
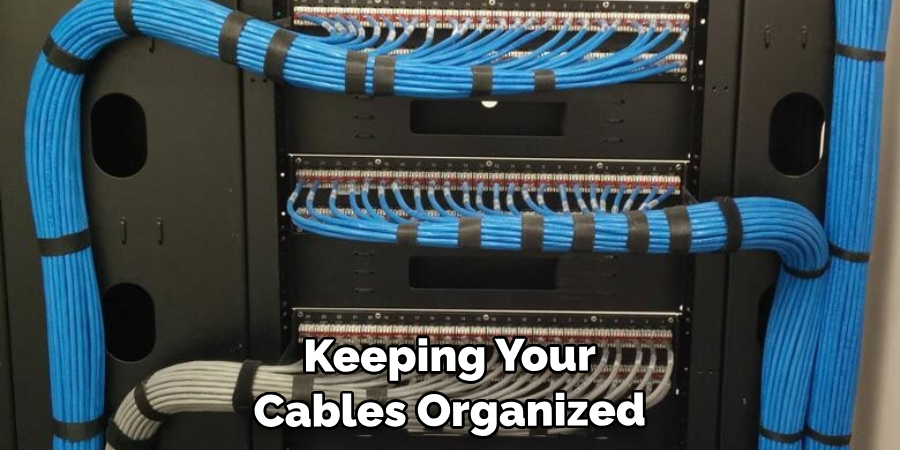
Now, repeat the process for each additional Ethernet cable you plan to run through your ceiling. Keeping your cables organized and properly labeled is crucial to avoid confusion later. Consider running a few extra cables than you currently need. Having spare Ethernet connections can save you considerable time and effort if your network needs to expand. Remember to secure each cable neatly along the same path, avoiding power lines or sources.
Step 6: Cut the Excess Cable
After you have run all the necessary Ethernet cables through the ceiling, the next step is to trim off the excess length. Use a wire cutter to trim the cable, leaving enough extra length to reach your devices and a little extra for adjustments. Be careful not to cut the cable too short, as you may need extra length if you decide to move your device later.
Step 7: Connect to the Network
Now that your cables are in place, it’s time to connect them to your network. Depending on your setup, this could mean connecting the Ethernet cable directly to your device or to a network switch that connects multiple devices. Ensure that the Ethernet cable clicks into place for a secure connection.
Step 8: Test Your Connection
After all the cables are connected, testing each connection is important to ensure they are working properly. To do this, simply connect a device to the network and see if it connects successfully. If you encounter any issues, check your connections and the length of your cables.
Step 9: Patch and Paint
Now that everything is connected and working, you’ll want to patch up any holes and paint over any markings you’ve made. Use a patching compound for any holes or cracks in the walls or ceiling, and once this has dried, you can paint over it to match the existing color. Keep in mind you may need to apply several coats for a perfect finish.
Step 10: Enjoy Your Wired Network
Congratulations! You’ve successfully run an Ethernet cable through the ceiling! You can now enjoy a reliable, high-speed wired network throughout your home or office. Remember to periodically check the cables and connections to ensure they work properly.
Running Ethernet cable through the ceiling may initially seem daunting, but with careful planning, the right tools, and a little patience, it’s a task that can greatly enhance your home or office network. We hope this guide has been useful in helping you achieve this!
5 Additional Tips and Tricks

- Map Your Route: Before you begin, it’s crucial to plan your path. Identify where your router is and where you want your Ethernet cable to end. The path between these two points is your route.
- Get a Fish Tape: Fish tape is an invaluable tool for running Ethernet through your ceiling. The wire can be threaded through the hole and then pulled out at the other end with the fish tape, allowing you to run an Ethernet cable along the path you planned without having to make more holes in your ceiling.
- Use Staples or Clips: Once you’ve determined your route, use staples or clips to secure the cable and keep it in place. Make sure that the staples or clips are not too tight as this could affect the performance of your Ethernet connection.
- Use a Vacuum Cleaner: If you want to ensure that no dust or dirt gets into your Ethernet connection while running it through the ceiling, try using a vacuum cleaner. The suction will draw away any dust and dirt particles that can otherwise get stuck in your connection.
- Check Your Cable: Once you’ve finished running your Ethernet cable, make sure to double check it for any bends or kinks. If there are any, you may need to re-run the cable, as these can affect the performance of your connection.
The installation of an Ethernet cable through a ceiling can seem daunting, but with the right tools and a bit of patience, you’ll be up and running in no time.
5 Things You Should Avoid
- Avoid Running Cables Parallel to Electrical Wires: Electrical wires can interfere with the ethernet signal, resulting in slower connection speeds or a complete loss of connectivity. If the path of your ethernet cable must cross electrical wires, make sure they intersect at a perpendicular angle to minimize interference.
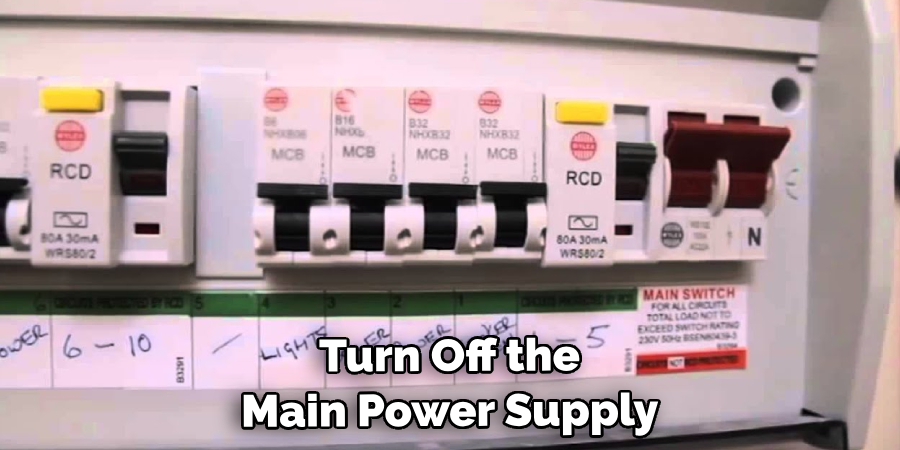
- Remember Safety Protocols: Always turn off the main power supply when drilling holes or running cables near electrical fixtures to avoid electric shock. Wear appropriate safety gear, like gloves and goggles, especially when working with ceilings, to avoid dust or debris falling into your eyes.
- Avoid Bunching Ethernet Cables: If you’re running multiple ethernet cables through the same path, avoid tying them together tightly. Bunched cables can cause interference and degrade the quality of your connections.
- Don’t Rush the Process: A rushed job can lead to mistakes, like poorly fastened cables or damaged connections. Take your time to ensure that the cable is run properly and securely fastened.
- Avoid Using Damaged Cables: Always inspect your ethernet cable before installation. A damaged cable can result in poor connectivity or complete loss of connection. Replace any cables that show signs of severe wear or damage.
With these tips and tricks, you’ll run ethernet cables through ceilings like a pro. If you ever encounter any issues during the process, our team of experts is here to help.
Conclusion
How to run ethernet cable through ceiling may seem daunting, however, with a bit of knowledge and preparation it can be a breeze. Whether you’re renovating your home office or planning to move into a new house, being able to run internet cables in walls and ceilings gives better aesthetics and fewer tripping hazards.
From running the wire to walls or drilling into studs for ceiling installation, properly following steps like making Ethernet runs using cables that terminate at each end in RJ-45 connectors helps ensure your network connection is stable.
Additionally, small details like labeling the wire can help keep things organized in case you need to make any changes later. Hopefully, this blog post served as an easy step-by-step guide to aid you when running Ethernet cable through your home – Good luck!
You Can Check It Out To Move Cable Outlet to Another Wall
About
Angela is the chief editor of Indoorense. She began her career as an interior designer before applying her strategic and creative passion to lifestyle and home.
She has close to 15 years of experience in creative writing and online content strategy for housekeeping and cleaning,home decorations as well as other efforts.
She loves her job and has the privilege of working with an extraordinary team. She lives with her husband, two sons, and daughter in Petersburg. When she’s not busy working she spent time with her family.