

Reversing your Hunter fan’s direction can create a more comfortable environment in your home or office. By reversing the direction, you can make the airflow feel colder in hot climates and warmer in cold climates. Reversing the fan blades is also beneficial for air circulation purposes that will help keep rooms well-ventilated.
Reversing the direction of a Hunter fan is a great way to change up your home’s decor or adjust airflow for maximum comfort. However, not all fans have a dedicated switch for easy reversing. If you find yourself in this predicament, there is an alternative method to reverse your Hunter fan without using a switch. In this blog post, You will learn in detail how to reverse a hunter fan without switch.
Tools You Will Need
- Philips head screwdriver
- Wire cutters/strippers
- Electrical tape
- Two sets of wire connectors
- pliers and gloves (optional)
Step by Step Processes for How to Reverse a Hunter Fan Without Switch
Step 1: Inspect Your Fan
Before you begin the process of reversing your Hunter Fan, it is important to inspect it for any potential issues that could arise. Look at the screws and bolts on the blades and ensure they’re tightly secured before attempting a fan reversal.
Step 2: Understand Your Fan System
Collect all the components of the fan system, such as remote controls, light kits, and any other accessories. Make sure to familiarize yourself with the product manual that came with your fan for directions on removing and installing the hardware properly.
Turn off the power source of your Hunter Fan from your circuit breaker box or fuse box. This step is essential to protect yourself from electric shock while working on the fan.
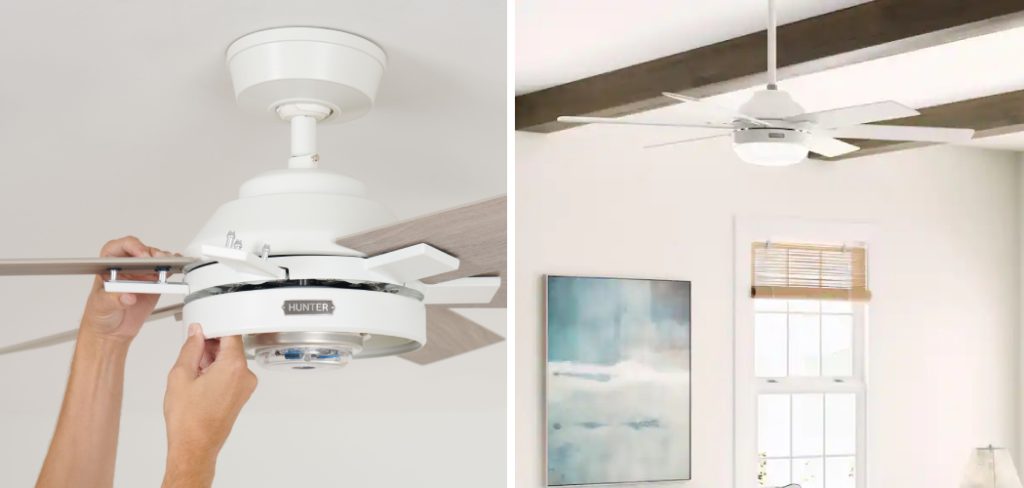
Step 3: Unscrew and Remove the Blades
After completely shutting down power, begin to unscrew each blade from the fan motor assembly. This will require a Phillips head or flathead screwdriver, depending on the type of screws your fan uses. Ensure you’re using the appropriate tools to prevent damaging your fan.
Once you have removed each blade from the motor housing, you can begin to switch them around to reverse the airflow direction. Ensure that all the blades are facing downwards so they can pull air towards it instead of pushing away.
Step 4: Clean Blades
Before you begin to reattach the blades to the fan motor, make sure to clean them with a clean cloth. This will ensure your fan runs optimally and effectively, producing air in your desired direction.
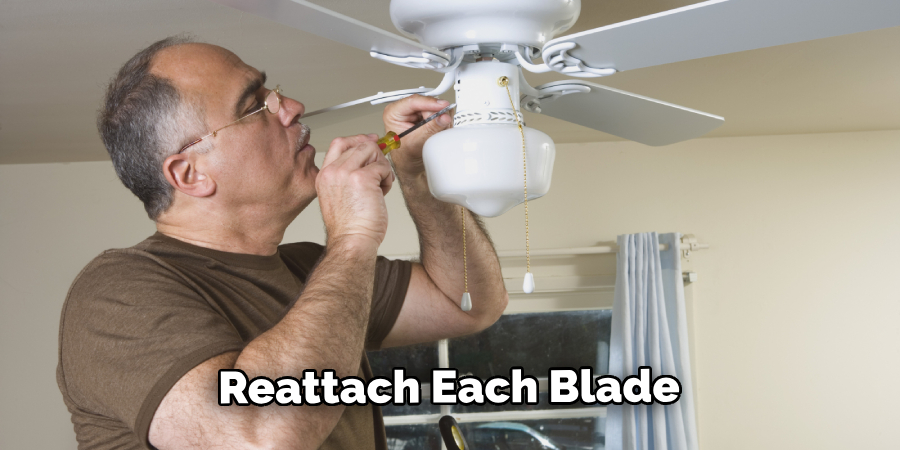
Reattach each blade back to the fan motor assembly and ensure they are securely fastened. Refer to your product manual if you’re uncertain how a blade should be installed.
Step 5: Reassemble the Fan System
Once all the blades are secured, reassemble the rest of the fan system by replacing any lights or remote controls. Turn the power source for your fan back on and ensure that all fan system components are operational. This includes checking if any lights, remotes, or speeds work correctly.
Step 6: Test the Direction of Air Flow
Once you have verified that your HunterFan is running, the last step is to test the airflow direction. Sit back and enjoy a comfortable breeze from your reversed fan. These steps provide an easy way to reverse your Hunter Fan without having to replace any hardware or switch.
Safety Precautions for How to Reverse a Hunter Fan Without Switch
- Always turn off the power before working on your Hunter fan motor. It is important to ensure that there is no power running through the motor while you are adjusting or attempting any repairs.
- Wear safety glasses when attempting this method to ensure proper eye protection against dust, debris, and other particles that may fly out during the process.
- Use insulated tools or gloves when working with the fan motor. This is important to avoid any accidental electric shock from occurring while you are reversing the direction of your Hunter fan.
- Be cautious when unscrewing and lifting off the fan’s housing, as it may be difficult to put it back together without damaging any of its parts.
- Before adjusting it, be aware of the fan’s wires and how they are connected to the motor. Taking a picture of the connections beforehand will help you remember where each wire should be reconnected after reversing the fan’s direction.
- Replace any worn or damaged components on your Hunter fan before attempting to reverse its direction.
- If you are still determining what steps to take or do not feel comfortable with the process, it is best to contact a professional technician for assistance.

Once you have taken all these safety precautions and gathered all the necessary tools and components, you are ready to begin reversing the direction of your Hunter fan without a switch.
Do You Need to Call a Professional to Help You Change the Direction of Your Fan?
Reversing your Hunter fan without a switch can be tricky and may require some knowledge of electrical wiring. If you’re unsure or uncomfortable with the process, calling an expert technician for assistance may be best. A professional will have the experience and tools necessary to help you properly reverse the direction of your fan in no time. It also provides peace of mind that the job is done correctly and safely.
Always read through your fan’s manual before attempting any repairs or adjustments, as some models may require specific tools or have other instructions for reversing its direction without a separate switch.
Additionally, contacting Hunter customer service for help is another option if you need assistance. Reversing a Hunter fan without a switch can seem daunting at first. Still, with the right knowledge and safety precautions, you can successfully change the direction of your fan quickly and easily.
Are There Other Considerations You Should Make Before Reversing Your Fan Without a Switch?
Yes, there are a few important considerations you should take into account before reversing your fan without a switch. Make sure the fan motor is unplugged before attempting to reverse it. It’s also essential to isolate any electrical supply and ensure that all blades are securely fastened to the mounting bracket. If you need more clarification, consult an experienced electrician or contact a representative from Hunter to help you with the task.

Additionally, start with the fan blades in their correct position before attempting to reverse them. A good rule of thumb is that the highest point on each blade should always face down toward the floor. If you’re having trouble visualizing this, hunter fans typically imprint arrows onto the motor housing to indicate the airflow direction. Finally, note that reversing your fan without a switch will also reverse the speed settings of the fan.
How Long Will It Take Me to Reverse Your Fan Without a Switch?
Reversing a Hunter fan without a switch can be done in as little as 10 minutes. However, the amount of time it takes will vary depending on the type of fan and the complexity of the wiring. In some cases, you may need to remove some parts of the fan to access its wiring, which could add additional time to the process. Additionally, if you are unfamiliar with the fan’s wiring, consult an experienced electrician or other qualified professional.
Before attempting to reverse your fan without a switch, ensure you have all the necessary tools and materials needed for the job. This will help ensure the process goes smoothly and minimize potential safety risks. You should also ensure that you clearly understand the Hunter fan’s wiring scheme and any applicable safety regulations.
Once you have the necessary tools and materials, it is time to start reversing your fan without a switch. Carefully review the directions included with your fan to determine which wires need to be switched.
Are There Any Safety Hazards When Reversing a Hunter Fan Without Switch?
If you are attempting to reverse a Hunter fan without the use of a switch, there is the potential for some risks. Always turn off and unplug any electrical appliance before doing maintenance or repair. In addition, take caution when removing screws or nuts from the ceiling fan, as these can be sharp and cause injury if mismanaged.
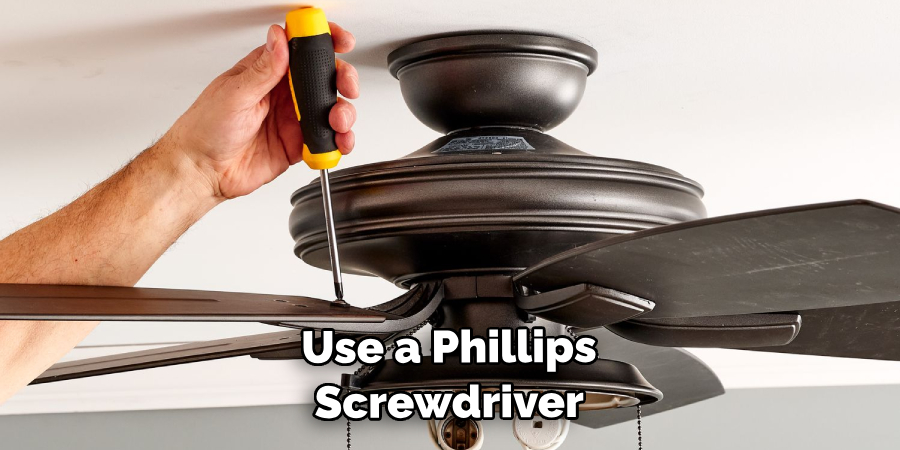
Once all of the necessary safety precautions have been taken, you can begin to reverse your Hunter fan without a switch. First, use a Phillips screwdriver or similar tool to remove the canopy from the fan base. Once this has been done, locate and unscrew the reversing switch on the motor itself. This will allow access to both sets of wires going into the motor. You must locate the black (neutral) and blue (common) wires on the motor connections.
Conclusion
In conclusion, reversing a Hunter fan without a switch is an easy task that can be done in just a few steps. You will need to locate the reverse switch on your fan’s motor housing and ensure it’s in the off position before continuing with the next step. Then, use a screwdriver to disengage or engage the reversing mechanism, depending on whether you want your fan to rotate clockwise or counterclockwise. I hope this article has been beneficial for learning how to reverse a hunter fan without switch. Make Sure the preventive measures are followed chronologically.
About
Angela is the chief editor of Indoorense. She began her career as an interior designer before applying her strategic and creative passion to lifestyle and home.
She has close to 15 years of experience in creative writing and online content strategy for housekeeping and cleaning,home decorations as well as other efforts.
She loves her job and has the privilege of working with an extraordinary team. She lives with her husband, two sons, and daughter in Petersburg. When she’s not busy working she spent time with her family.