
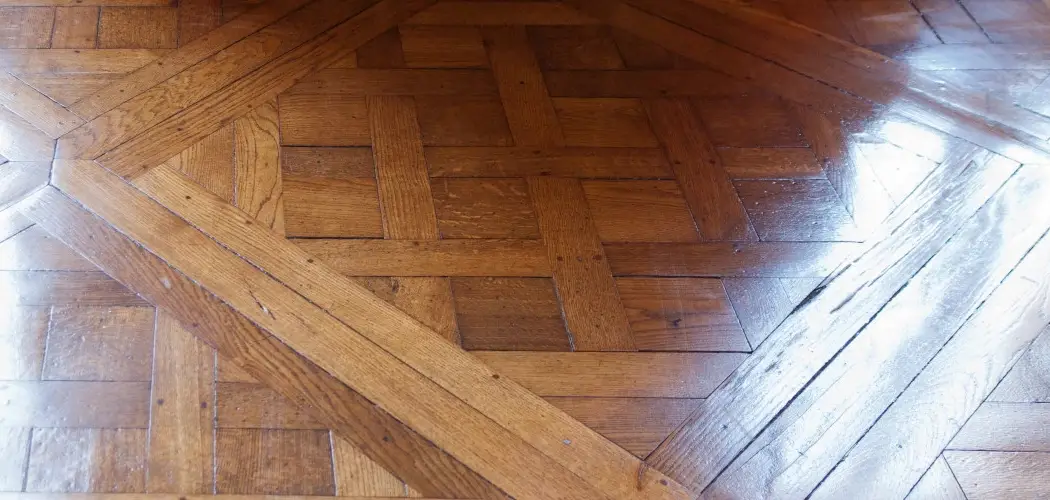
Parquet flooring, renowned for its intricate patterns and natural wood beauty, can be a timeless feature of any home, lasting for decades with the proper care. Its unique design can elegantly enhance rooms, but regular attention and maintenance are crucial to maintaining its stunning appearance. Over time, parquet floors may face common issues such as scratches, dullness, or discoloration, largely due to foot traffic, moisture exposure, and insufficient upkeep. When these problems arise, it’s essential to refresh the floor to restore its original shine.
The goal of this article is to be your guide on how to restore parquet flooring, offering a clear, step-by-step process to revitalize and protect this precious element of your home. By following these instructions, you can ensure your parquet flooring continues to be a focal point that impresses you for many years.
Why Restoring Parquet Flooring is Important
Prolongs Lifespan:
Parquet flooring is renowned for its durability, potentially lasting decades when properly maintained. By periodically restoring the surface, you prevent more severe damage, such as water stains or deep scratches, from becoming permanent and compromising the floor’s integrity. Addressing minor issues through timely restoration ensures the floor’s longevity and maintains its structural soundness.
Improves Aesthetic Appeal:
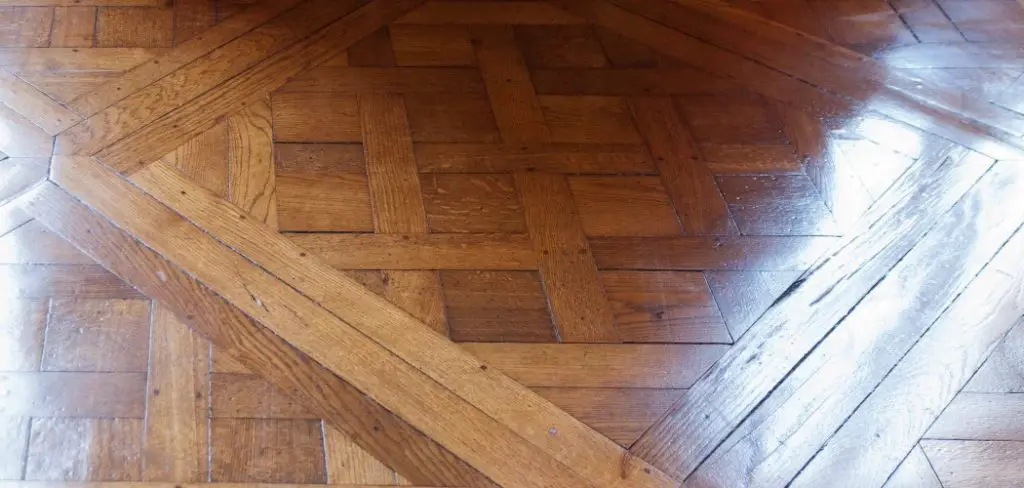
Over time, parquet floors’ original shine and beauty can diminish due to wear and tear. Dust, dirt, and foot traffic can dull the vibrant hues, making the wood seem lackluster. Restoration revitalizes the floor’s warm, rich appearance, allowing it to regain its natural glow and showcase the intricate patterns that define its elegance.
Increases Home Value:
Well-maintained parquet flooring is a highly desirable feature that appeals to potential buyers. It signifies a level of quality and style that is both timeless and sophisticated. A beautifully restored floor can elevate the overall appeal of your home, often leading to increased value and a better return on investment.
Cost-Effective:
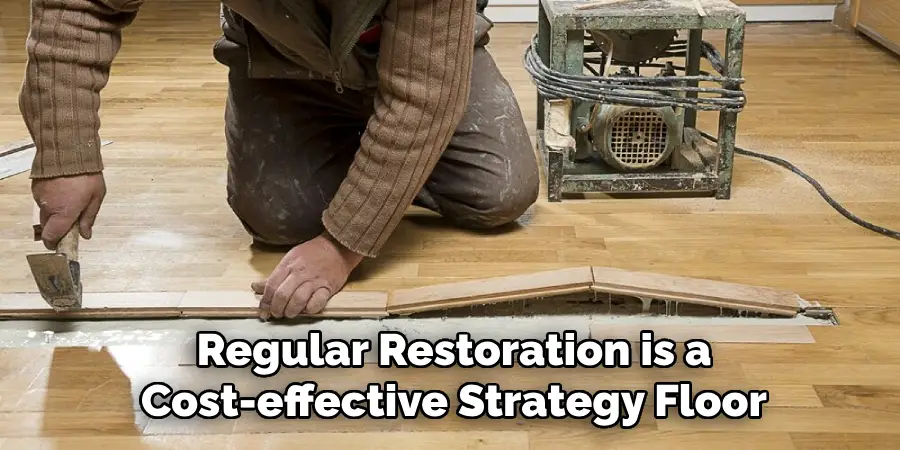
Regular restoration is a cost-effective strategy to keep your parquet floors in top condition. It’s significantly more affordable than replacing the floor entirely. With proactive care, you can avoid expensive repairs or replacements, ensuring that your floor remains stunning without breaking the bank.
Tools and Materials Needed
Restoring parquet flooring requires a well-equipped toolkit to ensure a professional finish. Here’s a list of essential tools and materials you’ll need for the process:
Tools:
- Floor Buffer or Orbital Sander: Essential for sanding the parquet to achieve a smooth surface.
- Vacuum Cleaner: To remove dust and debris after sanding and between steps.
- Soft-Bristle Broom: For initial cleaning, keep the surface clear of larger particles.
- Putty Knife: Useful for applying wood filler and removing any excess material.
- Microfiber Cloth or Mop: For cleaning and applying finishes evenly.
Materials:
- Fine-Grit Sandpaper: Necessary for delicate sanding tasks and ensuring a smooth finish.
- Wood Filler: Used to fill any gaps or repair damaged areas of the parquet.
- Stain (Optional): If you wish to change or enhance the color of the wood.
- Wood Floor Cleaner: Specially formulated to clean without damaging the finish.
- Polyurethane Varnish or Floor Wax: To protect and add a polished shine to the floor.
- Painter’s Tape (Optional): Helps in protecting walls or baseboards during sanding and finishing.
Preparing the Floor for Restoration
Before you begin the restoration process, it is essential to prepare your parquet floor properly. Proper preparation ensures that the floor is ready for the subsequent steps and helps achieve the best possible result.
Step 1: Remove Furniture and Rugs
First, clear the room completely of all furniture, rugs, or other items. This is crucial because having the entire floor accessible will allow you to work efficiently and meticulously without obstructions. Make sure every object, big or small, is relocated to guarantee that no floor sections go untreated.

Step 2: Clean the Floor Thoroughly
Once the room is empty, sweep the floor with a soft-bristle broom. This will help remove surface dirt and dust, making the area safer and easier to work on. Follow this by vacuuming to catch every bit of debris, especially those lodged between the parquet tiles. Ensuring that the floor is debris-free will enhance the effectiveness of subsequent sanding steps.
Step 3: Inspect for Damage
Now, carefully inspect the parquet for any visible damage, such as deep scratches, gaps between wood tiles, or water damage. Use a wood filler to repair any small gaps or scratches you find. This will create a uniform surface, ready for sanding and finishing.
Step 4: Tape Off Baseboards
Apply painter’s tape to the edges of your baseboards to protect them from accidental scratches or spills during sanding or sealing. This precaution will safeguard against unintended damage, maintaining the overall aesthetic and integrity of the room.
How to Restore Parquet Flooring: Sanding the Parquet Floor
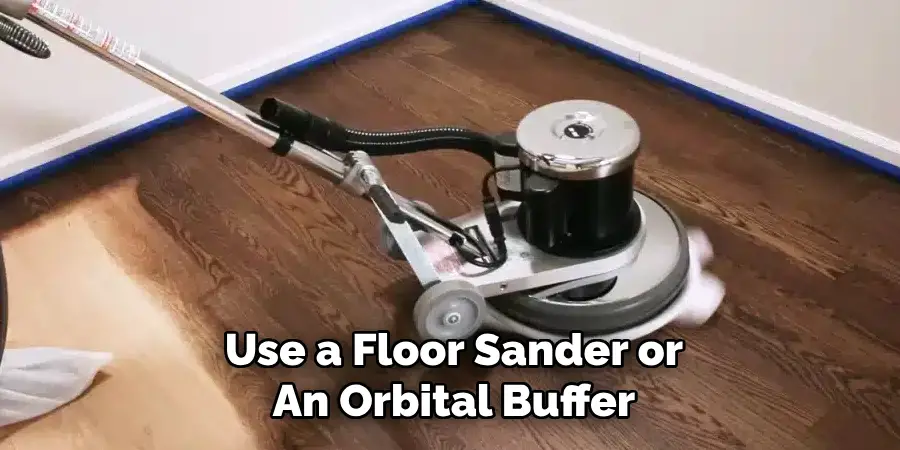
Step 1: Use a Floor Sander or Buffer
For larger areas of your parquet flooring, it’s essential to use a floor sander or an orbital buffer with fine-grit sandpaper, ideally between 120 and 150 grit. This tool will help you achieve a smooth, even surface. Glide the sander gently over the floor without applying excessive pressure, as pressing too hard can damage the delicate parquet pattern. Maintaining an even speed and motion is key to avoiding gouges and ensuring the integrity of the wood remains intact throughout the process.
Step 2: Hand Sand the Edges and Corners
While a large sander is excellent for wide, open spaces, you will need to pay special attention to the room’s edges and corners where it can’t reach. Use a sanding block or a hand sander to work these areas carefully. Focus particularly on the intricate details, ensuring the parquet pattern around these edges is not obscured or harmed. This meticulous attention to corners and edges ensures a comprehensive sanding job that prepares the entire floor for finishing.
Step 3: Remove Old Finish
As you sand, the process will naturally strip away the old finish, revealing the raw wood beneath. It’s important to work methodically and cover the entire surface area uniformly to ensure that no patch of the old finish remains. Aim for a consistently smooth texture across the floor, as this will form the foundation for applying a new, even finish later in the restoration process.
Step 4: Clean the Dust
After you’ve sanded the floor to the desired smoothness, removing all dust and debris is crucial. Begin by vacuuming the floor thoroughly to suck up the majority of loose particles. Then, follow up with a microfiber cloth or mop to wipe away any lingering dust. This step is vital, as remaining dust can compromise the quality of the finish, leading to an uneven or flawed appearance once it’s applied.
How to Restore Parquet Flooring: Staining and Finishing the Parquet Floor
Step 1: Choose a Stain (Optional)
If you wish to change or enhance the color of your parquet floor, begin by selecting an appropriate wood stain. Apply the stain using a soft cloth or brush, ensuring that the distinctive wood grain pattern of the parquet is followed to achieve an even coat. Adhering to the grain enhances the natural look and ensures a smoother application. Once applied, allow the stain to dry completely, following the manufacturer’s recommended drying time. This step is crucial for achieving the best finish and preventing any future peeling or uneven coloring.
Step 2: Apply the Finish
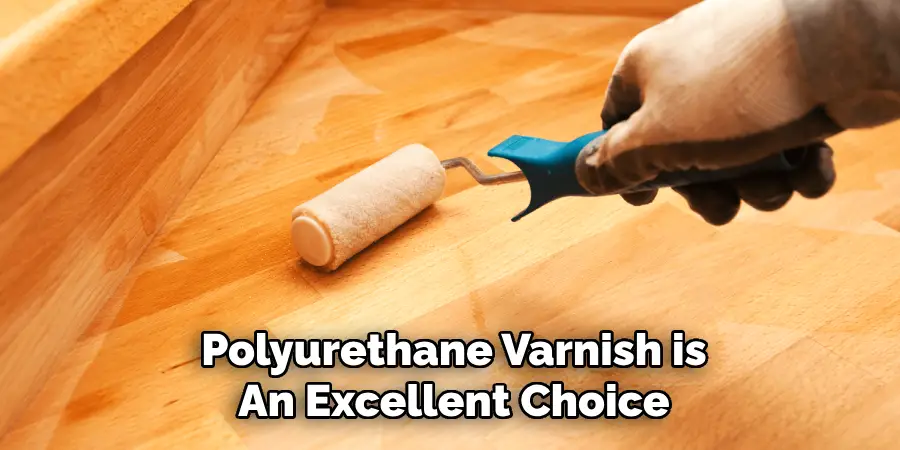
Selecting the right finish is essential for your parquet floor’s aesthetic and durability. If opting for a glossy, durable finish, polyurethane varnish is an excellent choice, especially for high-traffic areas. Start by applying a thin, even coat using a wide brush or roller. Allow the first coat to dry for 4-6 hours before lightly sanding the surface with fine-grit sandpaper to eliminate any imperfections or bubbles. Proceed with a second coat to ensure a uniform finish and let it cure fully. Alternatively, if a soft, matte finish is preferred, use floor wax.
Apply a thin layer of wax with a soft cloth or waxing applicator, and buff it well into the floor with a clean cloth or floor buffer to enhance its natural luster. Repeat this process if necessary to reach the desired sheen.
Step 3: Allow Drying Time
Patience is key during the finishing process. Regardless of the finish chosen, let the floor dry completely before use. Polyurethane finishes require up to 24-48 hours to harden fully, while wax finishes may only take a few hours. Ensuring a thorough drying process will extend the finish’s life and enhance the floor’s durability against everyday wear.
Step 4: Add Additional Coats
For further protection and to increase the lifespan of the finish, consider adding an additional coat of polyurethane or wax. This extra layer offers increased durability, particularly for areas subject to heavy foot traffic or potential spills. Ensure each additional coat is applied uniformly and allowed to dry thoroughly before using the floor to maintain a seamless and resilient surface.
Maintenance Tips After Restoration
Regular Cleaning
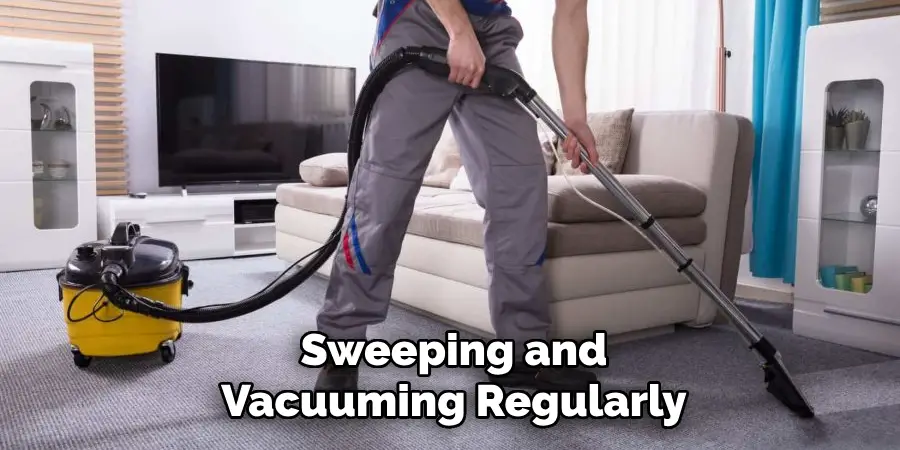
Sweeping and vacuuming regularly will maintain the beauty and integrity of your newly restored parquet floor. This routine helps prevent dirt and dust particles from scratching the surface, prolonging the life of your finish. For deeper cleans, rely on a microfiber mop paired with a wood-safe cleaner to effectively remove grime without damaging the floor.
Avoid Excess Moisture
Water poses a significant risk to parquet floors, as it can warp and damage the wood. Promptly attend to any spills by wiping them off immediately. When cleaning, steer clear of using excess water; instead, opt for a lightly dampened mop to avoid moisture seeping into the wood.
Use Rugs and Mats
Strategically placing rugs or mats in high-foot traffic areas, like entryways or beneath dining tables, can significantly reduce wear and tear. These protective coverings act as a barrier against dirt and prevent scratches, preserving the floor’s finish.
Reapply Wax or Sealant
If you’ve chosen a wax finish, plan to reapply a new coat every 6-12 months to sustain its protective surface. Should polyurethane be your finish of choice, consider a fresh coat every 2-3 years, adjusting based on the specific wear of your floor. Consistent reapplication ensures long-lasting protection and maintains the floor’s aesthetic appeal.
When to Call a Professional
While restoring your parquet floor can be a satisfying DIY project, certain situations demand professional expertise. Serious damage or warping is a prime reason to consult a specialist. If sections of your floor are significantly damaged, warped, or come loose, a professional can replace or repair these areas effectively before proceeding with restoration. Similarly, parquet floors often feature complex or intricate patterns that are challenging to sand or refinish evenly.

A professional will have the necessary skills and tools to restore these complex designs without causing damage. Furthermore, suppose your floor needs extensive repairs, such as large gaps or significant water damage. In that case, professionals are equipped to repair the subfloor or tiles, ensuring that the entire surface remains even and secure. These experts bring experience and precision, offering peace of mind and a high-quality finish that respects the floor’s original charm.
Conclusion
Restoring parquet flooring is a rewarding process that can breathe new life into your home, enhancing its beauty and elegance. The journey begins with proper preparation, as meticulously cleaning and assessing the condition of the floor are crucial steps. Sanding and finishing, executed carefully, can lead to stunning and long-lasting results. Regular cleaning and preventative measures, such as using rugs and limiting moisture exposure, are paramount to maintaining the floor’s luster.
These efforts will substantially reduce the need for frequent refinishing, preserving the floor’s appearance for years to come. Using the right tools and materials specific to your type of parquet is essential; always prioritize quality to achieve the best finish. In instances of doubt or if complex repairs are needed, it’s advisable to consult a professional. By following these guidelines, learning how to restore parquet flooring will ensure a successful and satisfying restoration project.
About
Angela is the chief editor of Indoorense. She began her career as an interior designer before applying her strategic and creative passion to lifestyle and home.
She has close to 15 years of experience in creative writing and online content strategy for housekeeping and cleaning,home decorations as well as other efforts.
She loves her job and has the privilege of working with an extraordinary team. She lives with her husband, two sons, and daughter in Petersburg. When she’s not busy working she spent time with her family.