

Whether you’re trying to save on your energy bill or want to update your light bulbs, replacing them in a high ceiling chandelier can be daunting. However, it’s pretty easy with a bit of know-how and the right tools! This blog post will show you how to replace light bulbs in high ceiling chandelier like a pro.

Why Replace Light Bulbs on The High Ceiling?
There are a few reasons why you might want to replace light bulbs in the high ceiling chandelier. First, perhaps the old bulbs are starting to flicker or dim, in which case it’s important to replace them as soon as possible to avoid further damage. Another reason to replace light bulbs in a high ceiling chandelier is if you’re looking to update the look of your space. Updating to a different type of light bulb can give your room a whole new feel!
What You’ll Need
Replacing Light Bulbs in a High Ceiling Chandelier Can Be Tricky, So It’s Important to Have the Right Tools. Here’s What You’ll Need:
- A ladder or step stool
- A screwdriver
- A wrench
- New light bulbs
A Stepwise Guide on How to Replace Light Bulbs in High Ceiling Chandelier
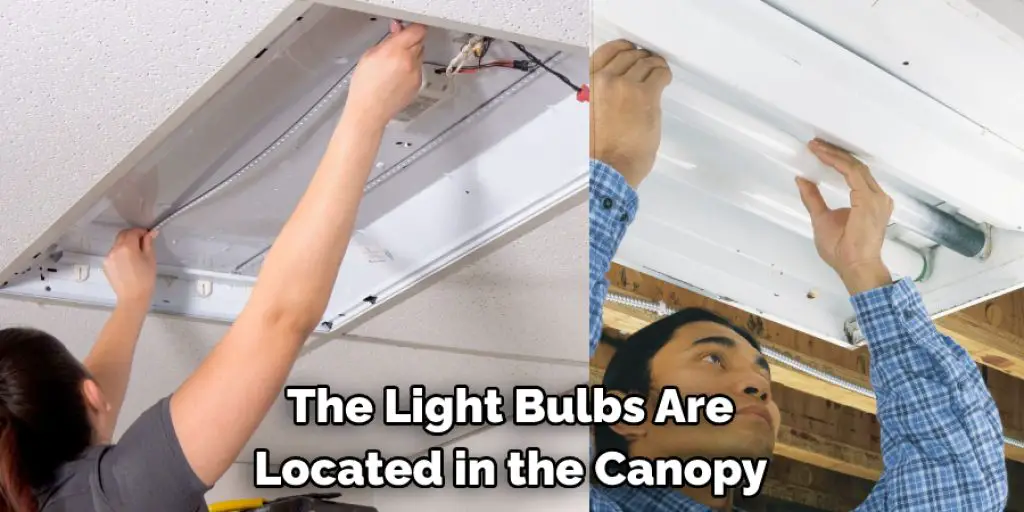
Step 1: Locate the Light Bulbs
The light bulbs are located in the canopy or chord that hangs from the ceiling. There will be a circular plate at the bottom of the canopy with six screws around the edge. The light bulbs are located behind this circular plate.
Step 2: Remove the Screws
There are usually between four and eight screws that hold the light cover in place. Remove them all and set them aside.
Step 3: Lift Off the Light Cover
Carefully lift off the light cover, making sure not to touch any bulbs. If you have long hair, be especially careful not to let any of your hair touch the bulbs.
Step 4: Remove the Canopy
There are typically two screws that attach the canopy to the electrical box. Unscrew these and set them aside. If a chain or wire hangs down from the canopy, unhook it from the fixture. Now you can lift the canopy off of the fixture.
Step 5: Remove the Globe
Carefully remove the globe from the light fixture. The globe will be screwed on or held in place with a clip. If it is screwed on, use a screwdriver to loosen the screws. If it is clipped in, use your fingers or a pair of pliers to pull it off gently.
Step 6: Remove the Lamp Harness
If your chandelier has a lamp harness, you will need to remove it to change the light bulbs. This is typically a simple process of unscrewing a few screws. Once the screws are removed, you can gently pull on the harness to release it from the chandelier.
Step 7: Remove the Old Bulb
Now it is time to remove the old bulb. Reach up as high as you can and twist the bulb counterclockwise to remove it. If the bulb is too tight to twist by hand, use a pair of pliers to get a better grip. Be very careful not to touch the glass with your hands, as this will cause the bulb to break.
Step 8: Insert the New Bulb
Once the old bulb is out, insert the new one into the socket. Twist it clockwise until it is tight. If you are having trouble reaching the bulb, use a tool such as a broom handle or a long screwdriver to help you.
Step 9: Test the Bulb
Once the new bulb is in place, test it to ensure it is working. Turn the light switch on and off a few times to ensure the light comes on. If it doesn’t, try flipping the switch a few more times. If the light still doesn’t come on, there may be something wrong with the switch.
Step 10: Put the Chandelier Back Together
Reattach the arms to the body of the chandelier. If any of the arms are not level, use the adjustment screws on the arm to adjust them. Be careful not to overtighten these screws, or you may damage the arm.
Once all of the arms are in place, reattach the crystals. Again, if any of the crystals are not level, use the adjustment screws on the arms to adjust them.
If your chandelier has a light kit, reattach it by following the manufacturer’s instructions. It’s usually as simple as lining up the kits’ holes with those on the chandelier and twisting the screws to tighten. If you have an electrician do this for you, make sure that the wires from the chandelier are entirely hidden behind the light kit. Then, turn on the chandelier and admire your work!

Replacing a light bulb in a high ceiling chandelier can seem like a daunting task, but you can do it yourself with these simple steps! Be careful when working with electricity and always read the manufacturer’s instructions before attempting any repairs. Have fun with this project, and enjoy your beautiful chandelier! If you want to know more about how to replace light bulbs in high ceiling chandelier, keep reading.
Some Other Methods You Can Follow to Change Light Bulbs in High Ceiling Chandelier
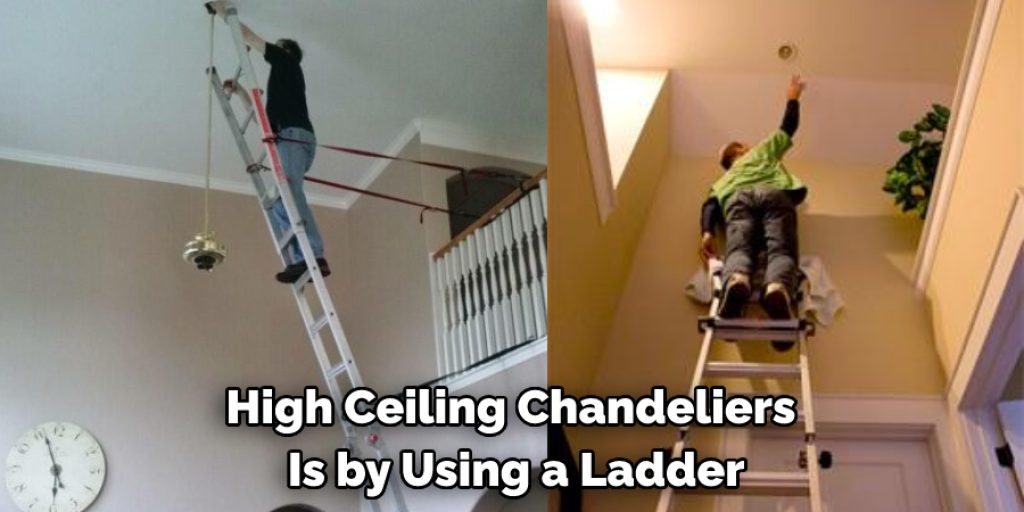
Use of Ladder:
Another way to change light bulbs in high ceiling chandeliers is by using a ladder. When using a ladder, be sure that it is sturdy and stable before ascending. Also, be sure to have someone help you steady the ladder while changing the light bulb.
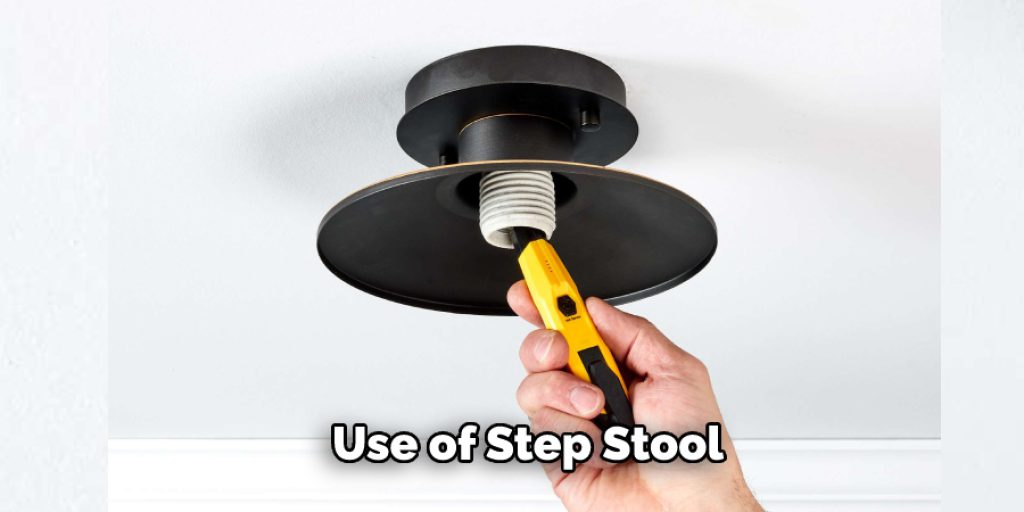
Use of Step Stool:
One way to reach light bulbs in high ceiling chandeliers is by using a step stool. Place the stool directly under the light fixture and climb up to change the bulb. Be cautious when reaching high places, as you do not want to fall.
Another way to replace light bulbs in high ceiling chandeliers is by using a broom or long pole. Place the broom or pole directly under the light fixture and reach up to change the bulb. But, again, be sure to use caution when reaching high places.
Use of Telescoping Bulb Grabber:
A telescoping bulb grabber will make the job much easier if you have a telescoping bulb grabber. If not, you can still do it, but it will be a little more difficult. First, extend the telescoping arm of the bulb grabber all the way and place the curved end over the top of the light bulb. Then, carefully pull the bulb out of the socket.
If you are not using a telescoping bulb grabber, you will need a ladder to reach the light bulb. Extend the ladder to its tallest height and carefully climb up. Make sure that the ladder is stable before climbing on it. Once you are at the top of the ladder, carefully remove the light bulb from the socket. If it is difficult to reach, you can use a step stool or a chair to get up higher.
Be very careful when changing light bulbs, as they can be fragile. Ensure that the ladder is stable and that you have a firm grip on the light bulb before removing it from the socket.
Use of lift:
If you have a lift or ladder, replacing the lightbulbs will be much easier. If not, you can try to use a chair or other object to stand on to reach the bulbs. Keep reading for more information about how to replace light bulbs in high ceiling chandelier.
Disposing of Light Bulbs
When it comes time to dispose of light bulbs, there are a few different things that you can do. One option is to take the light bulb to a recycling center. This is a good option if the light bulb is still in good condition and you don’t want to waste the resources that went into making it. Another option is to throw the light bulb away in the trash. This is a good option if the light bulb is broken or you don’t have a recycling center nearby.
The third option, which we will discuss in this article, is to replace the light bulb. This is a good option if the light bulb is not working properly or if it has been damaged. When it comes to replacing light bulbs, there are a few things that you need to keep in mind. One of the most important things is the height of the ceiling. If the ceiling is high, you will need a ladder or a step stool to replace the light bulb.
Frequently Asked Question
Do You Need to Hire an Electrician?
You do not need to hire an electrician to replace light bulbs in a high ceiling chandelier. However, be aware of the potential hazards of working with electricity and take appropriate precautions when replacing light bulbs.
Is It Possible to Replace Light Bulbs?
Yes, replacing light bulbs in a high ceiling chandelier is possible without hiring an electrician. However, be aware of the potential hazards of working with electricity and take appropriate precautions when replacing light bulbs.
Is It Necessary to Paint the Cathedral Ceiling?
No, it is unnecessary to paint the cathedral ceiling when replacing light bulbs in a high ceiling chandelier. However, be aware of the potential hazards of working with electricity and take appropriate precautions when replacing light bulbs.
You can check it out to Change Light Bulbs in High Places
Conclusion
Replacing light bulbs in high ceiling chandeliers can be daunting, but it can be done with the right tools and patience. Follow these simple steps to get the job done without any trouble. Thanks for reading our post about how to replace light bulbs in high ceiling chandelier.