Having vinyl windows in your home can be both cost-effective and energy efficient. But when a window frame fails, it’s time to break out the tools and get to work. Vinyl frame repair may seem intimidating at first, but with the right advice and guidance, you’ll be able to restore your window to its original state.
In this blog post, we will provide step-by-step instructions on how to repair vinyl window frame, what materials you’ll need for the job, and how best to complete the repair process quickly and safely. So if you’re ready for a DIY challenge, then let’s get started!
Importance of Maintaining and Repairing Vinyl Window Frames
Maintaining and repairing vinyl window frames is essential to preserving the integrity of your home. Vinyl window frames are a popular choice among homeowners due to their energy efficiency, low maintenance requirements, and easy installation.
However, if not properly maintained and repaired, vinyl window frames can become cracked or warped, leading to costly repairs. Additionally, improper maintenance can cause cracks to form, allowing air and water to enter the home, which can damage both the window frame and the structure of your home.
Although vinyl is an extremely durable material, it still needs regular maintenance. It’s important to inspect your windows regularly for signs of wear and tear or deterioration. If you notice any discoloration, cracking, warping, or other damage to your window frames, it’s important to act quickly. Ignoring these issues can lead to more costly repairs down the line and could even impact the structural integrity of your home.
It’s also important to keep an eye on how well your windows are sealing against outside weather conditions. If you find that there are drafts or other air leaks coming in, it’s likely time to repair your window frame. If you have a double-paned window, it’s especially important to make sure that both panes are properly sealed. If not, air can escape through the gap, leading to increased energy costs.
Identifying Common Issues with Vinyl Window Frames
Vinyl window frames are a popular choice for homeowners due to their durability, low maintenance, and affordability. However, like any other material, they can become damaged over time.
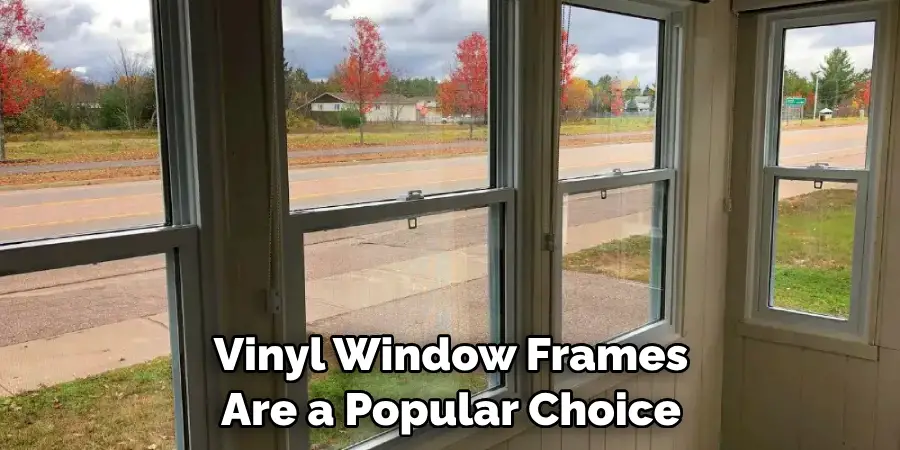
Common repair issues with vinyl window frames include cracking or warping due to temperature changes, discoloration from exposure to the sun, and water damage caused by improper sealing. If you’re looking to repair a vinyl window frame, it helps to first identify what issue is causing the problem and then determine the best course of action for a lasting repair.
Cracks and warping are usually the results of extreme temperature fluctuations or physical stress on the frame. The best way to prevent these issues is to ensure that your windows are properly insulated, sealed, and maintained. If you do find cracks in your vinyl window frame, they can often be filled with a vinyl epoxy or specialized repair compound and then sanded down to create a smooth finish.
Discoloration caused by sun exposure can be more difficult to fix, as the original color of the frame is often impossible to restore. In this case, the best option is usually to repaint the frame with durable, weather-resistant exterior paint.
10 Methods How to Repair Vinyl Window Frame
1. Assess the Damage:
Before beginning the repair process, carefully assess the damage to the vinyl window frame. Determine the size and severity of the issue, whether it’s a small crack, a hole, or a damaged section.
This assessment will help you choose the most appropriate repair method and gather the necessary materials. When assessing the damage, make sure to look for signs of rot or mold. Although vinyl frames are typically waterproof, moisture can still get in and cause rot or mold if left unchecked.
2. Clean the Damaged Area:
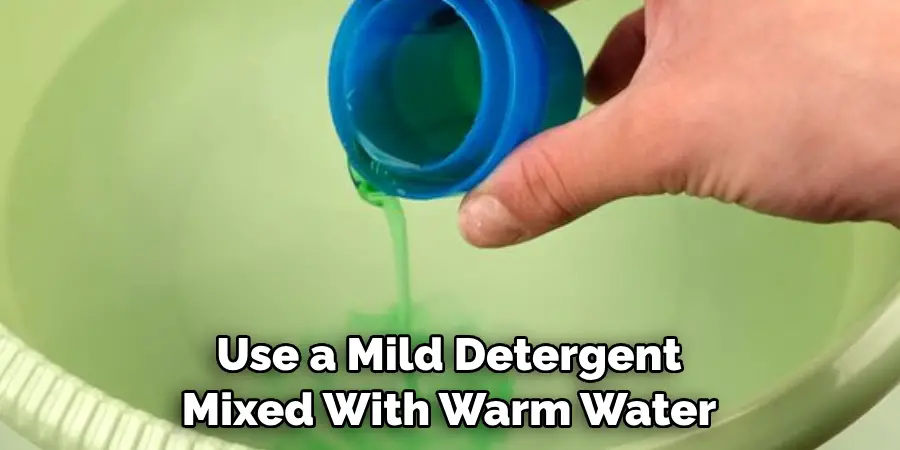
Thoroughly clean the damaged area of the vinyl window frame to ensure proper adhesion of the repair materials. Use a mild detergent mixed with warm water and a soft cloth to remove any dirt, debris, or grime. Rinse the area with clean water and allow it to dry completely before proceeding.
While cleaning, inspect the frame for any additional damage that may need to be repaired. Although this is a small repair job, it’s important to make sure that all of the problems are corrected. Additionally, if the frame has been painted or stained previously, make sure to clean off any loose paint chips or debris.
3. Fill Small Cracks and Holes:
For small cracks or holes in the vinyl frame, you can use a vinyl repair kit or an epoxy-based filler. Follow the manufacturer’s instructions to mix and apply the filler. Use a putty knife or a small spatula to spread the filler evenly over the damaged area, filling the crack or hole completely. Smooth out the surface and remove any excess filler. Allow the filler to dry and cure as per the manufacturer’s recommendations.
4. Patch Larger Damaged Areas:
If the damage extends to a larger area of the vinyl frame, you may need to patch it using a vinyl patch kit. These kits typically include a piece of vinyl patch material, adhesive, and sometimes a heat gun.
Cut the patch material to fit the damaged area, ensuring it overlaps the damaged edges. Apply the adhesive to both the patch and the damaged area, then press the patch firmly into place. Use a heat gun as instructed to activate the adhesive and ensure a secure bond.
5. Repair Cracked Corners:
Cracked corners of a vinyl window frame can be repaired using corner brackets or reinforcing splines. Remove the damaged corner piece, clean the area, and position the bracket or spline in place. Secure it using screws or adhesive, following the manufacturer’s instructions. This method will reinforce the corner and prevent further cracking.
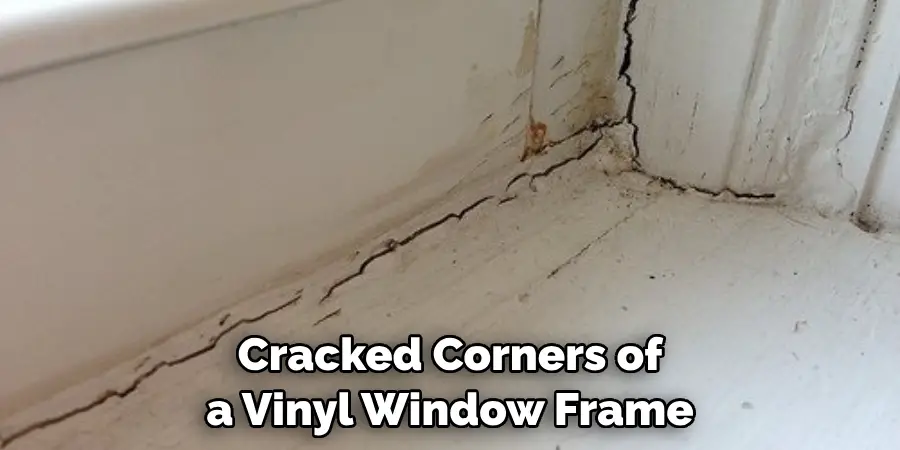
While the reinforcements will not be visible, they will help keep the corners in place. For larger cracks, use a vinyl repair kit to fill and seal the area. Follow the instructions for the best results. Once the repair kit is dry, sand it down and paint the area to match the surrounding frame.
6. Replace Damaged Sections:
In cases where the damage is extensive or irreparable, it may be necessary to replace the damaged section of the vinyl window frame. Measure the dimensions of the damaged section and purchase a replacement piece from the manufacturer or a reputable supplier. Carefully remove the damaged section and install the new piece following the manufacturer’s guidelines. Ensure a proper fit and secure the new section in place.
7. Fix Drafts and Seal Gaps:
If the vinyl window frame has gaps or allows drafts, you can use weatherstripping or caulk to seal them. Apply weatherstripping tape or adhesive-backed foam strips around the frame, ensuring a tight seal when the window is closed.
Additionally, use silicone caulk to seal any gaps or cracks around the frame where air may be leaking. Smooth the caulk with a caulk finishing tool for a clean finish. Allow the weatherstripping or caulk to dry before closing the window. If there are any old, cracked pieces of weatherstripping, replace them with new weatherstripping material.
8. Restore Faded Vinyl:
Over time, vinyl window frames can fade or lose their color due to exposure to sunlight. To restore the color and appearance, consider using a vinyl restoration product or a vinyl paint specially formulated for exterior use. Clean the frame thoroughly, apply the restoration product or paint according to the manufacturer’s instructions, and allow it to dry completely. This method will rejuvenate the appearance of the vinyl frame and provide protection against further fading.
9. Lubricate Moving Parts:
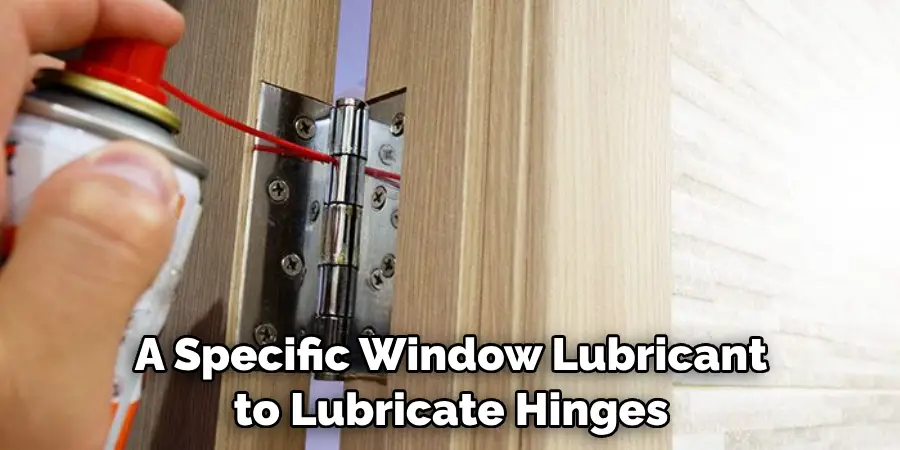
If the vinyl window frame has moving parts that are sticking or difficult to operate, lubrication can help restore smooth functionality. Use a silicone-based lubricant or a specific window lubricant to lubricate hinges, tracks, and other moving components. Apply the lubricant sparingly and wipe away any excess to prevent buildup and maintain smooth operation. Make sure to follow the manufacturer’s instructions for any lubricant you use.
10. Regular Maintenance and Inspection:
To prevent future damage and ensure the longevity of your vinyl window frame, implement a regular maintenance routine. Clean the frames regularly, inspect for any signs of damage or wear, and address any issues promptly. Routine maintenance will help you identify and resolve problems early, preventing further damage and costly repairs.
Conclusion
With any repair or renovation project, preparation and planning are key. The same goes for how to repair vinyl window frames. When you know what tools and materials you’ll need, the process becomes much smoother. There’s no reason to put off this home improvement project any longer you have the information you need to make your windows look as good as new!
And with a few simple steps, your repaired vinyl window frames can increase your energy efficiency and look great at the same time. All that’s left is to get started!
After gathering the necessary items, measure and mark the frame before following these instructions cut upholstery strips, glove anoint lubricant into channels, apply patch material, replace broken screws or clips and glaze glass edges as needed. Now it’s time to enjoy the fruits of your labor– beautiful window frames that make a statement about your commitment to excellent craftsmanship!
About
Angela is the chief editor of Indoorense. She began her career as an interior designer before applying her strategic and creative passion to lifestyle and home.
She has close to 15 years of experience in creative writing and online content strategy for housekeeping and cleaning,home decorations as well as other efforts.
She loves her job and has the privilege of working with an extraordinary team. She lives with her husband, two sons, and daughter in Petersburg. When she’s not busy working she spent time with her family.

