

Do you have unsightly water stains on your popcorn ceiling? Have your efforts to remove them come up short? You wouldn’t be the first person in this position, and you certainly won’t be the last. Water damage is a common problem for homes with textured ceilings but there are solutions that can restore it back into its original form. In this blog post, we’ll discuss how to repair popcorn ceiling water damage so you can get rid of those pesky stains once and for all.
So grab a cup of coffee and read on as we cover everything from assessing the level of damage, determining the cause, cleaning things up like a pro, repairing the affected plaster or drywall board – including patching holes if necessary-and finishing touches to help freshen things up. Here’s hoping this guide helps put an end to any worries about how difficult it might be – because it isn’t too complicated after all!
What is Popcorn Ceiling?
Popcorn ceilings, also known as cottage cheese or acoustic ceilings, are a common type of finished ceiling in many homes. It looks like popcorn due to the fact that it is made up of tiny bumps created by sprayed-on textured paint. This allows for easier cleaning and coverage than other types of ceilings. It is also very popular for providing a cozy and warm atmosphere.
Necessary Materials
- Waterproof Spray Primer
- Drywall Compound and Tools (Tapes, Knives Etc.)
- Sander
- Paint Roller or Brush
- Clean Rags
- Vacuum Cleaner
- Drop Cloth Or Plastic Sheeting
Step-by-step Guidelines on How to Repair Popcorn Ceiling Water Damage
Step 1: Assess the Level of Water Damage
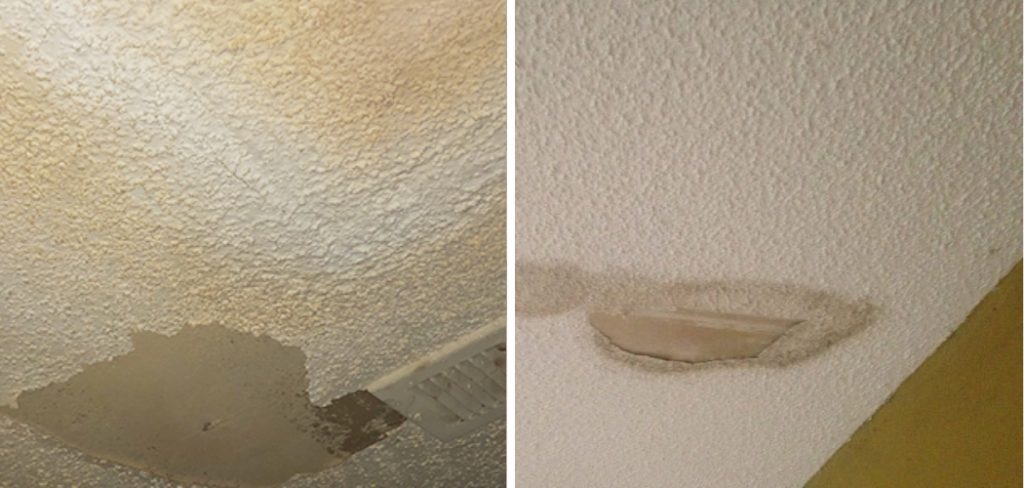
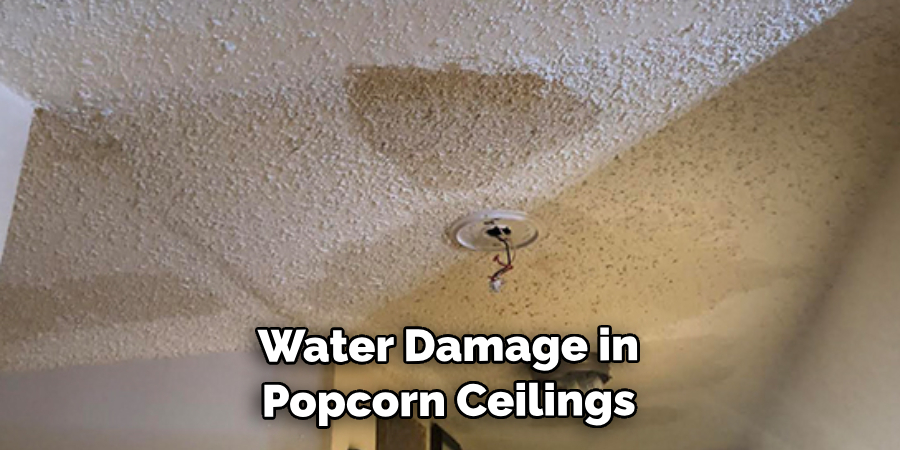
The first step in repairing popcorn ceiling water damage is to assess the severity of the damage. If you notice any discoloration or bubbling, chances are your ceiling has taken on some water damage. It is also important to note if the damage appears in any other areas of your home as this could be an indication that a plumbing issue may be present.
Step 2: Determine the Cause
Once you’ve assessed the level of water damage, it’s time to determine the cause. This can help you pinpoint where and what needs to be fixed before you get started on the repair. Common causes of water damage in popcorn ceilings include roof leaks, plumbing issues, and condensation from air conditioning units or pipes. It’s important to locate and fix the root cause of the problem before attempting any repairs.
Step 3: Clean Things Up
Before you start repairing your popcorn ceiling, it’s important to clean up the area. Remove any debris or dirt from the affected area with a vacuum cleaner and use a damp rag for any stubborn spots. This will help ensure that your repair job goes as smoothly as possible. But be sure to dry the area completely before moving onto the next step!
Step 4: Repair Plaster Or Drywall Board
If the water damage is severe enough, you may need to replace the plaster or drywall board. If there are any large holes in the ceiling, use a piece of scrap drywall or plywood to patch them up. Make sure that the surface is completely even and remove any bumps or ridges before continuing on with your repair job.
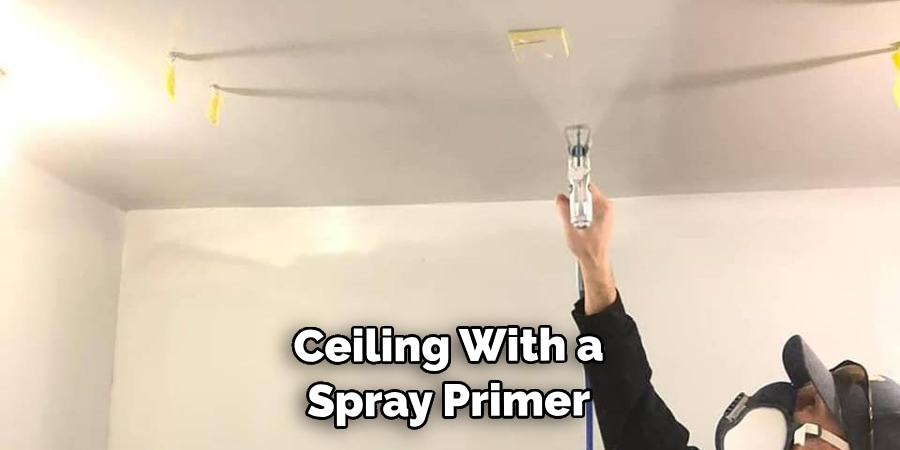
Step 5: Apply Primer
Once you’ve finished repairing the plaster or drywall board, it’s time to apply a primer. A waterproof spray primer will create a protective barrier between the ceiling and any future water damage. Make sure to use even strokes when applying the primer and allow it to dry completely before going on to the next step.
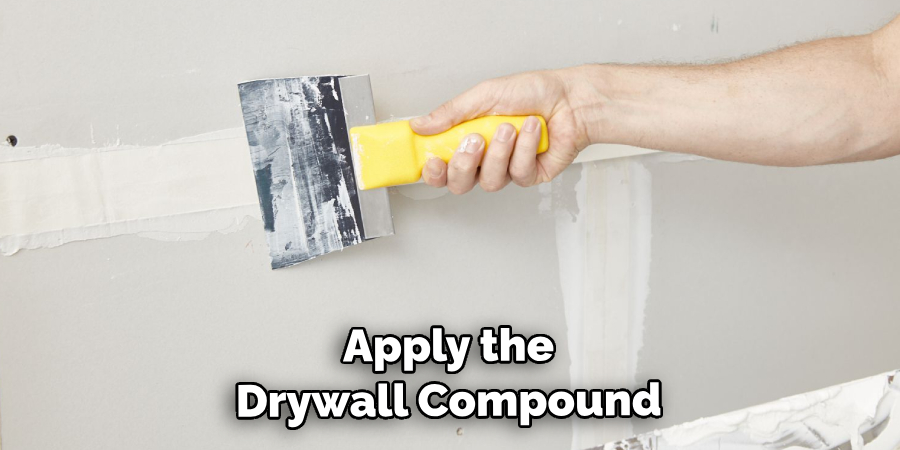
Step 6: Apply Drywall Compound
Now it’s time to apply the drywall compound. This will help cover any minor imperfections in the popcorn ceiling and create a smooth surface for painting. Use a putty knife or trowel to spread the compound evenly and make sure to fill in any small holes or cracks before it dries completely.
Step 7: Sand Down the Ceiling
Once the drywall compound has dried, it’s time to sand down the ceiling. Use a sander and some fine grit sandpaper to achieve a smooth surface. Make sure to go over every inch of the ceiling with your sander and be sure to get rid of any bumps or ridges. However, be sure not to sand too hard as this can remove some of the texture from you popcorn ceiling.
Step 8: Vacuum Up Any Remaining Dust
Once you’ve finished sanding the popcorn ceiling, vacuum up any remaining dust with a shop vac. This will help ensure that no particles remain on the ceiling before you start painting. It is also important to wipe the ceiling down with a damp cloth to get rid of any remaining dust particles.
Step 9: Paint Ceiling
Now it’s time to paint the ceiling! Start at the corners and edges of the popcorn ceiling and use a roller or brush for even coverage. Make sure that you apply several thin coats of paint instead of going over it with one thick coat. This will help create a uniform finish and cover any imperfections in your repair job.
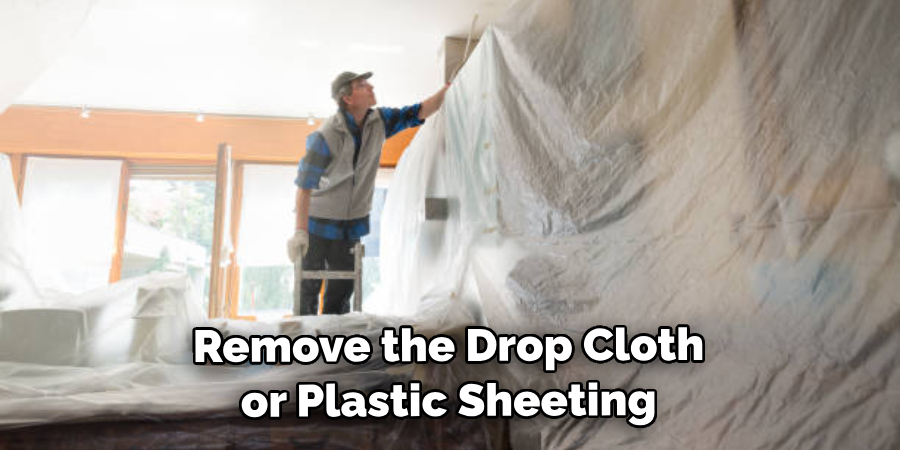
Step 10: Remove Drop Cloth or Plastic Sheeting
Once you’ve finished painting the ceiling, it’s time to remove the drop cloth or plastic sheeting. These materials can be recycled or reused for your next project. But before you select the materials for your next project – make sure to check for any possible signs of water damage.
Step 11: Freshen Things Up
The last step is to freshen things up! Use a damp rag to wipe down the ceiling and remove any dust or dirt that may have accumulated. You can also use a citrus-based cleaner to give it an extra shine. And then, voila! Your popcorn ceiling is as good as new! Always remember to check for water damage regularly, and stay on top of maintenance.
Whether you’re dealing with minor water damage or more serious issues, following these steps should help get your popcorn ceiling looking its best in no time. With a bit of elbow grease and some patience, you can be on your way to enjoying a beautiful, newly-repaired popcorn ceiling in no time!
We hope this guide helped shed some light on how to repair popcorn ceiling water damage. Be sure to follow all the steps we outlined for best results and don’t forget to use the correct materials for the job. Take your time and you’ll be sure to get a perfect result!
Good luck, and happy repair! With these steps, you can easily repair water damage in popcorn ceilings, allowing you to get back to enjoying your home again soon.
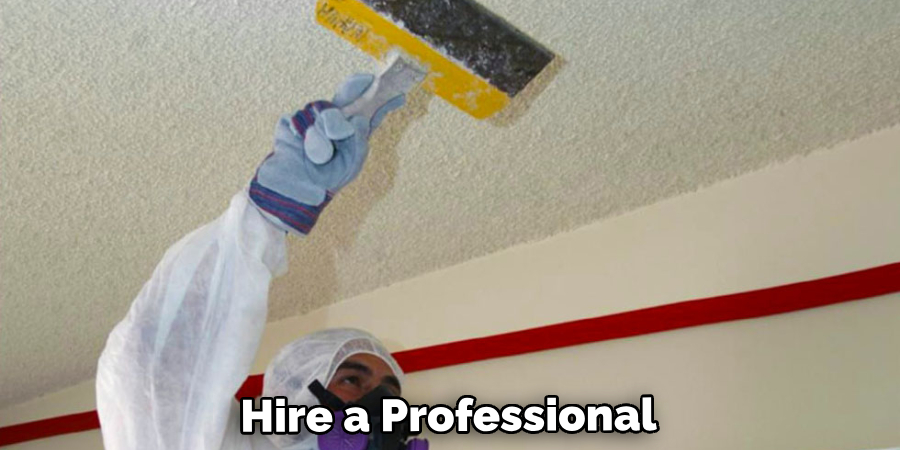
Do You Need to Hire a Professional?
In some cases, it may be best to hire a professional to help with popcorn ceiling water damage repairs. Professionals know the ins and outs of dealing with this type of problem and can quickly make your home look new again. They also have access to specialized tools that make the job easier and more efficient. So if you think your repair job is too complex or you just don’t have the time to do it yourself, then don’t hesitate to contact a professional.
It is also important to keep in mind that dealing with water damage can be a tricky process and may require more than just repair and painting. If your popcorn ceiling has been exposed to water for too long, then it might need to be replaced completely. In this case, it is best to contact a professional for help as they can provide you with the most suitable solution.
Frequently Asked Questions
Q: How Do I Know if My Popcorn Ceiling Is Water Damaged?
A: The most common signs of water damage in popcorn ceilings are discoloration, bubbling, and warping. If you notice any of these symptoms, chances are your ceiling has sustained water damage. It’s important to identify the source of the leak and fix it before starting any repairs.
Q: Can Popcorn Ceilings Be Repaired?
A: Yes, popcorn ceilings can be repaired! With a few simple steps and some patience, you can repair minor water damage in your popcorn ceiling. Be sure to follow the steps outlined in this guide for best results.
Q: How Can I Prevent Popcorn Ceiling Water Damage?
A: To prevent water damage in your popcorn ceiling, make sure to regularly inspect and maintain plumbing fixtures and air conditioning units. Additionally, check for signs of roof leaks or any other potential sources of water infiltration. Fixing any issues quickly can save you time and money on repairs down the line.
Q: What Materials Do I Need for a Popcorn Ceiling Repair?
A: The materials you need for a popcorn ceiling repair depends on the extent of the damage. However, most repairs will require a primer, drywall compound, sandpaper or an electric sander, and some type of paint. Be sure to use the correct materials for the best results!
Finally, consider waterproofing your popcorn ceiling with a spray primer or paint to help protect it from future damage. This is especially important if your home is located in an area that’s prone to flooding. With these simple steps, you can keep your popcorn ceilings looking their best for
Conclusion
Repairing popcorn ceiling water damage is a daunting task, but it can be done. With the right tools and supplies, as well as some patience and elbow grease, you can repair your popcorn ceiling and make it look new again. Whether you do the job yourself or hire a professional, it’s important to remember that water damage needs to be dealt with as soon as it’s discovered. Also, make sure to thoroughly inspect any other areas near your popcorn ceiling for potential leakage or sources of moisture.
Finally on how to repair popcorn ceiling water damage, if repairing the damage turns out to be too difficult, replacing may be the best option for you in order to ensure the area is safe and secure from further harm. Overall, successful repairs start by identifying the source of the leak and taking appropriate steps along the way – staying patient and willing to put in some hard work will go a long way toward achieving better results!
Rick is a handyman who grew up helping his dad with his business. He learned a lot from him about how to fix things, and also about how to work hard and take care of business. These days, Rick is still into fixing things- only now, he’s doing it for a living.
Rick is always looking for new ways to help people grow and develop. That’s why he started contributing to this blog: to share all his experience and knowledge so that he can help people who are interested in DIY repair.