

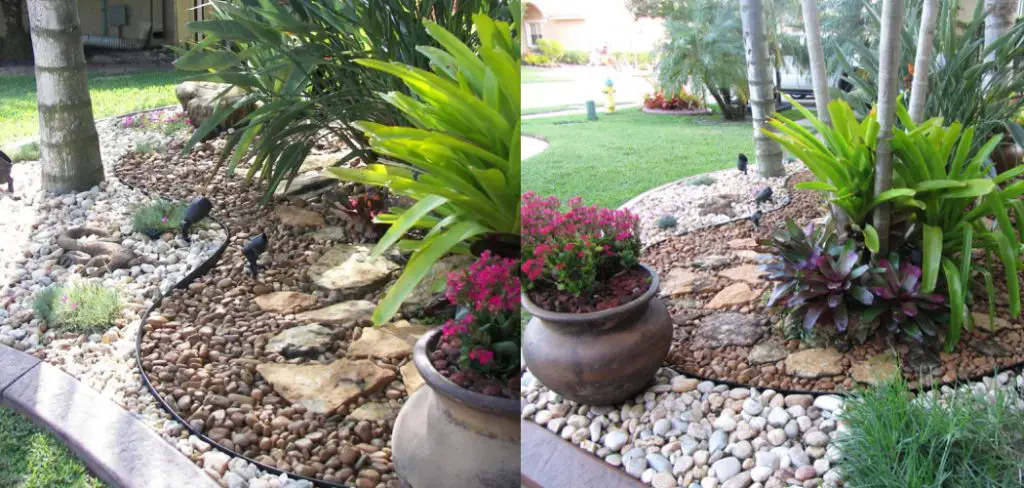
Mulch is a necessary part of any garden, but it can become stained and fade over time. If you’re looking to give your garden a fresh look, removing the mulch and replacing it with rocks is a great option! Rocks can be purchased or collected from around your neighborhood, and they will last much longer than mulch. Follow these simple steps on how to remove mulch and replace with rocks.
What Is Mulch?
Mulch is a layer of material placed on the soil’s surface. Its main purpose is to protect the ground from erosion, temperature extremes, and weed growth. Mulch can be made from organic materials such as leaves, bark, and wood chips or inorganic materials such as stones and gravel.
While mulch is most commonly used in gardening and landscaping, it can also be used around trees, shrubs, and Flowers. In addition to its protective properties, mulch can also help to improve the appearance of your garden by providing a neat, finished look.
Whether you are looking to protect your plants or give your garden a makeover, mulch is a versatile gardening tool that is well worth considering.
Why Should You Remove Mulch and Replace with Rocks?
Gardeners have long used mulch to protect their plants and help the soil retain moisture. However, mulch can also harbor pests and diseases, and it eventually breaks down, becoming part of the soil. For these reasons, many gardeners are now turning to rocks as a more durable and low-maintenance option.
Rocks can be an attractive addition to any landscape, and they offer several benefits for plant life. They help to reflect heat, protecting delicate plants from scorching temperatures. They also allow water to penetrate the soil more easily, promoting healthy root growth.
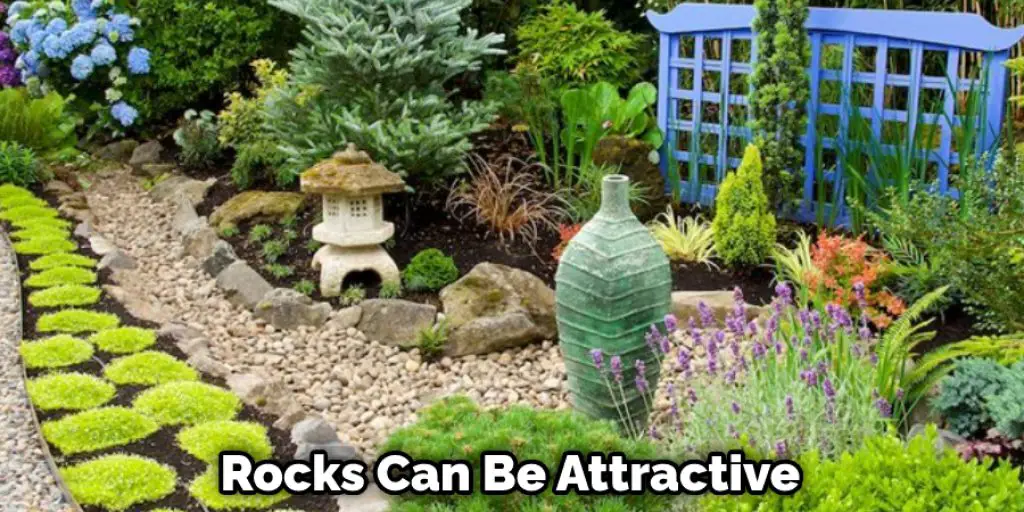
In addition, rocks block the growth of weeds, making them a low-maintenance option for any gardener. For these reasons, rocks are an increasingly popular choice for mulch replacement.
How to Remove Mulch and Replace with Rocks Step by Step Guide
Step 1: Remove the Mulch
To remove the mulch, use a shovel to loosen it up and pull it away from the area you want to change. If the mulch is stuck, you can use a garden hose or watering can to wet it down and make it easier to remove.
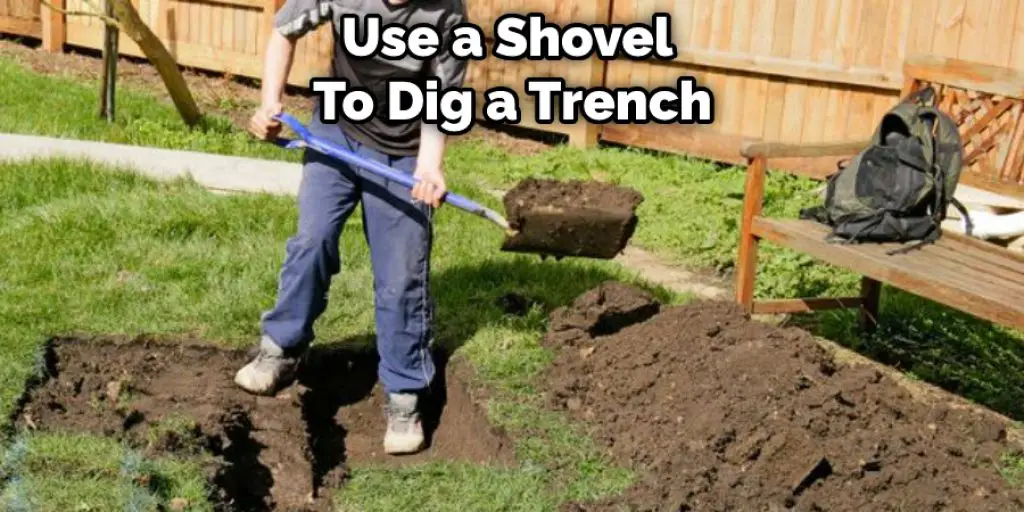
Step 2: Dig a Trench Around the Perimeter of Your Garden
Use a shovel to dig a trench around the perimeter of your garden. The trench should be about 6 inches deep and 12 inches wide. This will help contain the rocks you’ll be using to replace the mulch.
Step 3: Add a Layer of Landscaping Fabric
Cut a piece of landscaping fabric to fit the area you’re working on. Lay the fabric down in the trench and over the area where you removed the mulch. This will help to prevent weeds from growing in your new rock garden.
Step 4: Prepare the Area for Rocks
Now it’s time to add the rocks! You can use any rock you want, but smaller rocks are generally easier to work with. Begin by adding a layer of rocks to the bottom of the trench. You can use either landscape fabric or chicken wire to keep the rocks in place.
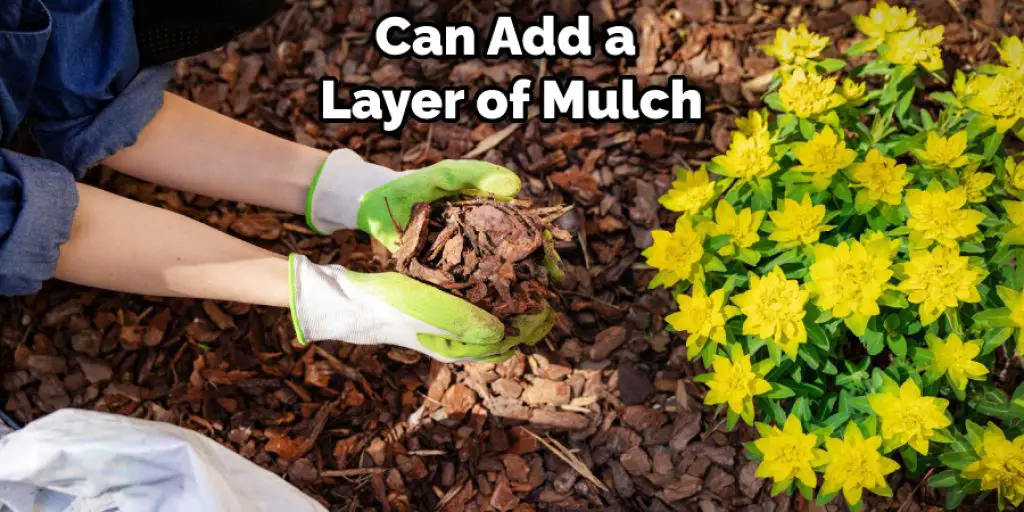
Step 5: Fill in the Area with Rocks
Continue adding rocks until the area is filled. You can use a variety of rocks to create an interesting design. Once you’re finished, you can add a layer of mulch around the perimeter of your garden to help contain the rocks.
Step 6: Enjoy Your New Rock Garden!
Now that you’ve finished, you can sit back and enjoy your new rock garden! This type of garden is low maintenance and doesn’t require much water, so it’s perfect for those who want a beautiful garden without all the work.
That’s it! You’ve now learned how to remove mulch and replace with rocks. This is a simple and low-maintenance way to create a beautiful garden.
You Can Check It Out to Place Lava Rocks in Gas Fireplace
How to Remove Mulch the Right Way
Mulch is a great way to protect your plants and keep your garden looking neat and tidy. However, it can be a pain to remove all that mulch at the end of the season. If you’re not careful, you could damage your plants or leave behind a big mess. Here’s how to remove mulch the right way:
First, rake up any loose mulch from around your plants. Then, use a shovel or trowel to remove the mulch from the top of the soil carefully. Be careful not to disturb the roots of your plants. Once you’ve removed all the mulch, dispose of it in your compost bin or green waste bin.
With a little bit of care, you can easily remove your mulch and get your garden ready for the new season.
The Advantages of Replacing Mulch with Rocks
Though mulch has been the go-to groundcover for decades, rocks are increasingly being used as a replacement. And for a good reason – rocks have several advantages over mulch.
First, they last much longer – a single application of rocks can last for years, while mulch needs to be replaced every few months. Second, rocks don’t attract pests the way that mulch does – no more worrying about termites or other pests infesting your garden.
Finally, rocks can help regulate soil temperature, keeping roots cooler in summer and warmer in winter. As a result, rocks can be a more durable, pest-resistant, and climate-friendly alternative to mulch.

So if you’re looking for a new groundcover for your garden, don’t overlook the benefits of rocks. Keep reading for more information about how to remove mulch and replace with rocks.
How to Choose the Right Rocks for Your Garden
For many people, rocks are simply an eyesore. But for gardeners, rocks can be an essential part of the landscape. The right type of rocks can help control erosion, improve drainage, and add visual interest to your garden. But with so many different types of rocks available, how do you choose the right ones for your garden?
One important consideration is the weight of the rocks. Heavier rocks are great for controlling erosion on slopes, while lighter rocks can be used to create drainage systems or build rock walls. Another factor to consider is the porosity of the rocks. Porous rocks will absorb water, which can be beneficial in areas prone to drought.
Finally, you’ll want to think about the color and texture of the rocks. For a more natural look, choose rocks that are similar in color to the soil in your garden. For a more dramatic look, go for contrasting colors or textures. With so many options to choose from, choosing the right rocks for your garden is a matter of personal preference. So take your time and choose wisely – your garden will thank you for it!
What Tools Do I Need to Remove Mulch?
One of the most important tools in any gardener’s toolkit is a good mulch rake. A mulch rake is specifically designed to remove mulch from garden beds without damaging plants.
The teeth on the rake are spaced just far enough apart to allow mulch to pass through while still grabbing hold of any stones or other debris. The rake can then deposit the mulch into a wheelbarrow or other container for easy disposal.
Another essential tool for removing mulch is a leaf blower. Leaf blowers can be used to quickly and easily clear away large mulch areas. They are also useful for blowing mulch out of hard-to-reach places, such as under bushes or between rocks. When using a leaf blower, it is important not to damage delicate plants.
Finally, a shovel can also remove mulch from garden beds. Shovels are less effective than rakes or blowers, but they can still be useful for removing small amounts of mulch or getting into tight spaces. Removing mulch can be quick and easy with the right tools – no backbreaking work is required!
Frequently Asked Question
Do I Need to Remove All of The Mulch?
In most cases, removing all of the mulch is not necessary before replacing it with rocks. However, if the mulch is severely damaged or infested with pests, it may be necessary to remove all of it.
What Kind of Rocks Should I Use?
When it comes to replacing mulch with rocks, you can use many different types of rocks. River rocks, gravel, and crushed stone are all good options. The most important thing is to choose a type of rock that will complement your landscaping and won’t cause any damage.
If you’re not sure which type of rock to choose, ask a local nursery or garden center for recommendations. They’ll be able to help you select the right type of rock and give you tips on how to install it.
How Deep Should the Rocks Be Buried?
How deep should the rocks be buried? Ideally, the rocks should be buried at least 2-3 inches below the soil’s surface. This will help prevent them from being disturbed or moved by wind or rain.
You Can Check It Out to Turn a Pond Into a Natural Swimming Pool
Conclusion
Replacing mulch with rocks is a great way to add curb appeal to your home. It’s also a budget-friendly option that can be done in just a few hours. If you’re interested in giving this project a try, we’ve got all the tips you need to get started. Thanks for reading our post about how to remove mulch and replace with rocks.