

Are you looking to upgrade your hardwood flooring but want to reuse the wood instead of throwing it away? Removing hardwood flooring can be a challenging task if done incorrectly, and several important steps must be taken in order for you to remove the floor from its existing space safely and effectively.
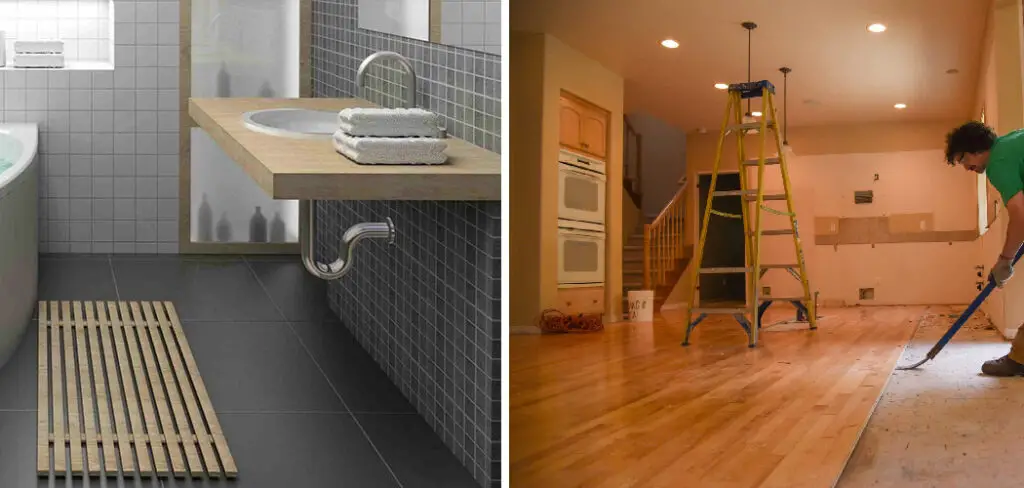
This blog post will provide an overview of best practices for removing hardwood flooring with an emphasis on preserving the integrity of the wood in preparation for its re-use. We’ll cover topics such as necessary tools, removal methods, cleaning tips, and much more! Read on to learn how to remove hardwood flooring for reuse.
Installing pre-used hardwood flooring is an economical way to get the look and feel of premium wood in your living area. However, before jumping ahead with this project, there’s one important step – the removal process for reclaiming existing used hardwood planks or tiles. Keep reading to discover how best to prepare for, safely execute, and clean up after a successful removal operation.
Why May You Want to Reuse Hardwood Flooring?
1. To Maintain the Original Look of Your Home
One of the most common reasons people choose to reuse their hardwood flooring is to help keep the original look of their home. If you have an older home with a wood floor, you may want to preserve that classic charm and character to maintain the appearance of your house.
2. To Save Money on Floor Replacement Costs
Removing and replacing old floors can be a very expensive endeavor. By removing and then reusing the hardwood flooring, you can save a significant amount of money in labor and materials costs. In addition, if your hardwood is still in good condition after removal, you may find that it is more cost-effective to simply reuse it than invest further in new flooring.
3. To Use Environmentally Friendly Materials
Hardwood flooring is a great choice for environmentally conscious homeowners. Unlike other materials, hardwood is biodegradable and can be reused or recycled if it needs to be replaced. By reusing your old hardwood flooring, you are making a more sustainable choice that will help reduce waste and conserve resources.
How to Remove Hardwood Flooring for Reuse in 6 Easy Steps
Now that you know why you may want to reuse your hardwood flooring, let’s look at how to remove it for reuse.
Step 1: Gather the Necessary Tools and Supplies
Before you begin, make sure that you have all of the necessary tools and supplies on hand. This includes a pry bar, hammer, saw, safety glasses, gloves, dust masks, and protective clothing.
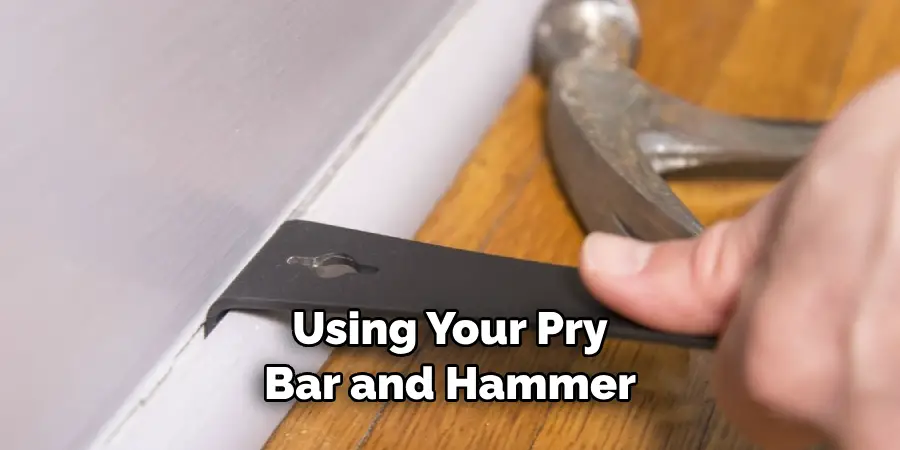
Step 2: Remove the Baseboards
Using your pry bar and hammer, carefully remove the baseboards along the wall where you intend to start removing the flooring. The goal is to remove them in one piece, as they may be reusable themselves. Also, make sure to label the pieces so you know where they go back.
Step 3: Cut Out Any Damaged Boards
If any of your boards are damaged or warped, use a saw to cut them out. This will make it easier when you come time to reinstall the flooring. Be sure to save these pieces as well; they may be useful for patching up other areas.
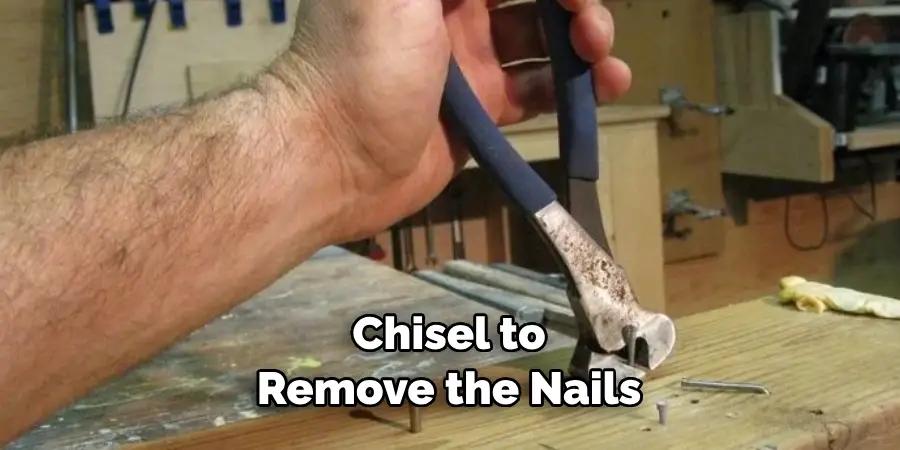
Step 4: Remove the Nails and Staples
Using a hammer or nail puller, carefully remove any nails or staples that are securing the boards to the subfloor. Be sure to wear safety glasses as bits of metal may fly off during this process. Also, make sure to clean up any debris as best you can.
Step 5: Remove the Boards
Once all of the nails and staples are removed, it’s time to take out the boards. Use your pry bar to carefully remove them in one piece if possible. If not, try to break them down into manageable pieces for easier removal and storage.
Step 6: Clean Up and Dispose
After all of the boards have been removed, it’s time to clean up. Vacuum any remaining debris from the subfloor and sweep or vacuum the area where you stored the removed flooring. Finally, dispose of any unusable pieces in a responsible manner, such as recycling or donating them if possible.
With these six easy steps, you can successfully remove your hardwood flooring for reuse. Be sure to take all necessary safety precautions and use the right tools for the job. Good luck!
Some Additional Tips to Remove Hardwood Flooring for Reuse
1. Do Not Use a Circular Saw
Using a circular saw, even with the blade set to its lowest setting, can cause damage to the flooring boards and reduce their value. This will also increase the likelihood that they will not be able to be reused.
2. Carefully Remove Nails or Staple Heads
In order to reuse hardwood flooring, nail or staple heads must be removed carefully and with minimal damage to the boards. Using a flat pry bar and hammer, gently tap on the head of each nail or staple until it is loosened, then remove it with a pair of pliers.
3. Label and Organize the Flooring
Label each board as it is removed with its corresponding location in the room to make it easier to reinstall the flooring when needed. Group each set of boards together on a pallet or other flat surface for easy transport and storage.
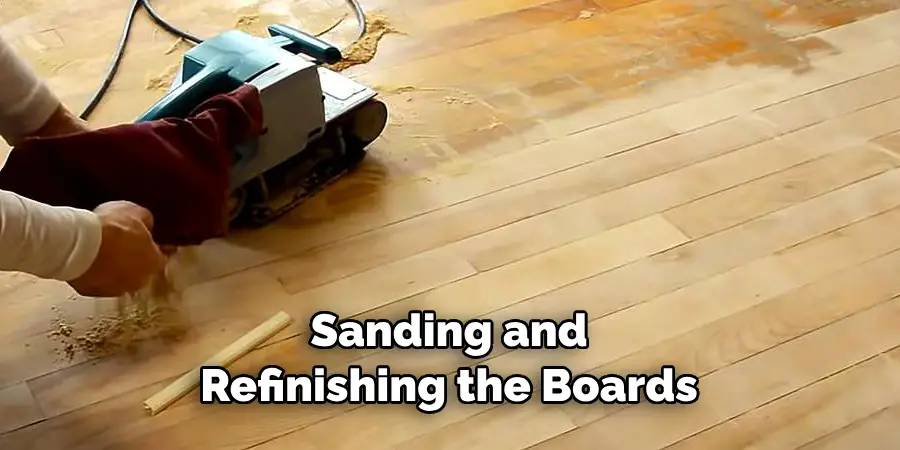
4. Sand and Refinish the Flooring
Before refitting the hardwood flooring, it is a good idea to sand and refinish each board. This will restore its original color and sheen, making it look as new as possible. It may also be necessary to apply a sealant after refinishing the boards in order to protect them from future damage.
5. Reinstall the Flooring
Once each board has been cleaned, refinished, and labeled, it is time to reinstall them. This should be done in the same order they were removed from the room so that they fit as accurately as possible. It may also be necessary to use some adhesive or nails when replacing boards that have needed extensive repairs.
The key to removing hardwood flooring is to take your time and do it carefully. Taking extra steps such as sanding and refinishing the boards before reinstalling them will help to extend their life even further. Reusing hardwood flooring is a great way to save money, reduce waste, and create an attractive feature in any room. With these tips in mind, it is easy to remove hardwood flooring for reuse and enjoy its benefits for years to come!
Frequently Asked Questions
What Precautions Should I Take When Removing Hardwood Flooring for Reuse?
When removing hardwood flooring for reuse, it is important to take the proper safety precautions. You should always wear protective goggles, gloves, and a dust mask when working with wood or power tools. Additionally, you should secure any area rugs or furniture in the room while removing the flooring to prevent any damage.
What Tools Do I Need to Remove Hardwood Flooring for Reuse?
The tools you will need depend on the type of hardwood flooring being removed. If the floor is nailed down, you will need a pry bar, a hammer, and a chisel to remove the nails and separate the planks. For adhesive-installed floors, you will need a putty knife and chisel to scrape up the adhesive. You may also want to rent a flooring removal tool to make the job more efficient.
What Is the Best Way to Store Hardwood Flooring for Reuse?
Once you have removed your hardwood flooring for reuse, it is important to store it properly. Hardwood flooring should be stored on a flat surface away from moisture and direct sunlight. If the boards are long, you may want to lay them in stacks rather than leaving them flat so they don’t get warped over time. Additionally, it is important to wrap each plank individually in plastic or wax paper to protect it from dust and debris.
What Are Some Signs That Hardwood Flooring Is Not Reusable?
Some signs that hardwood flooring is not reusable include unevenness, warping, and deep scratches. If the boards are warped or very uneven, they may need to be replaced instead of reused. Additionally, if the planks have deep scratches or other permanent damage, it is unlikely that they can be salvaged for reuse. In these cases, it is best to replace the flooring with new boards.
What Are Some Considerations When Choosing Reclaimed Hardwood Flooring?
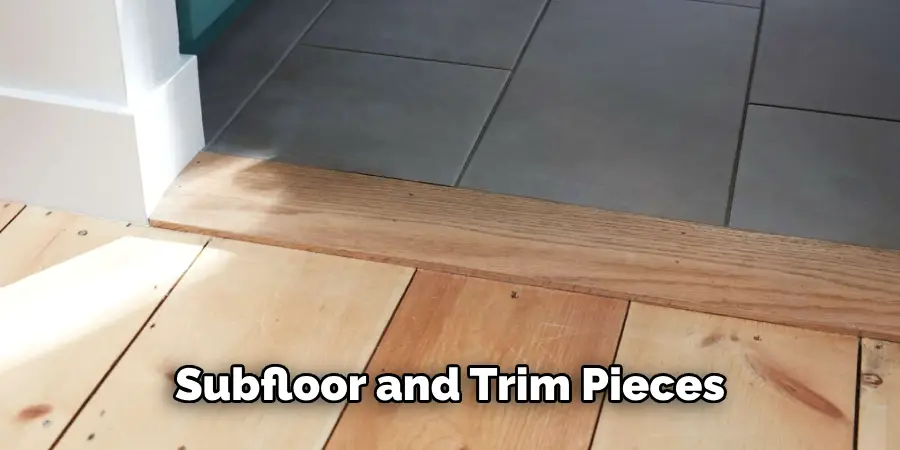
When choosing reclaimed hardwood flooring for reuse, there are a few important considerations to keep in mind. First, you should inspect the planks for any signs of rot, warping, or other damage. Additionally, it is important to make sure that the flooring is compatible with your existing subfloor and trim pieces. Finally, you should consider how much labor will be required for installation since reclaimed hardwood may require additional sanding and finishing prior to installation.
How Much Does It Cost to Reuse Hardwood Flooring?
The cost of reusing hardwood flooring will depend on a variety of factors, including the type and condition of the boards. Generally speaking, it is usually cheaper to reuse existing materials than to purchase new ones. Additionally, the labor costs associated with removing and reinstalling the boards may vary depending on how long the project will take. In any case, it is important to factor in all costs related to removal and installation when calculating the overall cost of reusing hardwood flooring.
Conclusion
Now you know how to remove hardwood flooring for reuse! Reusing hardwood flooring is an easy and affordable way to bring life back into your space. It is important to take the necessary steps and precautions when taking on such a project.
Taking the time now to be safe, as well as understanding the process can help ensure a successful installation and long-term satisfaction of your new flooring. It can also help you save money over the long run by avoiding expensive mistakes or unforeseen costs along the way. All in all, removing and reusing hardwood flooring is a great way to reuse materials while saving some money as well!
About
Angela is the chief editor of Indoorense. She began her career as an interior designer before applying her strategic and creative passion to lifestyle and home.
She has close to 15 years of experience in creative writing and online content strategy for housekeeping and cleaning,home decorations as well as other efforts.
She loves her job and has the privilege of working with an extraordinary team. She lives with her husband, two sons, and daughter in Petersburg. When she’s not busy working she spent time with her family.