

Removing a chair rail from a wall can be challenging, especially if the rail has been installed for some time. Over time, the nails used to secure the rail in place may become rusted or corroded, making it difficult to remove without causing damage to your walls. Additionally, the removal process may differ depending on the installation method used (such as adhesive or nails) for your chair rail.
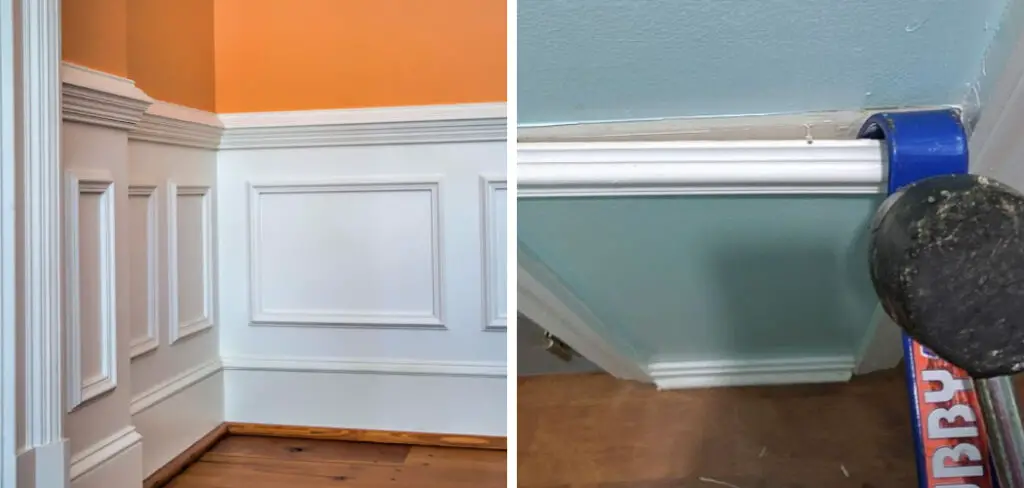
Removing chair rail from a wall has numerous advantages. For instance, it can open up the room by making the space look larger and brighter without removing any functionality. It also allows easier access to baseboards, moldings, and other trim elements behind or beneath the chair rail. Lastly, removing the chair rail can give a room an updated look and feel, changing the style of the space with minimal effort. In this blog post, You will learn in detail how to remove chair rail from wall.
How Can You Safely Remove a Chair Rail From the Wall?
Removing a chair rail from the wall may seem intimidating, but with the right tools and instructions, it can be done quickly and safely. Here are a few steps to help you properly remove a chair rail from your wall:
- Start by gathering all of the necessary tools – including a hammer, pry bar, screwdriver, chisel, and utility knife.
- Use the hammer or pry bar to gently remove any nails that are holding the chair rail in place. Be careful not to damage the wall as you do this.
- Once all of the nails have been removed, use a screwdriver or chisel to loosen the chair rail from the wall.
- Use the utility knife to cut away any paint or caulk preventing the chair rail from coming off the wall.
- Carefully pull the chair rail away from the wall, making sure to keep your body clear of any debris that this process might create.
- Once the chair rail is removed, use a damp rag to clean off the wall and check for any damage that the removal process may have caused.
By following these steps, you can easily and safely remove a chair rail from your wall without damaging it in the process. With a few tools and know-how, you can take on this task yourself and save time and money.
Tools or Supplies You Will Need
- Safety goggles and work gloves
- Putty knife
- Pry bar
- Hammer
- Drill with a bit appropriate for the wall material
- Reciprocating Saw
- Drywall saw or utility knife
- Crowbar
- Flat pry bars of various sizes
- Extension ladder (if needed)
How Should You Prepare Your Workspace Before Attempting to Remove a Chair Rail From the Wall?
Before beginning work, it is important to ensure that your workspace is properly prepared. This includes cleaning the area around the chair rail, ensuring all pieces of furniture and other items in the space are cleared away, and putting on protective gear such as gloves and eye protection. If there are any windows or doors near the chair rail, it is important to cover and protect them as well.
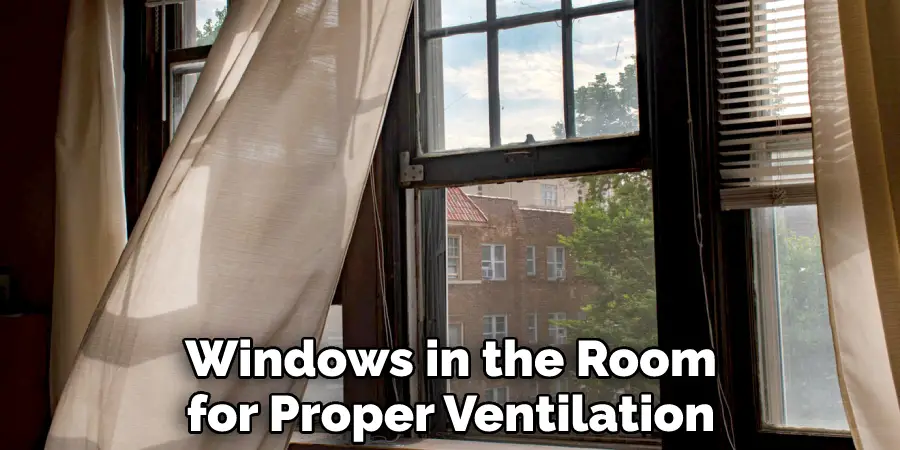
Furthermore, it is a good idea to open the windows in the room for proper ventilation. Lastly, you should be sure that all of your essential tools are within reach and ready to use. Once you have adequately prepared your workspace, you can begin removing the chair rail from the wall.
Step-by-Step Processes for How to Remove Chair Rail From Wall
Step 1: Inspect the Chair Rail
Make sure the chair rail is securely attached to the wall, as you don’t want it to fall off during the removal process. Obtain a pry bar and hammer for removing nails from the wall. A flathead screwdriver will also come in handy if there are screws in place of nails.
Step 2: Using a Pry Bar
Start by prying the chair rail away from the wall at one of its ends. Once you have a small groove, insert the flathead screwdriver into the gap and use it as leverage to pry away more of the chair rail. You can then slowly move the pry bar along the length of the chair rail, eventually coming off completely. If there are nails in place of screws, use a hammer to tap each nail out of its hole gently. Once you have removed all the nails, you can then remove the chair rail from the wall.
Step 3: Using a Heat Gun
This method is best for chair rails that have been glued onto the wall. Use a heat gun to soften the glue, and then use a putty knife or flathead screwdriver to pry away at it. Do not apply too much heat, as this can damage the wall. In some cases, removing the chair rail in one piece may be difficult. If this is the case, use a saw or hand saw to cut it into manageable pieces that can then be safely removed from the wall.

Step 4: Without Damaging the Paint or Wallpaper:
If you are worried about damaging the paint or wallpaper, use a putty knife to pry away at the chair rail and apply gentle pressure with a cloth. This should allow you to remove the chair rail without causing any damage to the wall. If you have a chair rail in a difficult spot near the ceiling or behind furniture, use a ladder and small tools such as a putty knife and pry bar to reach it.
Step 5: Remove Chair Rail From Wall With a Screwdriver
If there are screws in place of nails, use a screwdriver to unscrew them from the wall. Once all screws have been removed, you can then remove the chair rail from the wall. Once you have safely removed the chair rail, you must dispose of it. Check with your local recycling center or waste management company to see if they accept old furniture for disposal.
Step 6: Patch Up Holes After Removing the Chair Rail
Once all the pieces have been removed from the wall, use a spackling paste to patch up any holes that may have been left behind. Allow the paste to dry, and then sand down the area until it is smooth. You can then paint over the patched area to match your wall.
By following these 10 steps, you should be able to safely remove a chair rail from a wall without damaging either the chair rail or the wall.
Tips for How to Remove Chair Rail From Wall
- Make sure to wear safety glasses and a dust mask to protect your eyes and lungs from dust particles that can fly off during the removal process.
- Turn off the main power switch in the circuit breaker box, as you could be at risk of electrocution if you come into contact with live wires behind the wall.
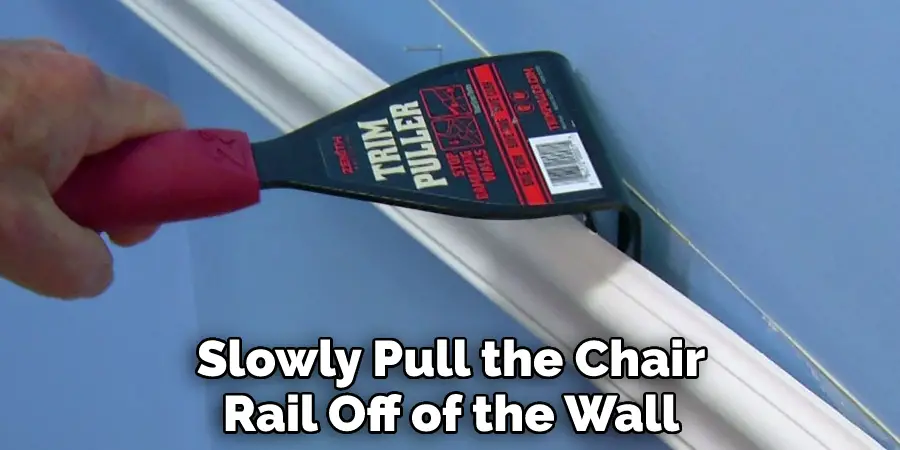
- Use a pry bar to gently and slowly pull the chair rail off of the wall, taking care not to damage or break the molding as you do so.
- Remove any nails embedded in the wall using a hammer and nail set. Be sure to wear safety gloves for this step, too!
- Smooth out the area of the wall where the chair rail was originally installed with sandpaper to eliminate any imperfections or jagged edges that may have been left behind.
- Vacuum away debris and dust from the wall and surrounding areas, then use a damp cloth to wipe down the area again.
- Before you begin painting or putting up a new chair rail, cover the walls with plastic drop cloths to protect them from any potential damage.
- Have an assistant help you when possible as removing the chair rail with two people working together can be easier and safer.
By following these tips, you can ensure that the process of Removing the Chair Rail From the Wall is done safely and correctly.
How Can You Prevent Further Damage to the Wall or Furniture After Removing a Chair Rail?
After removing a chair rail from your wall, it is important to prevent further damage. Here are some tips:
- Putty and touch up any holes or imperfections left in the wall after removing the chair rail. If necessary, sand down more severely damaged areas before you putty and paint them.
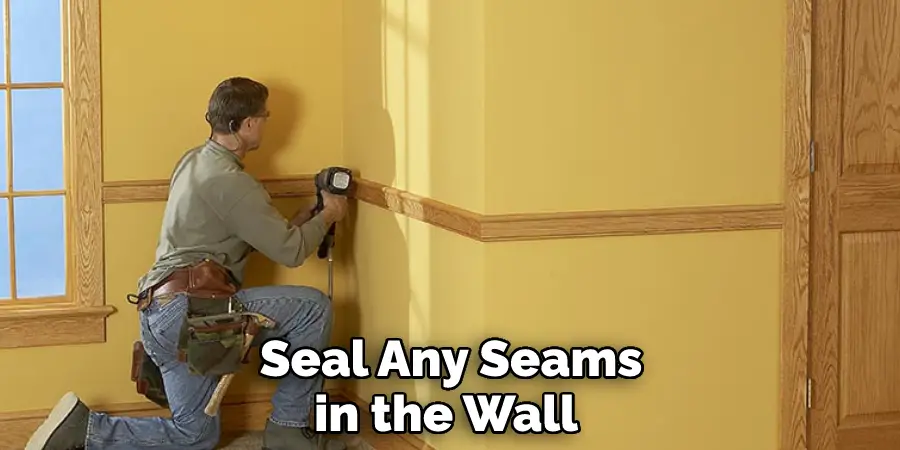
- Seal any seams or cracks in the wall that may have been created during the removal process. Use caulk and a caulking gun to fill in any gaps, then use a joint compound to seal off the area further.
- Check for any loose nails in the area of your wall where you removed the chair rail from. If any nails are still embedded in the wall, use a hammer and nail puller to remove them.
- Take care not to damage any furniture or other objects that may have been near the chair rail when you removed it. Be sure to cover any nearby surfaces with a protective layer before beginning work on removing the chair rail.
- After finishing the removal of the chair rail and repairing any damage, you may want to vacuum or dust your wall off before painting it or wallpapering over it. This will ensure that no debris is left behind, which could potentially cause further damage.
These steps can help prevent further damage to the wall or furniture when removing a chair rail.
Conclusion
In conclusion, removing a chair rail from a wall is not as daunting of a task as it may initially seem. With the right tools, patience, and understanding of the process, anyone can successfully remove a chair rail from their wall in no time. Remember to use caution when working with hand and power tools to ensure that you don’t damage your walls or yourself in the process. I hope reading this post has helped you learn how to remove chair rail from wall. Make sure the safety precautions are carried out in the order listed.
You Can Check It Out to Mount TV on Concrete Wall Without Drilling
About
Angela is the chief editor of Indoorense. She began her career as an interior designer before applying her strategic and creative passion to lifestyle and home.
She has close to 15 years of experience in creative writing and online content strategy for housekeeping and cleaning,home decorations as well as other efforts.
She loves her job and has the privilege of working with an extraordinary team. She lives with her husband, two sons, and daughter in Petersburg. When she’s not busy working she spent time with her family.