
Removing the Brita reservoir from your water filter pitcher or dispenser is a straightforward but essential task for maintaining optimal performance and ensuring clean, filtered water.

Whether it’s time for a thorough cleaning, replacement, or troubleshooting a specific issue, knowing how to properly remove the reservoir can make the process efficient and hassle-free. The reservoir is the central component that holds and filters the water, so handling it with care is important to avoid damage and maintain the integrity of the filter system.
This guide will provide you with how to remove brita reservoir, step-by-step approach to safely removing the Brita reservoir, starting with identifying the specific model you have, as different models may have slight variations in design.
We’ll cover the necessary precautions to take, how to detach the reservoir without causing leaks or spills, and tips for cleaning and reassembling the unit. By following these instructions, you can ensure your Brita system continues to provide fresh, clean water efficiently and reliably.
Understanding Brita Reservoirs
Brita reservoirs are the heart of the filtration system, designed to hold tap water, which then passes through a filter to remove impurities, resulting in cleaner, fresher water.
Each reservoir is constructed to fit snugly within its respective pitcher or dispenser, ensuring that all water must pass through the filter before being dispensed. Brita reservoirs come in various sizes and shapes to accommodate different models, such as the Brita Standard Pitcher, the Brita Stream, and larger dispensers for refrigerator use.
Understanding the specific design and capacity of your Brita reservoir can help you make informed decisions about maintenance and filter replacement schedules. Brita reservoirs are typically made from durable, BPA-free plastic, ensuring safety and longevity with proper care.
It’s also important to note that over time, minerals and contaminants can accumulate within the reservoir, making regular cleaning and maintenance crucial. By familiarizing yourself with the type and function of your Brita reservoir, you can optimize its use and extend the life of your filtered water system.
10 Methods How to Remove Brita Reservoir
1. Reading the Manual
The first step in removing a Brita reservoir is to thoroughly read the manual that comes with your Brita pitcher or dispenser. Each model may have specific instructions or features that can affect the removal process.
The manual provides detailed guidance on the correct procedure and highlights any precautions you need to take. Familiarizing yourself with the manual ensures that you understand the components and how they fit together, which helps prevent damage during removal. Taking the time to read and understand the manual sets a strong foundation for a smooth and successful reservoir removal.
2. Ensuring the Unit is Empty
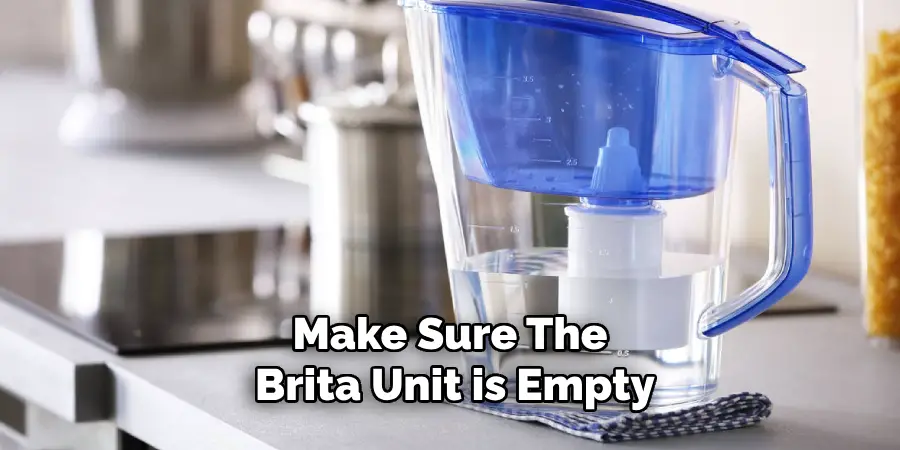
Before attempting to remove the reservoir, make sure the Brita unit is empty. If the reservoir still contains water, pour it out to avoid spills. An empty unit is easier to handle and reduces the risk of water damage to your surroundings.
If your Brita pitcher or dispenser has a filter installed, remove the filter first according to the instructions in the manual. Ensuring that the unit is empty and free of water makes the reservoir removal process cleaner and more manageable, setting you up for a hassle-free experience.
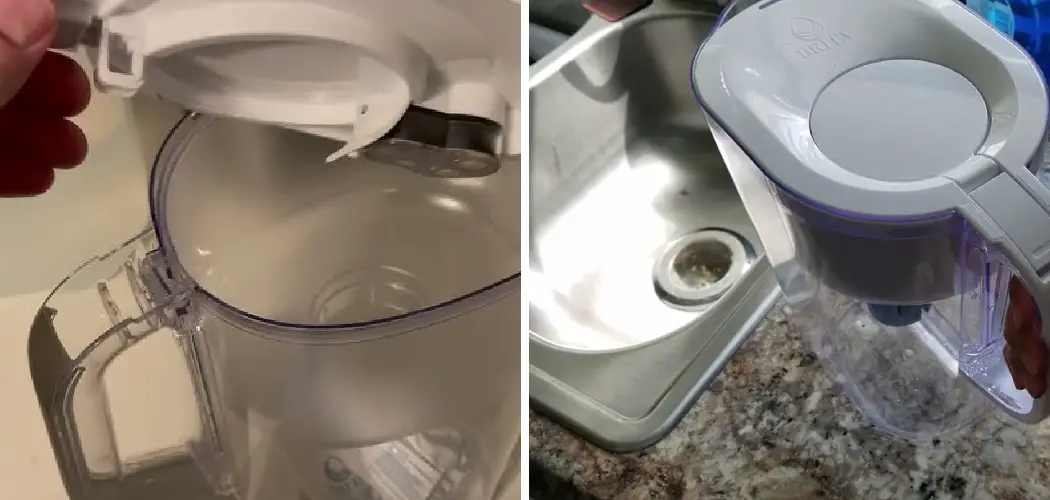
3. Removing the Lid
Start by removing the lid of the Brita pitcher or dispenser. The lid is usually designed to be easily lifted off, but some models may have a locking mechanism. If your Brita model has a lock, make sure to disengage it by following the instructions in the manual.
Once the lid is removed, set it aside in a safe place. Removing the lid not only gives you access to the reservoir but also allows you to inspect the internal components for any potential issues. This step is crucial for gaining access to the reservoir and is typically straightforward.
4. Lifting the Reservoir
After removing the lid, the next step is to lift the reservoir out of the Brita unit. Most Brita reservoirs are designed to be easily lifted out for cleaning and maintenance. Grasp the reservoir firmly and gently lift it straight up.
If the reservoir seems stuck, check for any locking mechanisms or latches that might be holding it in place and release them. Lifting the reservoir requires a steady hand to avoid tipping the unit or spilling any remaining water. Successfully lifting the reservoir gives you full access to both the reservoir and the interior of the Brita unit for cleaning or replacement.
5. Checking for Locking Tabs
Some Brita models include locking tabs that secure the reservoir in place. If your model has these, you will need to locate and press or release these tabs to free the reservoir. Refer to the manual to understand their exact location and how to disengage them.
Carefully manipulate the tabs as directed, ensuring that you do not apply excessive force that could break them. Once the tabs are disengaged, the reservoir should lift out easily. Understanding and properly handling the locking tabs is essential for safely removing the reservoir without causing damage to the unit.
6. Using a Gentle Wiggle
If the reservoir is resistant to lifting straight out, a gentle wiggle can help loosen it. Hold the reservoir firmly and gently wiggle it back and forth while lifting. This movement can help disengage any tight spots or minor obstructions that might be preventing the reservoir from coming out smoothly.
Be careful not to apply too much pressure, as this could damage the reservoir or the unit itself. Using a gentle wiggle is a practical approach that can help in cases where the reservoir is slightly stuck, ensuring a smooth removal process.
7. Cleaning Around the Edges

Sometimes, mineral deposits or grime can accumulate around the edges of the reservoir, causing it to stick. If you encounter resistance when lifting the reservoir, check the edges for any buildup. Use a damp cloth or sponge to clean around the edges, removing any debris that might be causing the issue.
Cleaning around the edges not only facilitates easier removal but also helps maintain the cleanliness and hygiene of your Brita unit. By ensuring that the edges are clean, you reduce the likelihood of encountering resistance and make the removal process smoother.
8. Applying Even Pressure
When lifting the reservoir, apply even pressure to both sides to avoid tilting or causing it to get stuck. Place one hand on each side of the reservoir and lift it straight up with a balanced, steady motion.
Applying even pressure ensures that the reservoir lifts out smoothly without getting caught on one side. This method is especially useful for larger Brita units where the reservoir is more substantial and requires a balanced approach. Even pressure helps prevent damage and makes the removal process more efficient.
9. Inspecting for Damage

After removing the reservoir, take the opportunity to inspect both the reservoir and the Brita unit for any signs of damage. Look for cracks, chips, or other issues that might affect the performance of your water filtration system.
Inspect the area where the reservoir sits for any debris or buildup that could interfere with reassembly. Address any damage or cleanliness issues before reassembling the unit. Regular inspection and maintenance help ensure that your Brita unit remains in good working condition, providing you with clean and safe drinking water.
10. Reassembling the Unit
Once you have removed the reservoir and performed any necessary cleaning or inspection, it’s time to reassemble the Brita unit. Place the reservoir back into the unit, ensuring that it is seated correctly and any locking tabs are re-engaged.

Replace the filter if you removed it earlier, and then replace the lid. Make sure everything is properly aligned and securely in place. Reassembling the unit correctly is crucial for its effective operation and to prevent leaks or other issues. By following the correct steps for reassembly, you ensure that your Brita unit functions as intended and continues to provide high-quality filtered water.
Conclusion
Removing the reservoir from a Brita unit involves a series of thoughtful and precise steps to ensure a smooth and efficient process. Starting with a thorough reading of the manual and ensuring the unit is empty sets a strong foundation for success.
Removing the lid and lifting the reservoir, while being mindful of any locking tabs, allows for proper access and handling. Techniques like using a gentle wiggle, cleaning around the edges, and applying even pressure can help in cases where the reservoir is resistant. Inspecting for damage and reassembling the unit correctly ensures continued optimal performance.
Each step plays a vital role in maintaining the functionality and longevity of your Brita water filtration system, ensuring you can enjoy clean and safe drinking water with ease. By following these detailed methods, you can confidently remove and handle the reservoir, maintaining your Brita unit in excellent condition for years to come. Thanks for reading, and we hope this has given you some inspiration on how to remove brita reservoir!
About
Angela is the chief editor of Indoorense. She began her career as an interior designer before applying her strategic and creative passion to lifestyle and home.
She has close to 15 years of experience in creative writing and online content strategy for housekeeping and cleaning,home decorations as well as other efforts.
She loves her job and has the privilege of working with an extraordinary team. She lives with her husband, two sons, and daughter in Petersburg. When she’s not busy working she spent time with her family.