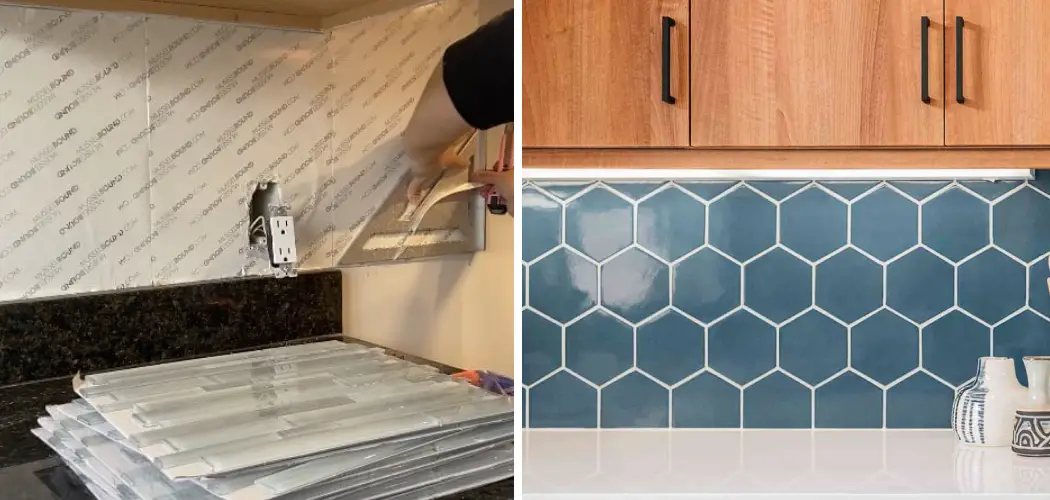
Are you having difficulty removing an adhesive tile mat? If so, you’ve come to the right place. Many of us have experienced that annoying problem of unwanted and unsightly displays of sticky residue on our floors long after the tile mat has been removed.
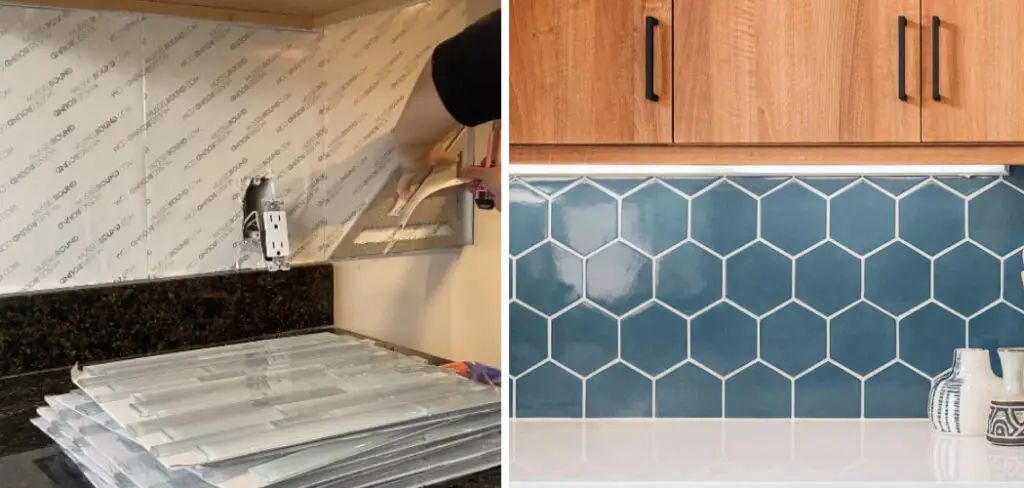
Not only is it unpleasant to look at but can also be hard to clean up if not addressed properly. With the right knowledge and tools, however, it’s possible to remove those pesky adhesive mats without damaging your flooring or leaving behind a residue mess. Read on for some useful tips and strategies on how to remove adhesive tile mat!
Removing old adhesive tile mats can be both challenging and time consuming depending on the condition of the subfloor beneath. If done improperly, it is easy to incur expensive damage that could set back renovations for days, if not weeks. In this blog post we will discuss various tips and tricks on how to safely remove adhesive tile mats with minimal effort!
Why is It Important to Remove Adhesive Tile Mat?
1. To Ensure a Clean Surface for New Tiles or Flooring
If you’re planning to put in place a new tile of any kind, it is important to remove any adhesive tile mat that will be in the way. This ensures that your new tiling will adhere properly and have an even, clean appearance on the finished surface.
2. To Prevent Damage to New Tiles or Flooring
If you don’t remove the old adhesive tile mat before laying your new tiles, the mat can cause damage to the new tiling. Due to its flexible nature and strong adhesive power, it has the potential to interfere with any new tiles being laid on top of it. The old mat could also cause tiles to break or crack, which can be expensive and time-consuming to repair.
3. To Avoid Unnecessary Costs
Leaving adhesive tile mat in place when laying new flooring could incur extra costs due to the potential damage that it may cause. It’s much easier and cheaper to remove the old mat before beginning any new tiling project than it is to repair damaged tiles or flooring caused by old adhesive tile mats.
Overall, it’s essential to remove any existing adhesive tile mat before beginning a new tiling project in order to make sure the surface is clean and prevent any damage from occurring. Taking the extra time to remove the old mat will save you money and stress in the long run.
How to Remove Adhesive Tile Mat in 4 Easy Steps
Step 1: Prepare the Area
The very first step is to prepare the area in which you will be removing the adhesive tile mat. Make sure that there are no loose pieces of the mat and that all tiles are properly secured. If there are any loose pieces, remove them before beginning.
Step 2: Apply a Remover
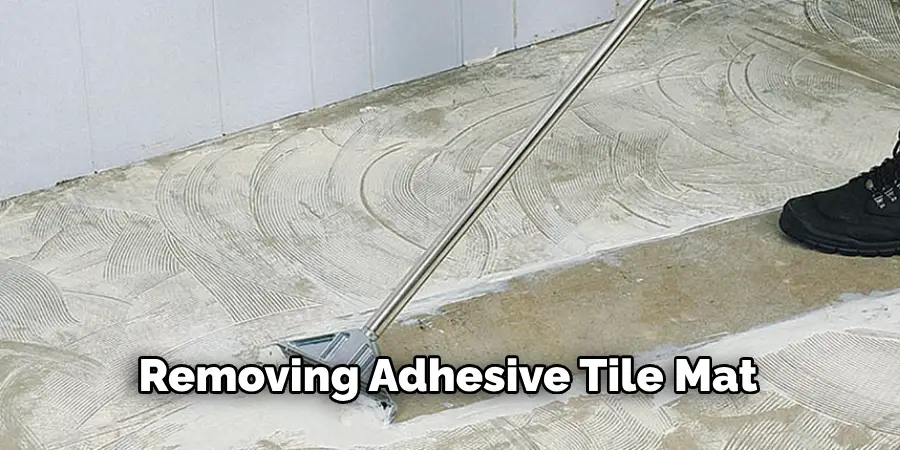
Once the area has been prepared, it’s time to apply a remover. A popular option is to use a tile stripper, which can be purchased at any hardware store or online. Apply the remover in a thin layer and leave it for several minutes before scraping it away with a putty knife or similar tool.
Step 3: Scrub Away Residue
Once you’ve scraped away as much of the adhesive tile mat as possible, you’ll need to scrub off any remaining residue. Doing this will require a stiff brush and some elbow grease. Use small circular motions to ensure that all of the residue is removed and then wipe away with a damp cloth.
Step 4: Clean the Surface
Once the entire area has been free of the adhesive tile mat, it’s time to clean the surface. This should be done with a mild detergent and warm water, followed by drying with a cloth or towel.
With these steps, you’ll have removed the adhesive tile mat from your floor or wall in no time! However, if you’re not confident in your ability to do this yourself, it’s always best to seek the help of a professional. They can make sure that the job is done correctly and safely, so you don’t have to worry about any damage or harm being done to your home.
Frequently Asked Questions
What Precautions Should I Take Before Removing Adhesive Tile Mat?
Before attempting to remove the adhesive tile mat, it is important to take certain precautions. Wear eye protection and a dust mask. Make sure the area around you is well-ventilated, as some adhesives may contain toxic chemicals that could be hazardous if inhaled in large concentrations. Additionally, wear gloves so your skin is not exposed to any of the adhesive chemicals.
How Do I Remove Adhesive Tile Mat?
The process for removing adhesive tile mat depends on the type of material used, as well as how long it has been applied. In general, some of the common methods include: using a heat gun or steam cleaner, scraping with a putty knife or similar tool, applying a commercial adhesive remover, or even using a chemical solvent. If the tile mat is particularly old and stubborn, it may be necessary to call in a professional for help with removal.

Are There Any Tips For Removing Adhesive Tile Mat?
Yes! When removing adhesive tile mats, patience is key. Start slowly and work in small sections at a time. Also, use a razor blade or putty knife with an old cloth over it to help scrape away the tile mat without damaging the surface beneath. Additionally, make sure to always check labels before using any chemical solvents or removers. Finally, if all else fails, call in a professional for help!
Removing adhesive tile mat can be a time-consuming and difficult process, but with the right precautions and tips, it doesn’t have to be. With careful preparation and patience, you can get your surface looking as good as new in no time.
How Much Does It Cost To Hire A Professional To Remove Adhesive Tile Mat
The cost of hiring a professional to remove adhesive tile mat depends on the size of the area and the materials being used. In general, professional services can range from $50-$100, depending on the complexity of the job. If you are unable or unwilling to do it yourself, it may be best to consult with a professional for an accurate estimate.
Can I Reuse Adhesive Tile Mat After Removing It?
It is not advised to reuse adhesive tile mat after it has been removed, as the adhesive may have degraded or become less effective. If you wish to reuse the material, it is best to purchase a new piece and apply it according to manufacturer instructions.
Can I Leave The Adhesive On The Floor After Removing The Tile Mat?
No, it is not recommended to leave the adhesive on the floor after removing the tile mat. The adhesive may cause issues with any new flooring or carpet you put in place, and can also be difficult to remove if left untreated. It is best to fully remove all of the adhesive before laying down any new materials.
Can I Paint Over The Adhesive After Removing The Tile Mat?
Yes, you can paint over the adhesive once it has been removed. However, it is important to be aware that some adhesives may contain chemicals that could react with paint or other materials. Before painting, make sure to check the label of the adhesive to ensure it is safe for use with paints or finishes. Additionally, it may be necessary to use a special primer or sealer before applying paint to the adhesive.
Can I Use A Pressure Washer To Remove Adhesive Tile Mat?
It is not recommended to use a pressure washer when removing adhesive tile mat, as this could cause damage to the surface beneath. Instead, it is best to use one of the methods mentioned above, such as a heat gun or chemical solvent.
Removing adhesive tile mats can be tedious and difficult, but with the right knowledge and precautions, it doesn’t have to be. Whether you choose to take on the task yourself or hire a professional, make sure you understand the process and necessary precautions in order to get the job done safely and efficiently.
Conclusion
Removing adhesive tile mats can seem like a daunting task, but if you are able to take the time and patience required to remove it correctly, you’ll have a transformed space in no time.
Whether you decide to go for heat, lubrication, or a combination of both to remove the adhesive tile mat, following our steps is sure to give you the best results in a quicker amount of time.
Now you know how to remove adhesive tile mat! Take care when dealing with adhesives and powerful tools, and if all else fails remember that professional help is always an option. With these tips and tricks up your sleeve, you’ll be sure to be back on track in no time!
About
Angela is the chief editor of Indoorense. She began her career as an interior designer before applying her strategic and creative passion to lifestyle and home.
She has close to 15 years of experience in creative writing and online content strategy for housekeeping and cleaning,home decorations as well as other efforts.
She loves her job and has the privilege of working with an extraordinary team. She lives with her husband, two sons, and daughter in Petersburg. When she’s not busy working she spent time with her family.

