
Adding water to a portable air conditioner helps it cool the room more efficiently and quickly. The water inside the unit evaporates, and as this occurs, heat is released from the cooled space into the atmosphere. This process transfers the heat in the area to the outside of the home or office. As a result, you can enjoy cooler temperatures in your living space.

One of the main advantages of using a portable air conditioner is that you don’t have to worry about plumbing or venting the unit. This makes installing the unit much easier and faster than traditional air conditioning systems. Since all you need to do is pour water into a reservoir located in the unit, it also eliminates any potential leaks from the system. Additionally, portable air conditioners are much more energy efficient than traditional air conditioning systems, which helps you save money on your monthly energy bills. In this blog post, You will learn in detail how to put water in a portable air conditioner.
How Do You Know When to Put Water in a Portable Air Conditioner?
When it comes to using a portable air conditioner, one of the most important steps is ensuring that you add water. How much and when you should be adding water depends on the model you have. Understanding how your particular model works are key to knowing when it’s time to add water.
Typically, portable air conditioners will have either a water tank, a drainage hose, or an evaporative system. If your model has a water tank, you will need to fill it with distilled water periodically. How often the tank needs to be filled up depends on the unit’s size and how much humidity is in the air.
Step-by-Step Processes for How to Put Water in a Portable Air Conditioner
Step 1: Inspect Your Air Conditioner
Before filling it with water, ensure your portable air conditioner is in working order. Check for any visible signs of damage to the unit and see if all components are secure. Before getting started, read your owner’s manual thoroughly. It will provide instructions on how to use the air conditioner and how much water it requires.

Step 2: Choose the Right Water Type
You need to choose the right type of water for your air conditioner. If you have hard water, opt for distilled or deionized water. This will help prevent any buildup or blockages in the unit’s pipes and components.
Step 3: Fill Your Air Conditioner
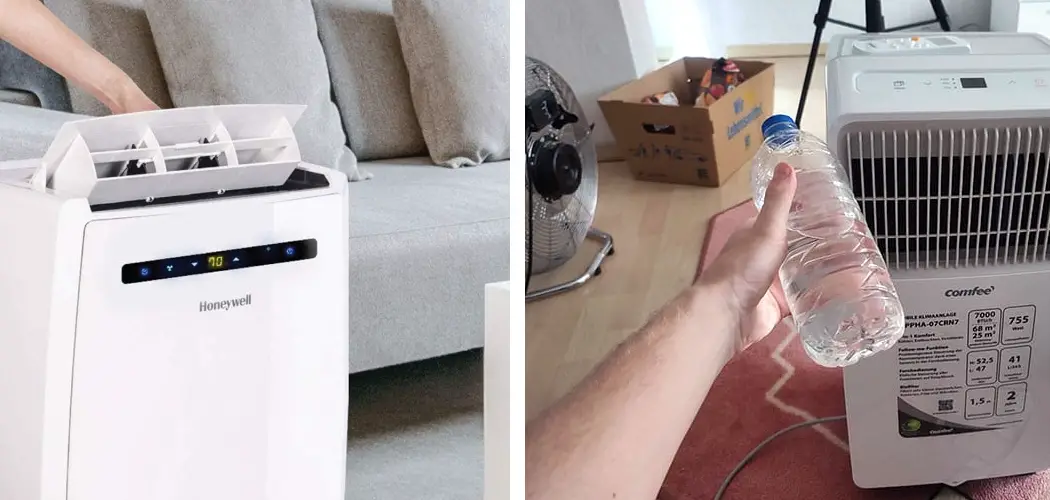
Once you’ve chosen the right water, it’s time to fill up your portable air conditioner. Some models have a designated fill port where you can pour in the water. Other units may require you to use a hose or pipe to connect it directly to your main water supply. Once connected, let the water run until the desired level has been reached.
Step 4: Monitor The Levels
You should regularly check and monitor the water levels in your air conditioner to ensure it’s not running too low or too high. If you notice that the water level is too low, add more as needed. On the other hand, if the water level is too high, you may need to empty out some of the excesses.

Step 5: Regular Maintenance
Regular maintenance and upkeep of your portable air conditioner is essential to ensure it’s running smoothly and efficiently. Remember to check the water levels often and look for any signs of damage or blockages. Keeping your air conditioner in good working order will help it last many years.
By following these steps, you should now have a better idea of putting water in a portable air conditioner. Just remember to choose the right type of water, fill it up correctly, and check and maintain it regularly.
Safety Tips for How to Put Water in a Portable Air Conditioner
- Always turn off the power to the portable air conditioner before adding water.
- Ensure the drain plug is securely placed when the portable air conditioner is filled with water.
- Ensure you use clean, fresh water and not tap or salt water when filling your portable air conditioner.
- Use a funnel to help you pour the water into the fill port of your portable air conditioner.
- Never overfill the tank; follow the manufacturer’s instructions on how much water should be filled in the unit.
- If you have difficulty filling it, use a pitcher or other container to help guide and direct the water.
- Monitor the amount of water in your unit regularly to ensure that it is working correctly and does not need more water added.
- Ensure you clean the drain port periodically so it doesn’t become clogged with debris or dirt, preventing proper water tank draining.

Following these safety tips and precautions when putting water in your portable air conditioner can help ensure it runs properly and efficiently. It is important to keep your unit clean and free of debris and dirt, and regularly adding fresh water will help increase the life of your portable air conditioner.
How Often Should You Check and Add Water to Your Portable Air Conditioner?
The frequency with which you need to check and add water to your portable air conditioner depends on its size, usage, and the environment in which it is placed. Generally, the larger the unit and the hotter and drier the climate are, the more often you’ll need to check its water level. In most cases, checking once a week is recommended. To make it easier to remember, aim to check the water level every time you clean your air conditioner filter. This will help you ensure that the condensation produced by the unit is being collected properly and that your portable AC won’t run out of water too quickly.
Also, remember that if you’re using your portable air conditioner in a high-humidity environment, you may not need to add extra water as often. This is because the unit can produce more condensation, which will be collected and used to cool the area. Finally, if your AC isn’t producing enough water to cool the room properly, it’s time to check and add more. Doing this regularly will help ensure that your air conditioner runs efficiently and effectively, so you can stay cool all summer.
How Do You Clean the Reservoir After Adding Water?
- Unplug the portable air conditioner from its power source.
- Empty any remaining water in the reservoir by pouring it out into a bucket.
- Rinse the inside of the reservoir with warm soapy water to clean off any dirt or dust that has accumulated on it.
- Rinse again with clear water.
- Allow the reservoir to air-dry or dry with a soft cloth before refilling it with water and reassembling the unit.
- Plug the portable air conditioner back in and turn it on to resume operation.
- Monitor the unit for any leaks or excessive dripping from the water reservoir that could indicate a problem with its seal or other components.
- Check the reservoir periodically over time to ensure that it is clean and free of debris or sediment that could cause problems with operation.
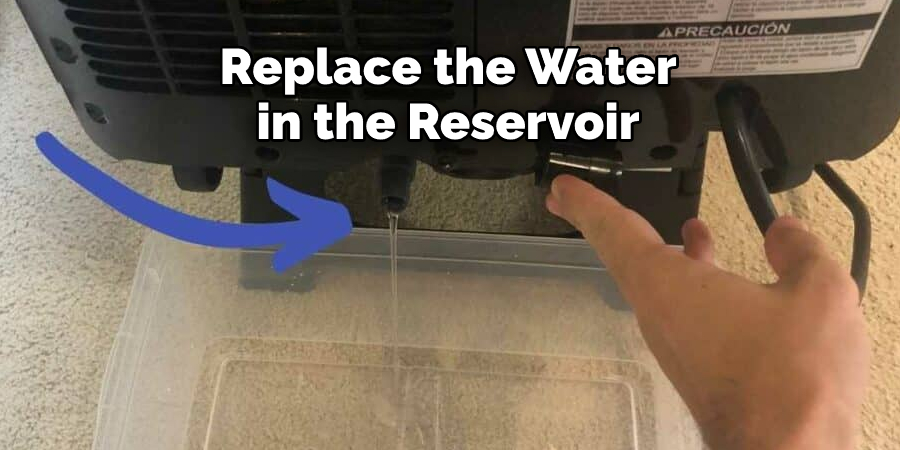
- Replace the water in the reservoir with fresh, clean water as needed to keep the air conditioning unit functioning properly.
By following these steps, you can ensure that your portable air conditioner is always working efficiently and effectively by keeping its reservoir clean and full of fresh water at all times.
How Can You Prevent Leaks or Other Issues When Using a Portable Air Conditioner With Water?
- Ensure the portable air conditioner is properly secured and in place before attempting to add water. Make sure that it is level and stable, and use a securing device if necessary.
- Check the connections and seals of the reservoir frequently for leaks or other issues. Stop using the unit and contact a repair professional if you notice any problems.
- Use an appropriate water container when filling the portable air conditioner’s reservoir. For best results, use a clean, food-grade container free of cracks or other imperfections.
- Fill the reservoir slowly with cold water to avoid splashes and spills. Make sure that the water only goes into the designated area.
- Monitor the unit frequently to ensure it is working properly and that there are no leaks or other issues. If you notice anything unusual, stop using the unit and contact a professional for repairs.
Following these steps can help prevent any potential problems associated with using a portable air conditioner with water. Taking the time to pay attention to the air conditioner and its connections can help ensure that it works properly for a long time.
Conclusion
The main disadvantage of using a portable air conditioner is that they need to be emptied regularly. Because the unit collects water as it cools, the water needs to be drained away, or else the air conditioner will malfunction. This means you will have to empty out your air conditioner every few days in hot weather and even more often if used frequently. This can be inconvenient and time-consuming, as you must remember to do this regularly.
In conclusion, putting water in a portable air conditioner is easy. The first step is to fill the tank with cold water. Be sure to check the manual for any specific instructions on how much water your model requires. After filling the tank, attach it securely to your portable AC unit and plug it in. Finally, turn on the unit and enjoy cool air. With a few simple steps, you can easily put water in a portable air conditioner to enjoy the comfort of cool air on those hot summer days. I hope this article has been beneficial in learning how to put water in a portable air conditioner. Make Sure the precautionary measures are followed chronologically.
Rick is a handyman who grew up helping his dad with his business. He learned a lot from him about how to fix things, and also about how to work hard and take care of business. These days, Rick is still into fixing things- only now, he’s doing it for a living.
Rick is always looking for new ways to help people grow and develop. That’s why he started contributing to this blog: to share all his experience and knowledge so that he can help people who are interested in DIY repair.