

If you’re like most people, you probably don’t think about your air ducts until there’s a problem. And by then, it’s often too late. Air duct cleaning is an important part of home maintenance, but it can be tricky to know how to prepare for it.
It is important to know how to prepare for air duct cleaning. In this post, we’ll walk you through the steps necessary to make sure your air ducts are ready for cleaning. We’ll also give you some tips on how to choose the right company for the job. So read on and get ready to breathe easy!

What You Will Need
- A ladder
- A screwdriver
- A vacuum with a hose attachment
- A soft brush
- A dust mask
- Rags or paper towels
What Are the Benefits of Having My Air Ducts Cleaned?
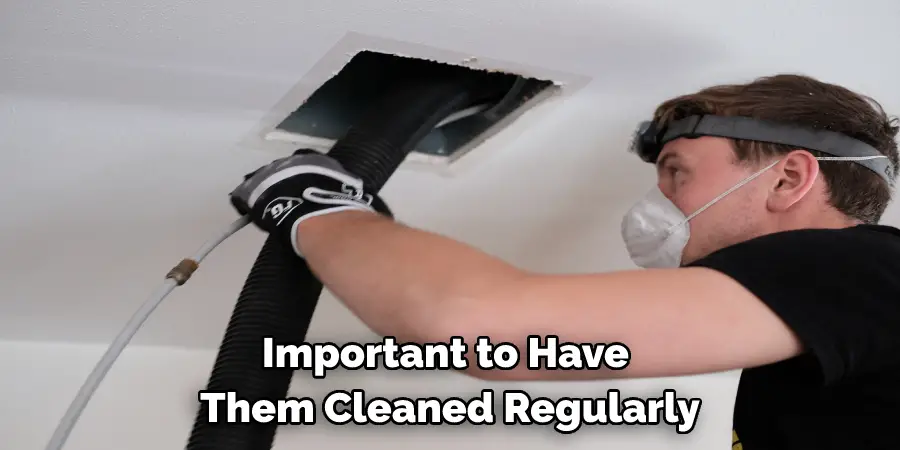
Most people are not aware of the importance of having clean air ducts. An air duct cleaning removes the dirt, dust, and mold that can build up in your ductwork over time. This buildup can cause some problems, including poor indoor air quality, higher energy bills, and respiratory problems.
Professional air duct cleaning can remove this buildup, improve your indoor air quality, and help you breathe easier. In addition, a clean duct system can also make your HVAC system run more efficiently, saving you money on your energy bills. Whether you are concerned about your health or your wallet, there are many good reasons to have your air ducts cleaned regularly.
7 Steps Guide on How to Prepare for Air Duct Cleaning
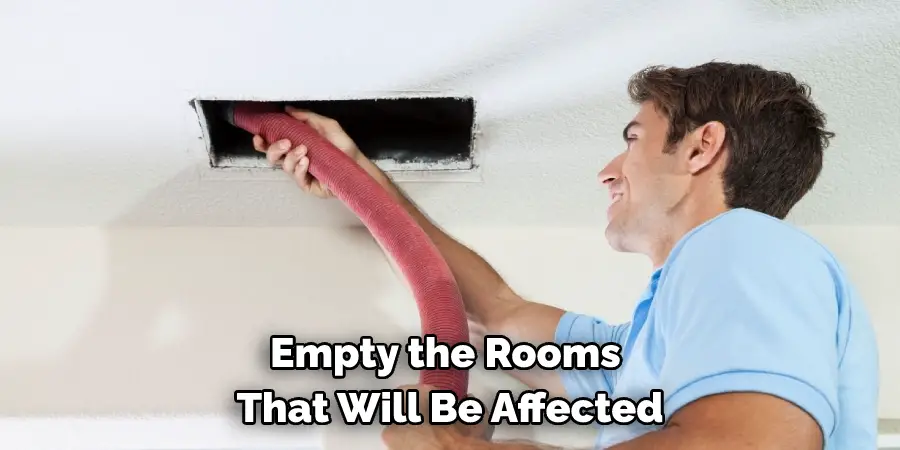
Step 1: Empty the Rooms
The first step in preparing for air duct cleaning is to empty the rooms that will be affected. This includes removing all furniture, rugs, and other items from the room. You will also need to remove any items that are hanging on the walls, such as pictures or mirrors. Once the room is completely empty, you can begin vacuuming.
If you have any hard-to-reach areas, such as high shelves or ceiling fans, you may need to use a ladder. Proper vacuuming is crucial to the success of air duct cleaning, so make sure to get all the nooks and crannies.
Step 2: Turn Off the Power
The air ducts in your home are an essential part of your HVAC system, and they need to be cleaned regularly to ensure that they are functioning properly. However, many people make the mistake of turning off the power to their air ducts before they start cleaning them. This is a major mistake, as it can cause significant damage to your ducts.
When the power is turned off, the fan blades in your ducts will stop rotating. This can cause the blades to become unbalanced, which can lead to them coming into contact with the sides of the ducts. Over time, this can wear down the blades and cause them to break.
In addition, turning off the power will also cause the temperature inside the ducts to drop sharply. This can lead to condensation forming on the walls of the ducts, which can encourage the growth of mold and mildew. As a result, it is always best to leave the power on when you are cleaning your air ducts.
Step 3: Remove the Vents
Most people are aware that their homes need to be cleaned regularly to maintain a healthy environment. However, many people are unaware of the need to clean their air ducts. Air ducts play an important role in the circulation of air throughout a home, and over time they can become clogged with dust and other debris.
As a result, it is important to have them cleaned regularly. The best way to do this is to remove the vents and clean them by hand. This may seem like a daunting task, but it is relatively easy to do. Simply remove the screws that hold the vent in place, and then use a vacuum cleaner with a hose attachment to suck up the dirt and debris.
Once you have done this, replace the screws and put the vent back in place. By taking this simple step, you can help ensure that your home’s air quality stays high.
Step 4: Clean the Vents
With the vents removed, it’s time to start cleaning. Begin by vacuuming up any loose dirt or dust that’s accumulated on the vents. Then, use a soft brush to remove any stubborn debris. It is important to wipe down the vents with a damp rag to remove any lingering dirt. Starting with the floor simply makes more logistical sense. It’s much easier to move furniture when there’s no risk of scratching the floors, and it’s also easier to vacuum or sweep under raised items such as beds and couches. So next time you start cleaning a room, remember: the floor comes first.
Step 5: Clean the Ducts
Most people are not aware of the importance of keeping their ducts clean. We use our heating and cooling systems every day, and over time, dust, dirt, and other allergens can accumulate in the ductwork.
This can lead to poor indoor air quality and a decrease in the efficiency of your HVAC system. While many companies offer duct cleaning services, it’s important to choose a reputable and experienced provider. Otherwise, you may end up with more dirt and debris in your ducts than when you started.
When searching for a duct cleaning company, be sure to ask about their experience, credentials, and methods. Once you’ve found a reputable provider, schedule an appointment to have your ducts cleaned. You’ll be amazed at the difference it makes in your home’s air quality.
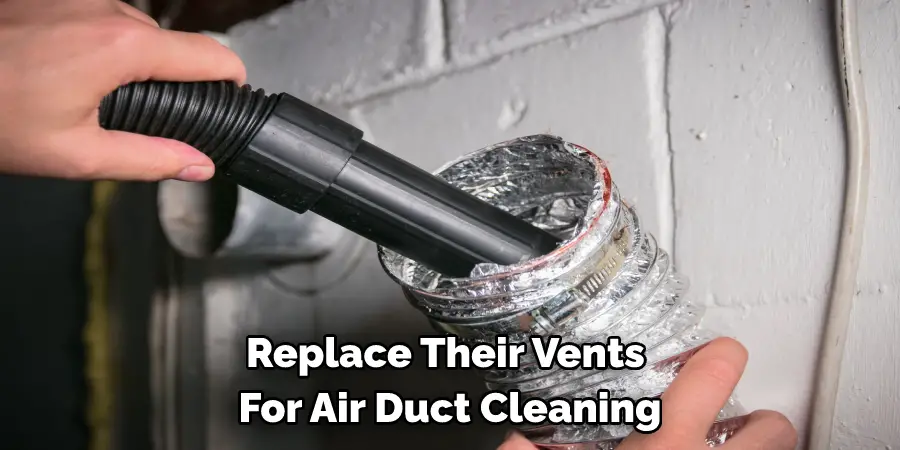
Step 6: Replace the Vents
Homeowners should replace their vents for air duct cleaning every few years to ensure that their homes are free of dust and allergens. While many people think that air ducts only need to be cleaned when they become visibly dirty, this is not the case.
Dust and other microscopic particles can build up over time, causing the air in your home to become stale and making it difficult to breathe. Replacing your vents will help to ensure that your air ducts are clear and allow fresh air to circulate freely throughout your home. In addition, replacing your vents will also help to improve the efficiency of your heating and cooling system, saving you money on your energy bills.
Step 7: Turn on the Power
Now that everything is back in place, you can turn the power back on. By flipping the switch or breaker that controls the affected area. Then, turn on any fans or other equipment that was turned off during the cleaning.
Enjoy Your Clean Air Ducts! After following these steps, your air ducts should be clean and ready to go. Enjoy the fresh, clean air, and breathe easy knowing your ducts are clean!
You Can Check It Out To Use Self Cleaning Samsung Oven
Tips on How to Prepare for Air Duct Cleaning
- Schedule an appointment with a professional air duct cleaning service.
- Make sure to ask about the company’s credentials and licensing.
- Ask for a written estimate of the cost of the air duct cleaning services.
- Inquire about any discounts or promotions that may be available.
- Find out what type of equipment will be used for the air duct cleaning.
- Ask about the company’s refund policy if you are not satisfied with the results of the air duct cleaning.
- Clarify that all vents and registers are covered before the air duct cleaning begins.
- Remove any items from the room that may be damaged by the equipment used for air duct cleaning.
- Turn off any fans or other devices that could interfere with the air duct cleaning process.
- Be prepared to pay for the air duct cleaning services in advance.
How Often Do I Need to Have My Air Ducts Cleaned?
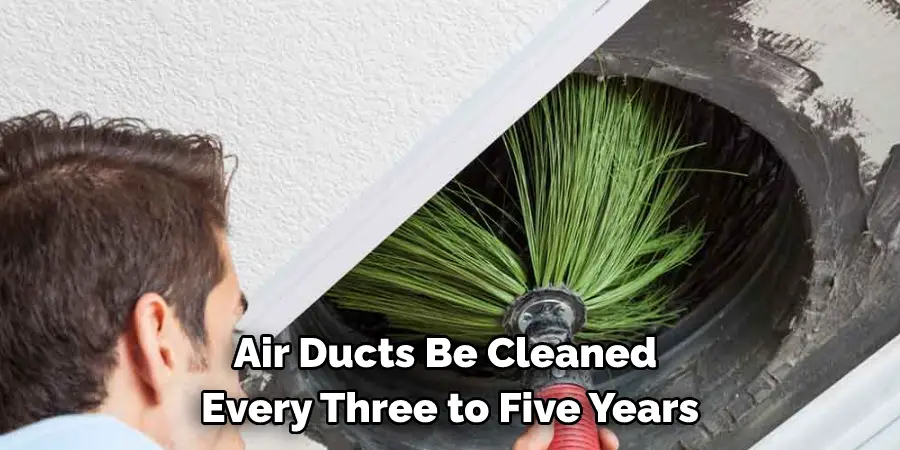
While there is no hard and fast rule, the National Air Duct Cleaners Association (NADCA) recommends that air ducts be cleaned every three to five years. This interval can vary depending on some factors, such as the type of heating and cooling system, the age of the home, and whether there are pets or smokers in the household.
Dust and dirt can build up over time in air ducts, particularly if they are not regularly used. When this happens, the contaminants can be circulated throughout the home every time the heating or cooling system is turned on. In addition to causing poor indoor air quality, this can also lead to premature wear and tear on the system itself. As a result, it’s important to have your air ducts cleaned regularly to protect your health and prolong the life of your HVAC system.
How Can I Tell if It’s Time for an Air Duct Cleaning?
The air ducts are responsible for distributing heat and air throughout your home, and they can become filled with dust, pollen, and other allergens over time. If you suffer from allergies or asthma, it’s especially important to make sure that your air ducts are clean. There are a few telltale signs that indicate it’s time for an air duct cleaning.
For instance, if you notice that your allergies seem to be worse when you’re at home, your air ducts likely circulate dust and other allergens. Another sign that it’s time for an air duct cleaning is if you see dust or cobwebs around your vents. Finally, if your furnace seems to be working harder than usual, it could be because the air ducts are blocked and need to be cleaned. Regularly cleaning your air ducts is essential for maintaining a healthy home environment.
Youcan Chack It Out to Strip Wood With Oven Cleaner
Conclusion
Though air duct cleaning may seem like a daunting task, it is important to do it regularly to ensure the quality of the air inside your home. You should determine carefully how to prepare for air duct cleaning.
By following these simple tips, you can make sure that your next duct cleaning experience is a smooth and hassle-free one. Do you have any other tips for preparing for an air duct cleaning? Share them with us in the comments below!
Youcan Chack It Out to Make a Candle Bouquet
Rick is a handyman who grew up helping his dad with his business. He learned a lot from him about how to fix things, and also about how to work hard and take care of business. These days, Rick is still into fixing things- only now, he’s doing it for a living.
Rick is always looking for new ways to help people grow and develop. That’s why he started contributing to this blog: to share all his experience and knowledge so that he can help people who are interested in DIY repair.