

Proper wall preparation is essential before tiling, as it ensures strong tile adhesion, enhances durability, and results in a seamless, professional finish. Neglecting this crucial phase can lead to an array of common issues, such as loose or uneven tiles, cracking, and unsightly finishes that detract from the tile’s intended appeal. Understanding how to prepare a wall for tiling is fundamental to avoiding these problems and achieving a result that stands the test of time.
The purpose of this comprehensive article is to guide readers through each step of the wall preparation process. From initial cleaning and smoothing to priming and leveling, the instructions aim to equip readers with the knowledge they need to tackle this essential task confidently and precisely.
Gather the Necessary Tools and Materials
1. List of Essential Tools
Having the right tools on hand is crucial for efficient wall preparation. A scraper will help remove any stubborn residues or flaking paint, while a putty knife is ideal for filling in cracks or holes with patching compound. The sanding block is essential for smoothing out surfaces, and a sponge used with a bucket of cleaning solution ensures thorough surface cleansing. A level and tape measure guarantee alignment and precision, while masking tape protects edges during the process. A trowel and primer brush are indispensable for applying primer and adhesive. Each of these tools plays a pivotal role in preparing the wall for a successful tiling project.
2. Materials You’ll Need
Selecting the appropriate materials is equally important. Tile adhesive ensures secure tile adherence and a reliable patching compound helps in repairing imperfections. Sandpaper is used for a final smooth finish. Choosing a high-quality primer tailored to your wall type—be it cement, drywall, or plywood—is crucial for effective sealing. A robust cleaning solution facilitates the removal of dirt and grease, and painter’s tape protects surfaces from stray adhesive or paint marks. It’s wise to invest in quality primer and adhesive that matches your specific wall type to promote durability and finish quality.
How to Prepare a Wall for Tiling: Inspect and Repair the Wall Surface
1. Assess the Condition of the Wall
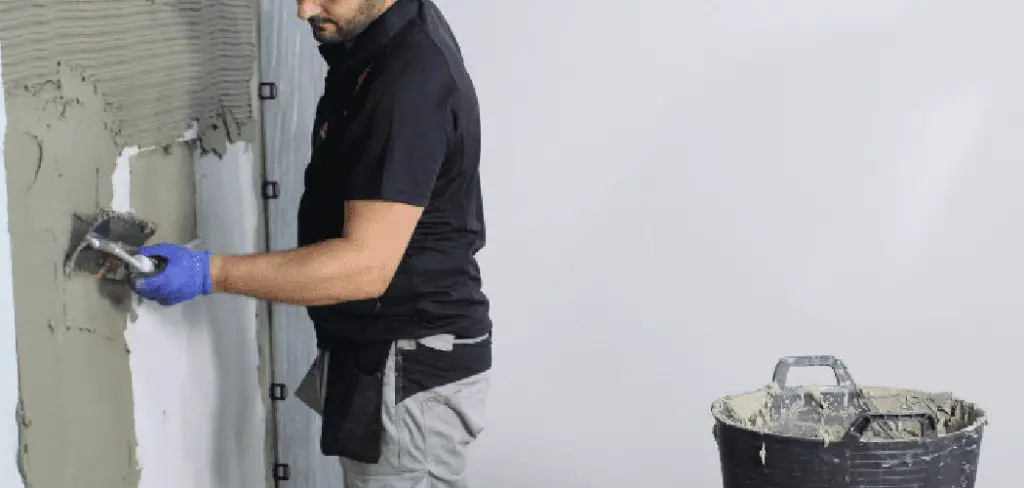
Begin by thoroughly examining the wall for any damage, such as holes, cracks, or bumps. Carefully inspect the entire surface, taking note of imperfections that could affect tile adhesion. Pay special attention to areas that may require repair or reinforcement before you proceed with tiling. Identifying these issues early on allows for proper corrective measures, ensuring the tiled surface will be smooth and resilient.

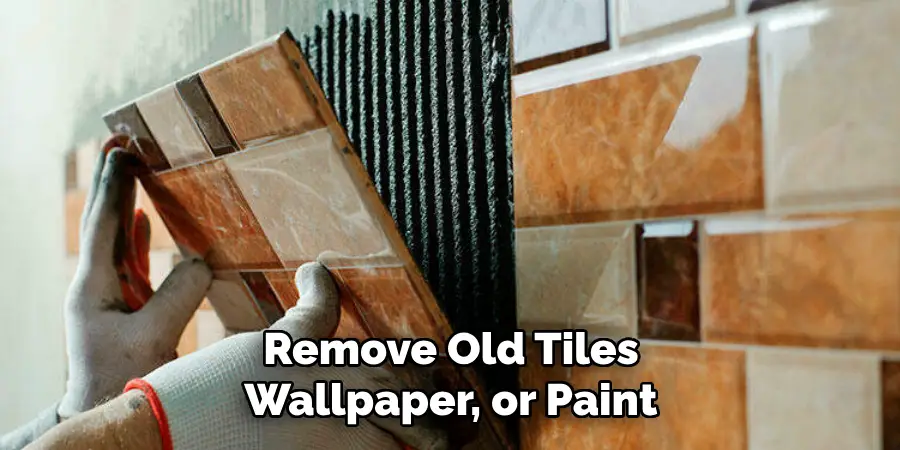
2. Remove Old Tiles, Wallpaper, or Paint
If there are old tiles or wallpaper present, they must be removed safely. For tiles, use a chisel and hammer for effective removal, and protect yourself with safety goggles and gloves. Steam or solvent-based removers can help loosen the adhesive if wallpaper is present. Paint can often hinder tile adhesion, so use a scraper or chemical remover to strip it away, aiming for a clean, smooth surface ready for priming.
3. Fill Cracks and Holes
Small cracks or holes should be filled with a reliable patching compound. Use a putty knife to apply the compound, ensuring an even coverage. Press the compound into each hole and smooth it out across the surface. Be sure to allow sufficient drying time per the manufacturer’s instructions, which is crucial before sanding. This step ensures the wall is uniform and ready for the next phase.
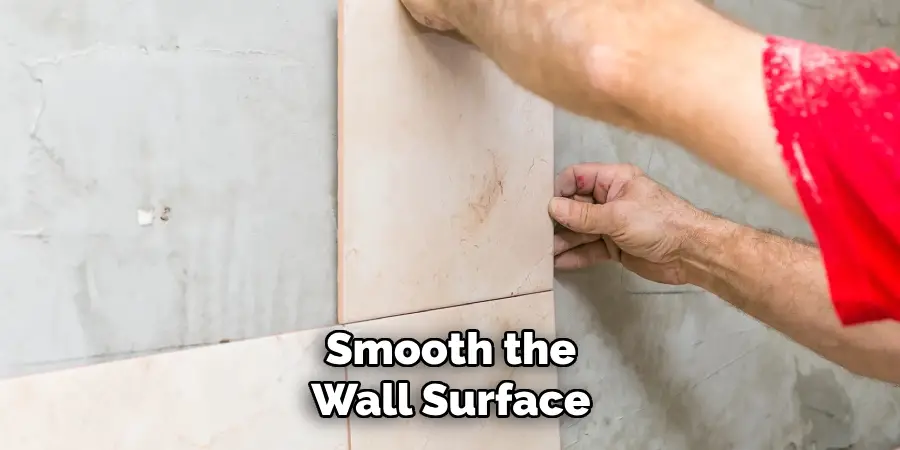
4. Smooth the Wall Surface
Finally, sand the wall surface with medium-grit sandpaper to remove any remaining bumps or uneven areas. This step is essential to achieve a flat surface, promoting effective tile adhesion. Regularly check the smoothness of your hand to ensure uniformity. A well-sanded wall will not only support better adhesive contact but also contribute to a professional-looking finish when the tiling is complete.
How to Prepare a Wall for Tiling: Clean and Prime the Wall
1. Clean the Wall Thoroughly
Begin the cleaning process using a sponge and a mild cleaning solution to remove dirt, dust, or grease from the wall surface. This step is crucial, as contaminants can interfere with adhesive bonding, compromising the integrity of the tile installation. Ensure you cover the entire surface, paying close attention to corners and edges. Once the wall is cleaned, allow it to dry completely. You may use a fan or open windows to facilitate faster drying, but ensure there are no traces of moisture, as lingering dampness can affect the subsequent steps in the tiling process.
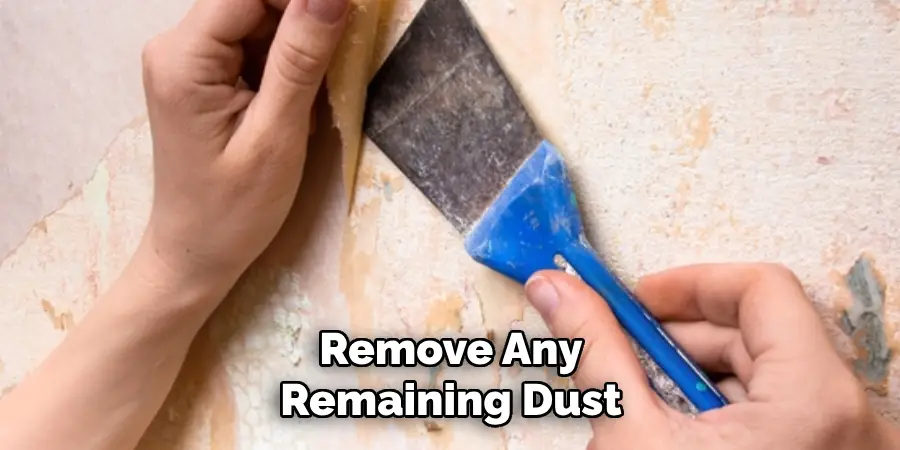
2. Remove Any Remaining Dust
After the wall is completely dry, check for any remaining dust or debris. Use a tack cloth or a vacuum with a brush attachment to efficiently eliminate any loose particles. This is an essential step in ensuring that the wall surface is as smooth and residue-free as possible. Loose dust can prevent proper adhesion, leading to tiles that may become detached over time. Double-check the wall under natural or bright artificial light to ensure no dust remains that could compromise the quality of the final tiled surface.
3. Apply a Primer or Sealer
Once the wall is clean and dust-free, it’s time to apply a tile-friendly primer or sealer, especially in areas prone to moisture, such as kitchens or bathrooms. This provides a stable base for the adhesive and helps prevent moisture penetration. Use a roller or brush to apply the primer evenly across the wall, covering all areas thoroughly. Pay extra attention to corners and edges to avoid misses that could lead to uneven adhesion. Allow the primer to dry completely according to the manufacturer’s instructions before moving on to the next step. This foundational step is critical to ensure a durable and professional-quality tiling finish.
Level and Layout the Wall
1. Check the Wall for Level and Plumb
Begin by using a level to assess the wall’s vertical and horizontal alignment. Hold the level against different horizontal and vertical wall sections to determine if the wall is even. If there are discrepancies, use a pencil to mark the uneven areas. Correct these spots by applying a patching compound or sanding down high points. Ensuring the wall is level and plumb is a critical step, as it will prevent future tiles from appearing skewed and will contribute to a seamless finish.
2. Plan the Tile Layout
Before applying any adhesive, plan the tile layout to ensure even distribution across the wall. Start by marking a horizontal baseline using a chalk line or laser level at the desired starting point, usually at the base of the area to be tiled. Next, draw a vertical centerline down the wall to serve as a guide. Finding the center of the wall helps in balancing the tile placement, reducing the likelihood of awkward cuts at the edges. Consider the size and pattern of the tiles to decide on the best layout, striving for symmetry and minimizing small tile cuts where possible. Proper planning will ensure a professional appearance and efficient use of materials.
3. Dry Fit the Tiles (Optional)
Conducting a dry fit allows you to visualize the layout and make necessary adjustments without the commitment of adhesive. Place a few tiles along the baseline and centerline to test the fit. Observe how the tiles align with the edges, outlets, and fixtures, and make any needed changes to avoid irregular cuts. If adjustments are needed, consider shifting the layout slightly to better accommodate the spacing. This preliminary step can save time and effort by highlighting potential issues early and ensuring a smooth installation process.
Masking and Protecting Surrounding Areas
1. Use Painter’s Tape to Protect Edges
Begin by applying painter’s tape along the edges where the tiles will meet other surfaces, such as counters or cabinetry. Carefully run the tape along the edge, ensuring it follows the line precisely to create a clean border. Press the tape down firmly to ensure full adhesion, which will help prevent the adhesive from seeping underneath during tiling. Check for any bubbles or gaps and smooth them out to enhance effectiveness. This step is crucial in achieving a professional finish and protecting surrounding surfaces.
2. Cover Floors and Fixtures
Use drop cloths or plastic sheeting to protect floors and fixtures from dust, adhesive splatters, or debris. Spread the covers out thoroughly across all areas that could be exposed to potential mess. Once in place, use masking tape to secure the edges to prevent movement, ensuring they remain in position throughout the project. This protective layer will help keep surrounding areas clean and reduce the cleanup needed once tiling is complete.
3. Protect Electrical Outlets and Switches
Before you begin tiling, turn off the electricity to any outlets or switches in the area to safeguard against electrical hazards. Use painter’s tape to completely cover the outlets or switches, ensuring no adhesive comes into contact with them during the work. For convenience, label the covers with a marker so you can easily locate them when the tiling process is finished. Properly protecting these elements is essential for a safe and efficient installation.
Applying the Tile Adhesive
1. Mix the Tile Adhesive
Begin by following the manufacturer’s instructions to mix the tile adhesive to the correct consistency. Make sure the mixture is smooth and lump-free, resembling the texture of creamy peanut butter. Use a mixing tool attached to a drill for an even blend. The choice of adhesive is important; for larger tiles or a specific wall material, select an adhesive designed to support the weight and ensure strong adhesion. This will prevent tiles from sliding or losing grip over time.
2. Apply a Thin Layer of Adhesive
Using a notched trowel, apply a thin, even layer of adhesive on a small, manageable wall section. It is crucial to work in sections no larger than you can complete in approximately 10 to 15 minutes to prevent the adhesive from drying out before tiles are placed. Start from the marked baseline and work upward, making sure the application is consistent in thickness. This helps ensure a firm bond between the adhesive and tiles, facilitating a smooth installation process.
3. Use a Trowel to Create Grooves
Hold the trowel at a 45-degree angle and create even grooves in the adhesive. This technique helps improve tile adhesion by increasing the surface area where the tiles will stick. Ensure the grooves are uniform across the surface to prevent any gaps that might lead to weak spots. Consistent grooves not only aid in securing the tiles better but also ensure an even finish once the tiles are set, contributing to the overall appearance and durability of the installation.
Final Wall Preparation Tips
1. Double-Check the Surface
Before you begin tiling, thoroughly examine the wall for any remaining imperfections or uneven spots. Address minor flaws by applying a patching compound or light sanding to create a smooth, flawless surface. Ensuring the wall is completely ready will prevent problems during installation and enhance the final outcome.
2. Gather Tiles and Tools
Have all necessary tiles and tools within arm’s reach to maintain a steady workflow. If your project involves a specific design, organize your tiles by pattern or color for seamless execution. This preparation minimizes interruptions, allowing for a more efficient tiling process.
3. Follow Manufacturer Instructions
It’s essential to read and adhere to the manufacturer’s instructions for the primer, adhesive, and tiles to ensure optimal results. In case of any doubts or complexities, consider consulting a professional. Following these guidelines will give your tiled surface a better finish and longevity.
Conclusion
In conclusion, mastering the process of how to prepare a wall for tiling is crucial for achieving a professional and long-lasting finish. Cleaning and repairing the surface, followed by meticulous priming, ensures a smooth base. Moving to careful planning, dry fitting, and efficiently applying adhesive further enhances installation quality. Thorough preparation cannot be overemphasized; investing time to get each step right ensures tiles adhere correctly and stand the test of time. Take the necessary steps to prepare adequately, and you’ll be rewarded with a beautiful, durable tiled surface that meets high standards of quality and aesthetics.
About
Angela is the chief editor of Indoorense. She began her career as an interior designer before applying her strategic and creative passion to lifestyle and home.
She has close to 15 years of experience in creative writing and online content strategy for housekeeping and cleaning,home decorations as well as other efforts.
She loves her job and has the privilege of working with an extraordinary team. She lives with her husband, two sons, and daughter in Petersburg. When she’s not busy working she spent time with her family.