
Few things are as frustrating as not being able to get into your jewelry box. It can be a real pain whether you’ve forgotten the combination or the lock is just old and worn out. Fortunately, picking a jewelry box lock is pretty straightforward. We will discuss how to pick a jewelry box lock in this article. Read on for more.
Jewelry box locks are the most straightforward kind. They are typically either tumbler-based or pin-tumbler locks, which are very simple to pick using different tools. But first, you need to understand how these locks work.
How Tumbler Locks Work
While many types of locks have been invented over the years, most fall into tumbler-based and pin-tumbler. There is a round cylinder in a tumbler lock with several holes drilled in it for pins that fit tightly inside those holes. These pins are magnetic or have miniature ball bearings pressed against them on one side.
The second set of driver pins fits loosely inside the front half of the cylinder and can drop down into any hole they wish. A spring behind each driver pin pushes it up until it meets a pin in the front part, forcing both drivers up as far as they will go – at which point the door can be opened.
When you insert a key into a tumbler lock, it forces the front pins to meet their corresponding driver pins and opens the lock. The ridges on a key push each pin-up once until they all reach the shear line where they “jump over” together and allow for free movement of the bolt that locks or unlocks the door.
How Jewelry Box Locks Work
Jewelry box locks are very similar, except there is no keyhole – just a knob that can turn to open or close the lid. In this case, as long as something keeps those delicate pieces of metal from coming out of place, opening and closing are simple for anyone with long enough fingernails. However, if you want to get into the box, it is a different matter entirely.
A Detailed Guide on How to Pick a Jewelry Box Lock
Method 1: Pick a Jewelry Box Lock with Toothpick & Rubber Band
If you’ve already tried the box’s opening knob and it didn’t work, chances are you need to pick the lock.
Step 1:
Insert a toothpick between one of the locks’ teeth. Once inserted, put a rubber band around the tip of your finger and attempt to close the lid again. If it opens when you tug on it, move down to step 2. If it doesn’t open, continue working at that toothpick until you do manage to open it by pulling up or out on that side of the lock instead – then proceed with step 2.
Step 2:
Move over to another hole in the side of your jewelry box where there isn’t already a toothpick. How you do this depends on the style of box you have – for some, inserting another toothpick crosswise with the end sticking out one hole and resting in the other is enough to hold it in place. For others, simply pressing in on that side will open up space between the top and bottom parts, allowing you to slip in the second toothpick perpendicular to the first.
Step 3:
Put a rubber band around your index finger once more and pull on each outside edge of your jewelry box at both ends of the lock until it comes apart. Congratulations! The lid should be able to open now without forcing anything up or down. If it still doesn’t work, repeat step 2 until you get the desired result.
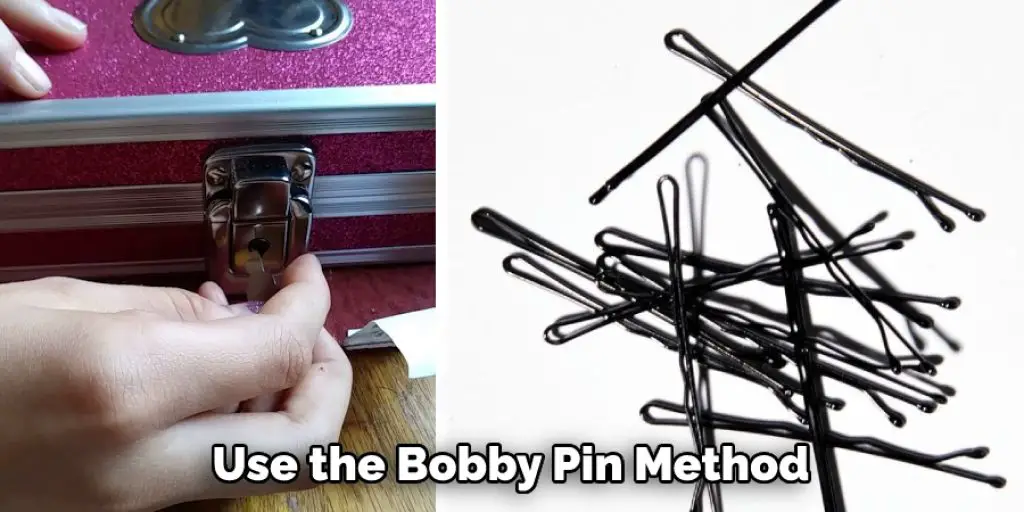
Method 2: Pick a Jewelry Box Lock with Bobby Pin and Rubber Band (“Bobby Pin Method”)
You can also use the bobby pin method for this process. This method is considered an easier task than the toothpick and rubber band method, but it does require some practice to pull off. Nevertheless, it works well on most styles of jewelry box locks like those found on small cigarette boxes or ring holders.
Step 1:
Take two Bobby Pins and straighten them completely out by pulling them apart until they snap in half. Do not bend them back into their original curved shape, as you will need them to be stiff instead of pliable. Instead, insert one bobby pin into the first lock and one pin into the second lock.
Step 2:
Insert the bottom ends of your Bobby Pins (the ends that do not have a wire part) between two teeth on one side of the box’s lock and close the lid to open it. How you insert and close it will depend on what kind of box you’re trying to pick, but this process is fairly straightforward for most styles. If you’re having trouble closing or opening it, continue practicing until you get results. Once you can successfully open and close it with your bobby pins inserted in both locks, proceed to step 3.
Step 3:
Insert each end of your remaining bobby pins into their corresponding locks on either side of your jewelry box. With two bobby pins inserted into each lock, you should be able to lift and open the box. If it still doesn’t work, practice inserting your bobby pins once more – if you don’t know how to do this already, check out How To Bobby Pin Your Hair for reference!
Method 3: Pick a Jewelry Box Lock with Paper Clip
This method is considered an alternative way of picking a jewelry box lock (especially those that may not necessarily be used for precious items). However, it can take some time and patience to pull off. This is because paper clips tend to flatten and bend after extensive use. It also won’t work on all types of locks but can be helpful in many situations where the other methods are not possible, especially if you have time to spare.
Step 1:
Bend the paper clip so that one of its ends is entirely straight and flush with the rest of its body. You’ll need this part to go into your jewelry box’s lock. How you bend it will depend on what style you have – for most styles, simply putting a 90-degree bend in it with pliers will do the trick. Make sure that it is as close to 90 degrees as possible, or this method may not work correctly.
Step 2:
Let go of the bent paperclip to spring back into place with an open hook at one end. Stick this hook inside any hole in your jewelry box’s side where there isn’t a lock, and pull it back out until you feel some resistance. Proceed to step 3 if the door feels like it’s about to open. If not, continue around your box-checking around all of its holes until you can get more of the hook inside.
Step 3:
Once the hook is where you want it at one side of your box, take your second paperclip and bend this part so that one end is completely straight with the rest of its body. How much you have to bend will depend on what type of jewelry box lock you have because different locks have different lengths for every tooth or tine.
Next, insert this part into another hole on your jewelry box’s exterior toward the opposite direction as the first one. Again, how you insert it will also depend on what type of box you have – for most styles, simply putting a 90-degree bend in it with pliers is enough.
Step 4:
Simultaneously push the ends of your bent paperclips into their corresponding locks so that you can open your jewelry box completely. If this doesn’t work, take a pair of pliers and slightly bend the tips of each end inward to see if that helps.
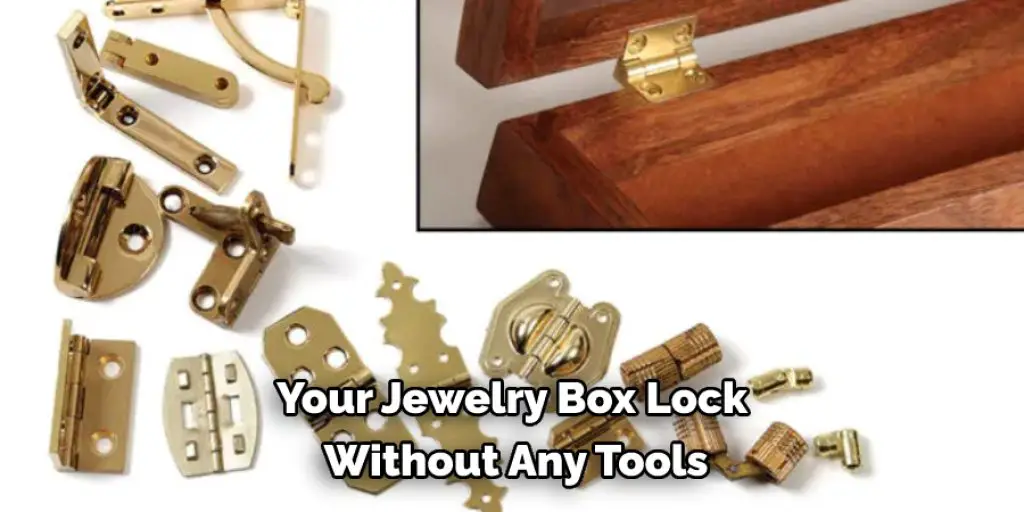
Of course, this won’t always work either, but sometimes adjusting just a little makes all the difference in getting through the lock! Once you’re able to successfully open your box using both paper clips simultaneously, congrats! You’ve picked your jewelry box lock without any tools or skills whatsoever. These methods will help in how to pick a jewelry box lock.
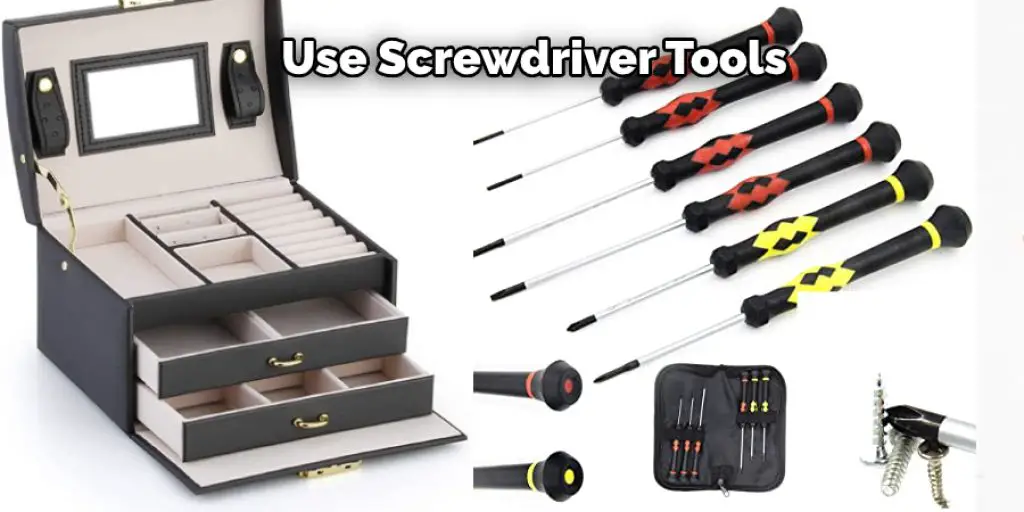
Do not force it if you are still having problems opening your jewelry box. If the box is stuck shut, apply some more pressure to locate the internal locking mechanism so you can pick it up. Do not use any sharp instruments or objects that could damage your jewelry chest. Once you’ve located where the lock is positioned inside of the box, exert pressure on it with your tools while applying slight turning motions with your hands at the same time in an attempt to unlock the box.
You can check it out to Open Magnetic Lock
7 Things to Consider When Picking a Jewelry Box Lock
- Purpose: Determine the purpose of the jewelry box organizer. Will it be used for an everyday jewelry or special occasions? The purpose will help guide what kind of organizer to choose.
- Size: Consider the size of the jewelry box organizer. Will it be used for a large jewelry collection or just a few pieces? Make sure to choose a size that fits the jewelry collection.
- Material: Choose a material that suits both the user’s taste and the jewelry collection. Some popular materials for jewelry box organizers include wood, leather, and acrylic.
- Compartments: Look for a jewelry box organizer with compartments matching the jewelry types being stored. For example, if there are a lot of necklaces, look for a box with tall compartments to prevent tangling.
- Style: Choose a jewelry box organizer that complements the user’s personal style. This will ensure it feels like an intentional addition to the room rather than a storage solution.
- Security: If the jewelry collection is valuable, look for a jewelry box organizer that has a lock or can be secured in some way to ensure that the items are safe.
- Price: Determine a budget and stick to it. There are plenty of great options for jewelry box organizers at all price points so it’s possible to find something that meets the user’s needs while staying within budget.
Conclusion
Now that you know how to pick a jewelry box lock, it is time to put your skills into practice. Be sure always to have a backup plan if the lock does not open. You can also try different techniques if the first one doesn’t work. Practice makes perfect, so keep at it until you can easily open any jewelry box lock.
You can check it out to Open a Storage Unit Lock Without a Key
Michael has always been interested in security and safety. When he was younger, he loved reading books about espionage and crime. This led him to develop a fascination with surveillance systems and home security systems.
He has 8 years of expertise installing, fixing camera problems and door locks. He also gained knowledge by helping homeowners to stay safe and secure in their homes.
Over the years, Michael has gained a great deal of experience in this field. He is responsible for the content development on this blog.