Do you have an angled or vaulted ceiling in your home? If so, you may be wondering how best to tackle painting the walls beneath them. It can seem like a daunting task — after all, it requires a lot of agility and precision unless you want to paint everywhere. So, we need to learn How to Paint Vaulted Walls. However, it is quite simple to do with the right know-how and technique. In this blog post, we will walk you through the process of painting vaulted walls properly! Keep reading for some helpful tips and tricks on easily painting those hard-to-reach angles.
For homeowners who think outside the box, an eye-catching painted vaulted wall may seem like a fun and exciting addition to transforming your space. With some patience and the right supplies, you can easily create a cozy display piece or vibrant accent wall that is sure to get people talking. Here, we’ll provide you with all the tips and tricks you need to know about how to paint vaulted walls!
Why You May Want to Paint Vaulted Walls?
There are many reasons why you may want to paint your vaulted walls. Such as:
1. To Make Them Look More Aesthetically Pleasing
One of the main reasons why you may want to paint your vaulted ceilings is to make them look more aesthetically pleasing. This can be achieved by adding a fresh coat of paint, as well as using a color that will best complement the rest of the room’s design.
2. To Add Eye-Catching Detail
Painting your vaulted walls can also be a great way to add eye-catching detail to your space. Whether it’s through creating an ombre effect, adding stripes or polka dots, or using creative stencil work, painting can help you add a perfect touch of character to your room.
3. To Brighten Up a Dark Room
If your room is feeling a bit too dark, painting your vaulted walls can help you brighten it up. Using lighter colors such as whites and pastel hues, will allow more light to reflect off the walls, creating a brighter ambiance in the space.
No matter what reason you have for wanting to paint your vaulted walls, you can be sure that it will help bring your space to life. Read on to find out how to paint vaulted walls properly, and get started on transforming your room!
How to Paint Vaulted Walls in 7 Easy Steps
Step 1: Prepare the Walls
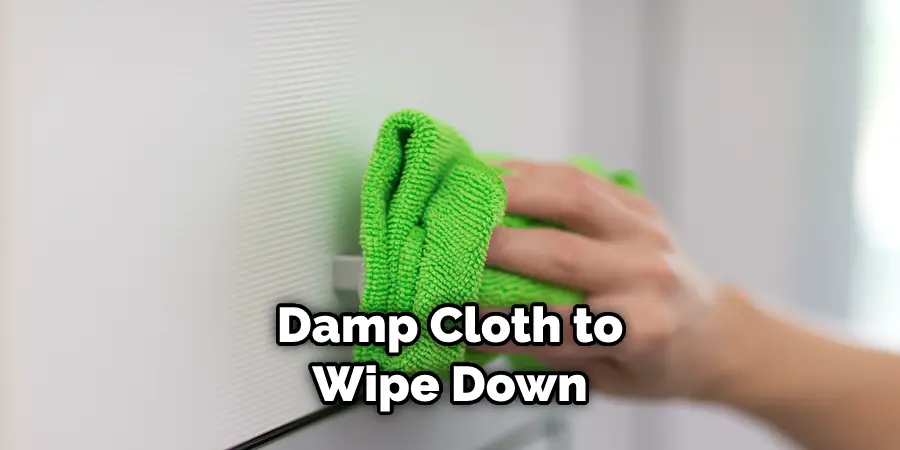
Before you start painting, make sure that all of the surfaces are clean and free of debris. Use a damp cloth to wipe down the ceilings and walls to ensure nothing will interfere with your paint job. Also, make sure to caulk any gaps or cracks in the walls.
Step 2: Prime the Walls
Once your surfaces are prepped, prime the walls and ceilings with high-quality primer paint. This will help ensure that your finished coat of paint goes on evenly and looks professional. Also, make sure to use an oil- or latex-based primer designed for wall surfaces.
Step 3: Choose the Right Paint
Vaulted walls can be tricky, so choosing the right paint is important. For best results, look for high-quality acrylic paint with good adhesion and coverage. Latex paints are usually the best option for vaulted ceilings since they are durable and easy to work with.
Step 4: Roll on the Paint
Once you’ve picked out your paint, it’s time to start rolling! Start at the top of the walls and always roll in a single direction (from left to right or from top to bottom). Also, make sure to apply a thin and even coat of paint.
Step 5: Paint the Trim Areas
Once you’ve finished rolling on the walls, it’s time to focus on the trim areas. Carefully brush in any corners and edges with a small brush. This will ensure that all of your trim areas are painted with precision. Also, make sure to use a brush specifically designed for trim areas.
Step 6: Add an Accent Color
If you’re feeling adventurous, consider adding an accent color to your walls. You can use a darker or lighter shade of paint for the accents, depending on your desired look. Make sure to use painter’s tape in order to keep the lines clean and precise.
Step 7: Clean Up
Once you’ve finished painting, clean up your mess using a damp cloth and any extra paint. You can also use painter’s tape to protect the wall from smudges or spills. After cleaning up, let the paint dry overnight before admiring your newly-painted vaulted walls.
Following these seven easy steps will help you achieve professional results when painting your vaulted walls. With the right tools and a bit of patience, you can transform any space with the perfect coat of paint. Good luck!
Some Additional Tips to Paint Vaulted Walls
1. Avoid Using a Roller
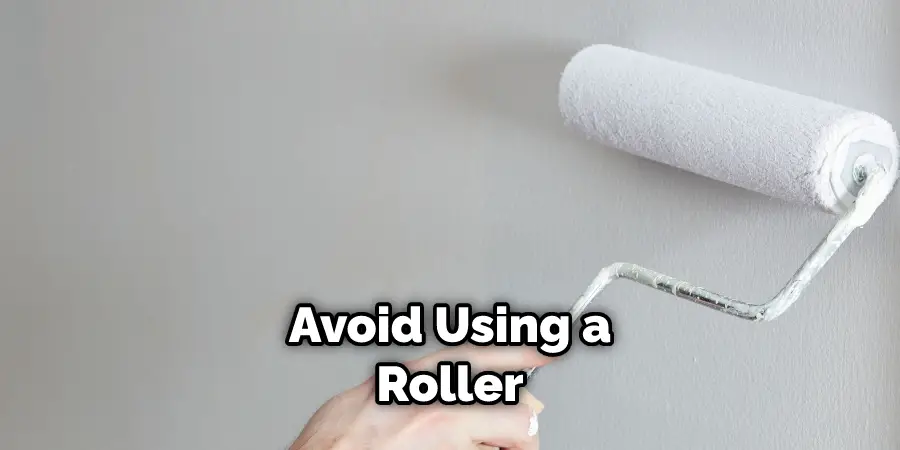
When painting vaulted walls, it is important to avoid using a roller for a few reasons. The angle of the wall can make it difficult to get an even coat with just rolling and it’s difficult to reach some parts of the ceiling. Instead, use a brush or sprayer tool that allows you to move in different directions. This will help achieve an even coat and make it easier to reach hard-to-reach spots.
2. Paint in One Direction
When painting vaulted walls, it’s important to paint in one direction. Make sure you start at the top of the wall and work your way down so that any drips or runs won’t end up on the lower sections of the wall. Additionally, this will help to ensure a consistent finish.
3. Cover Uneven Surfaces with Primer
Before painting vaulted walls, it’s important to first cover any uneven surfaces with primer. This will help create an even base for your paint and make sure that everything is uniform when you’re finished.
4. Consider Using a Ladder or Step Stool
Painting vaulted walls can be a difficult task due to the angle and height of the ceiling, so it’s important to consider using either a ladder or step stool when painting. This will allow you to reach all areas of the wall and get an even coat of paint.
Frequently Asked Questions
What Precautions Should I Take Before Painting Vaulted Walls?
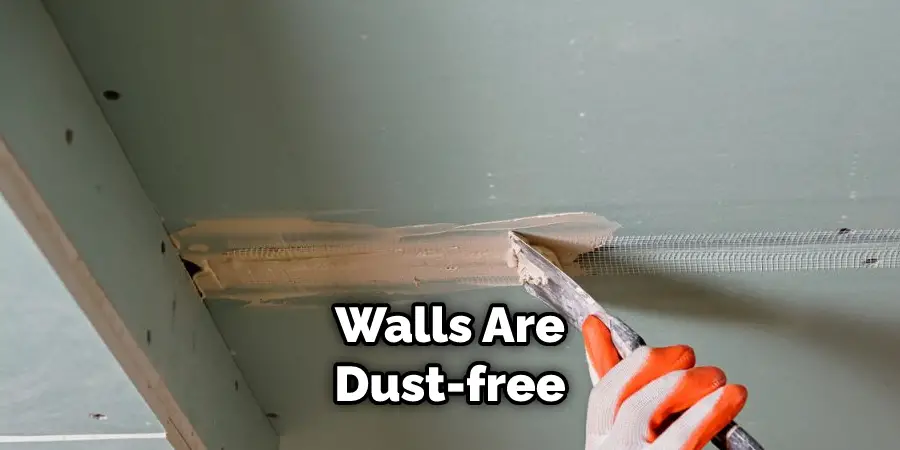
Before beginning to paint a vaulted wall, it is important to take certain precautions. Make sure the walls are dust-free and free from any dirt or debris that may affect the quality of the final product. It is also important to protect furniture and other items in the room by using drop cloths, as paint splatter can occur. Additionally, use a high-quality primer on the walls before painting for best results.
What Paint Should I Use for Vaulted Walls?
When it comes to painting vaulted walls, using an eggshell or satin finish is recommended as it has greater durability and provides a smooth coating that will last. Additionally, if the walls are particularly high and difficult to reach, use a paint sprayer for convenience. Also, be sure to select an interior paint specifically designed for vaulted walls as it will require a different type of paint.
How Do I Cut in the Edges of Vaulted Walls?
When cutting in the edges of vaulted walls, use a brush or roller with a narrow-angle edge to ensure accuracy and even coverage. Additionally, you can use painter’s tape to ensure the paint doesn’t go outside the edges. If you have high ceilings, investing in a ladder or scaffolding is best for convenience and safety.
How Do I Know How Much Paint I’ll Need?
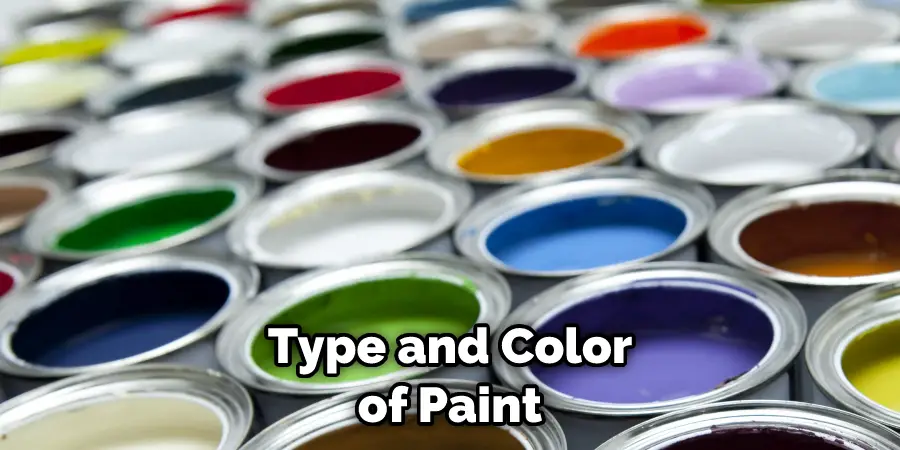
The amount of paint you will need for vaulted walls depends on the size of the room, as well as the type and color of paint you are using. Generally, one gallon of paint covers approximately 400 square feet.
Additionally, it is important to keep in mind that painting a vaulted wall may require more paint than painting a flat surface due to the angled nature of the walls. Be sure to calculate your needs accordingly to avoid running out of paint before the job is completed. Also, remember to factor in primer and other supplies that may be necessary.
Conclusion
Now you know how to paint vaulted walls like a professional. Before you start painting, prepare the surfaces properly and remember to use primer when needed. When applying the paint, use even strokes from top to bottom, and make sure you’re using the right tools for the job. With these tips in mind, you’ll be able to get an even finish with minimal effort.
Painting vaulted walls can be daunting, but following these simple tips will help you get the job done quickly and efficiently. With patience and attention to detail, you’ll be able to achieve a professional-looking finish that will make your home look its best.
About
Angela is the chief editor of Indoorense. She began her career as an interior designer before applying her strategic and creative passion to lifestyle and home.
She has close to 15 years of experience in creative writing and online content strategy for housekeeping and cleaning,home decorations as well as other efforts.
She loves her job and has the privilege of working with an extraordinary team. She lives with her husband, two sons, and daughter in Petersburg. When she’s not busy working she spent time with her family.

