
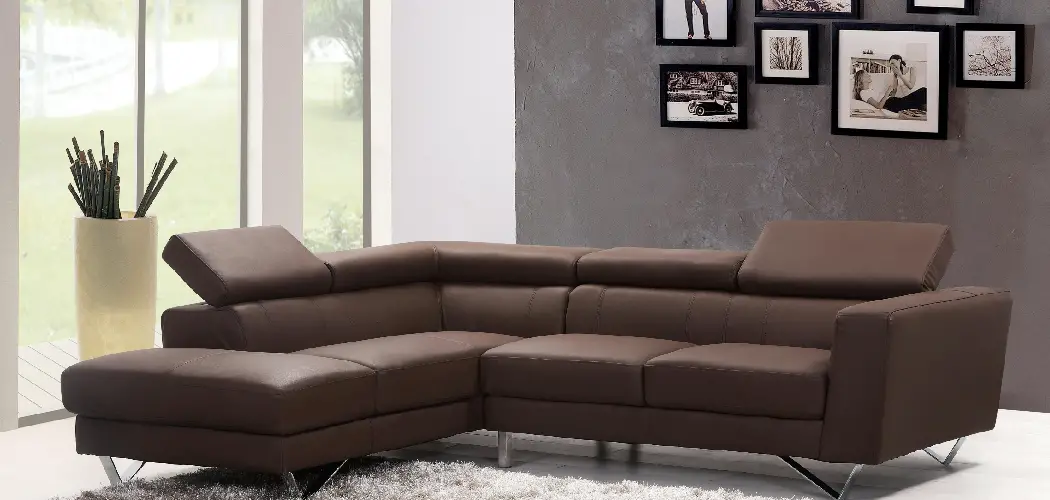
Painting leather furniture can be a fantastic way to breathe new life into an old piece or customize it to fit your personal style. Unlike other materials, leather requires special preparation and techniques to ensure a long-lasting and beautiful finish. Whether you’re looking to refresh a worn-out surface or simply change the color to better suit your decor, this guide will walk you through how to paint leather furniture successfully. With the right tools and approach, you can achieve professional-looking results without the need for replacement or costly reupholstering.

Benefits of Painting Leather
Painting leather furniture offers numerous advantages, making it an appealing option for those looking to update their home decor. One of the primary benefits is cost-effectiveness. Instead of investing in new furniture, painting provides a budget-friendly alternative that can significantly transform the appearance of an existing piece. Additionally, painting allows for customization, enabling you to tailor the color and finish to perfectly match your personal style and home aesthetics. Another advantage is that painting can extend the lifespan of leather furniture by covering up imperfections, stains, and wear, giving it a fresh and rejuvenated look.
Moreover, with the proper techniques, painted leather can maintain its durability and flexibility, ensuring that it remains a functional part of your decor for years to come.
Tools and Materials Needed
To achieve the best results when painting leather furniture, it’s essential to have the right tools and materials on hand. Here is a list of what you’ll need to get started:
- Leather Cleaner: Before painting, thoroughly clean the leather surface using a specialized leather cleaner to remove dirt, oils, and any existing treatments.
- Sandpaper (Fine Grit): Gently sand the leather to create a surface that the paint can adhere to effectively.
- Painter’s Tape: Use this to mask off areas you don’t want painted, ensuring clean and crisp lines.
- Leather Primer: Apply a suitable primer designed for leather to ensure better paint adhesion and durability.
- Acrylic Leather Paint: Choose a high-quality paint formulated specifically for leather to achieve the desired color and finish.
- Paintbrushes or Sponges: Depending on the surface area and desired effect, select the appropriate applicators for spreading the paint evenly.
- Sealant: Once painting is complete, apply a clear sealant to protect the finish from scratches, scuffs, and moisture.
- Lint-Free Cloths: Keep these handy for wiping away dust and helping with clean-up throughout the process.
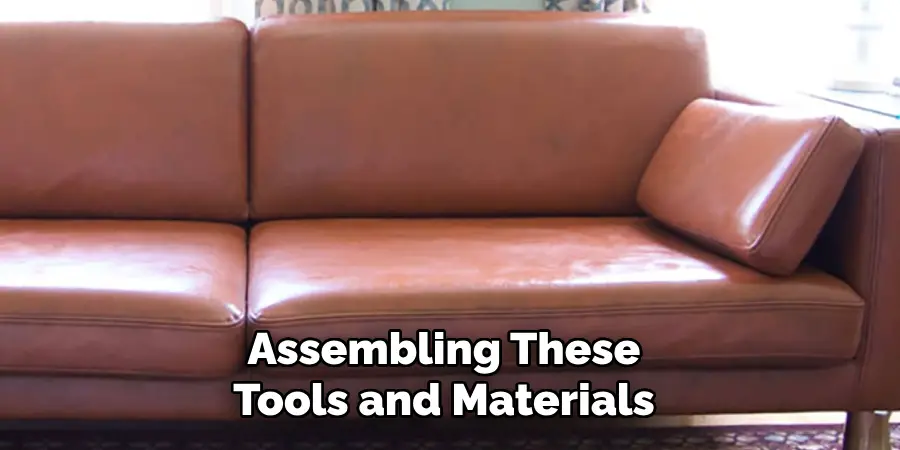
Assembling these tools and materials will set you up for a successful leather painting project, ensuring that your furniture looks polished and vibrant.
10 Methods How to Paint Leather Furniture
1. Prepare the Leather Surface
Before applying any paint to your leather furniture, proper preparation is crucial to ensure the paint adheres well and lasts long. Start by cleaning the surface with a gentle leather cleaner to remove dirt, oils, and other residues. Use a soft cloth or sponge to wipe down the entire piece, making sure to get into seams and crevices. If your leather furniture has a glossy or sealed finish, lightly sand the surface with fine-grit sandpaper (around 400 grit) to create a rough texture for better paint adhesion. Finally, wipe away any dust from sanding using a damp cloth and let the surface dry completely.
2. Choose the Right Paint
Selecting the correct type of paint is essential when working with leather. Leather requires a flexible paint that won’t crack or peel over time. Acrylic-based leather paints are the best option, as they are specifically designed for use on leather and provide a durable, flexible finish. Brands such as Angelus or Fiebing’s offer high-quality leather paints in a wide range of colors. Avoid using regular wall or fabric paint, as these will not bond well to the leather’s surface and are likely to chip or flake with use.

3. Apply a Leather Deglazer
Using a leather deglazer is an additional step that can significantly improve the paint’s adhesion to the leather surface. A deglazer helps strip away any remaining finishes, oils, or conditioners that may prevent the paint from bonding properly. Apply the deglazer with a soft cloth, rubbing it gently onto the surface of the leather in circular motions. Once applied, allow the leather to dry thoroughly before moving on to the painting process. Deglazing is especially important for older leather furniture or pieces that have been conditioned with oils over time.
4. Use Primer for Better Adhesion
While not always necessary, applying a leather primer can provide an extra layer of adhesion for your paint. Primers are particularly useful if you are painting light colors over dark leather, as they help to block the original color from showing through. Leather primers are available in both spray and brush-on forms. If using a spray primer, apply light, even coats from a distance of about 6-8 inches. For brush-on primers, use a soft, synthetic brush to avoid leaving brush marks. Allow the primer to dry completely before starting the painting process.
5. Use Multiple Thin Coats
When painting leather furniture, applying several thin coats of paint is far more effective than using one thick layer. Thin coats ensure that the paint adheres evenly and prevents clumping or cracking once dried. Dip a soft brush or sponge into the leather paint and apply it in smooth, even strokes across the surface. Avoid overloading the brush with paint to prevent dripping. After applying the first coat, allow it to dry for about 20-30 minutes before applying the next layer. Continue building up the color with multiple thin coats until you achieve your desired opacity.
6. Use a Sponge for a Smooth Finish
To achieve a smoother, more professional finish, consider using a sponge to apply your leather paint rather than a brush. Sponges create a more even layer of paint and eliminate the risk of brush marks, which can be difficult to avoid on soft leather surfaces. Dab the sponge lightly into the paint and gently pat it onto the leather in a stippling motion. This method works particularly well for larger, flat areas of the furniture, such as the seat cushions or the backrest. Sponges are also great for blending colors and creating a soft, gradient effect.

7. Try a Spray Gun for Large Pieces
If you are painting a large piece of leather furniture, such as a couch or armchair, using a spray gun can save time and ensure an even application. A spray gun distributes the paint evenly and allows you to cover large surfaces quickly and efficiently. To use a spray gun, thin the leather paint with water or a paint thinner according to the manufacturer’s instructions. Spray the paint in light, even coats, keeping the spray gun about 6-8 inches away from the leather surface. Be sure to work in a well-ventilated area and protect surrounding surfaces from overspray.
8. Blend Colors for a Unique Look
For a more creative and custom finish, try blending different shades of leather paint to create an ombre effect or a unique color pattern. Start by applying the base color as your first coat, letting it dry completely. Then, using a sponge or a soft brush, gradually add a second color to the edges or areas where you want the blending effect. Gently blend the two colors together using circular motions or a stippling technique. Blending colors on leather furniture can give your piece a one-of-a-kind look and can be an excellent way to create visual interest.
9. Use Stencils for Patterns and Designs
If you want to add a pattern or design to your leather furniture, using stencils is a simple yet effective method. Choose a stencil that matches your style, whether it’s geometric shapes, floral patterns, or intricate designs. Place the stencil on the leather surface and secure it in place with painter’s tape to prevent it from shifting. Use a sponge or stencil brush to dab paint over the stencil, making sure not to apply too much pressure to avoid paint bleeding underneath the stencil. Carefully remove the stencil after each section is painted and allow the design to dry before continuing.
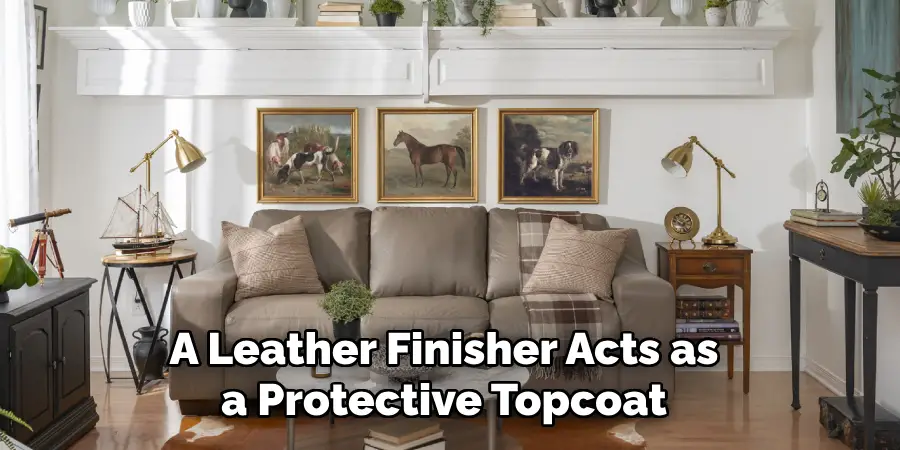
10. Seal the Paint with a Leather Finisher
Once you’ve finished painting your leather furniture, it’s essential to seal the paint with a leather finisher to protect it from wear and tear. A leather finisher acts as a protective topcoat that helps the paint remain flexible and prevents cracking, peeling, or fading. Leather finishers are available in matte, satin, and gloss finishes, allowing you to choose the level of shine that suits your style. Apply the finisher in light, even coats using a soft brush or sponge, and allow it to dry completely between coats. This final step ensures that your painted leather furniture will look great and last for years to come.
Conclusion
Painting leather furniture can be a rewarding way to breathe new life into old or outdated pieces. Whether you’re aiming for a bold color change or a subtle enhancement, following these ten methods will help you achieve a professional, long-lasting finish. Thanks for reading, and we hope this has given you some inspiration on how to paint leather furniture!
About
Angela is the chief editor of Indoorense. She began her career as an interior designer before applying her strategic and creative passion to lifestyle and home.
She has close to 15 years of experience in creative writing and online content strategy for housekeeping and cleaning,home decorations as well as other efforts.
She loves her job and has the privilege of working with an extraordinary team. She lives with her husband, two sons, and daughter in Petersburg. When she’s not busy working she spent time with her family.