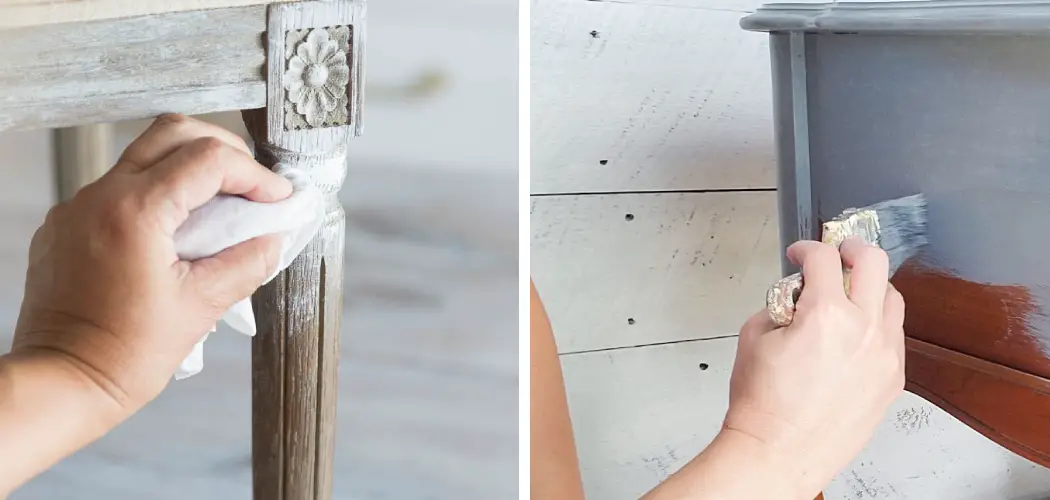
Do you want to give your home décor a stylish update? Have you ever considered transforming the look of furniture using one simple technique – French Provincial painting? While this trend has been around for years, it’s becoming popular once again, and with good reason!
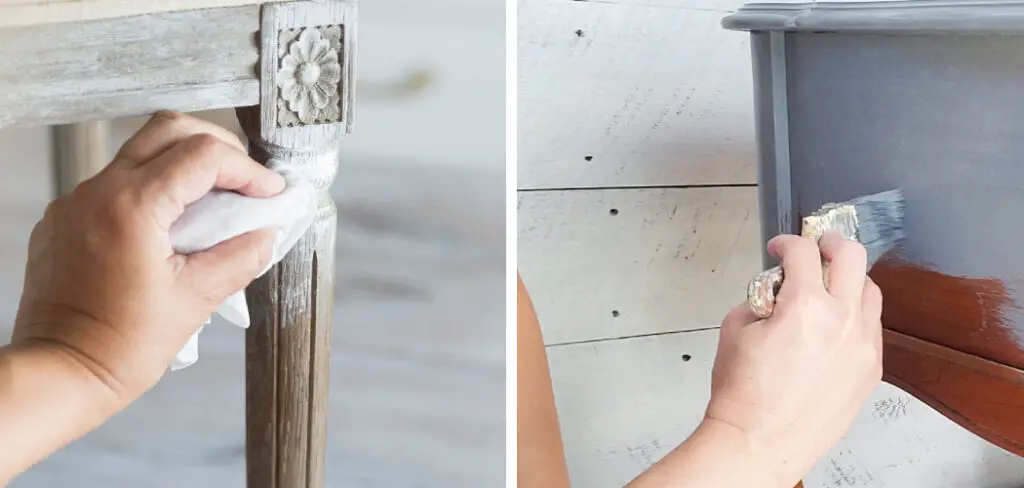
In this blog post, we’ll dive into everything from the basics of painting French Provincial furniture to finding inspiration for colors and motifs. We’ll also provide step-by-step instructions on how to paint french provincial furniture and make sure your project turns out perfect each time!
At some point, many of us have wished for a unique piece of furniture to add character and style to any room in our homes. French provincial furniture provides that stylish, classic element with its timeless pieces that harken back to the 18th century. Painting your own French provincial furniture is a great way to bring a renewed look and feel into your home and give yourself a unique masterpiece at the same time.
Here we will discuss the paint techniques and materials you need to masterfully transform an old or outdated piece of furniture into something spectacularly French.
Benefits of Painting French Provincial Furniture
1. To Brings a Hint of Elegance to Any Home
One of the best things about French Provincial furniture is its unique blend of rustic, antique charm and classic elegance. By painting it, you can create an even more distinctive look that is sure to be the talk of any room. So if you want to add a hint of sophistication to your home, painting French Provincial furniture is a great option.
2. It’s Affordable
Painting French Provincial furniture is an affordable way to makeover and update the look of your home without breaking the bank. You can transform dull furnishings into something extraordinary with just some paint, brushes, and sealer. Plus, you can buy paint in a variety of colors to create the exact look you want.
3. It’s Easy
Painting French Provincial furniture isn’t difficult or time-consuming. All it takes is a few simple steps and basic supplies like sandpaper, primer, and paint to start. You can easily turn old furniture into something new and exciting with a few tips and tricks.
4. It’s Versatile
Painting French Provincial furniture is incredibly versatile. You can paint in any color to create your desired look – from bright colors that make a statement to subtle shades that blend with your existing décor. Plus, you can also add accents such as stencils and decoupage for a unique touch.
5. It’s Durable
Once painted, French Provincial furniture is highly durable and will last for years to come if properly maintained. This means that your furnishings will look just as beautiful today as they will in years to come. So you can enjoy your freshly painted furniture for a long time.
Painting French Provincial furniture is an easy and affordable way to upgrade the look of your home – so why not give it a try? With just some paint and sealer, you can transform dull furnishings into something extraordinary. Plus, you can enjoy your newly painted furniture for years to come. So why not bring a bit of French Provincial charm into your home?
How to Paint French Provincial Furniture in 6 Easy Steps
Step 1: Prepare Your Piece of Furniture for Painting

The very first step is to prepare your piece of furniture for painting. This includes sanding down the entire surface to remove any old paint and to smooth out the surface. If you have any metal accents on the furniture, you may need to use a wire brush or steel wool to remove rust and dirt.
Step 2: Apply Primer
Once you’ve prepared your furniture, it’s time to apply primer. Primer helps create a barrier between the old and new paint, ensuring that paints stick securely and last longer. This will also make the painting process easier since you won’t have to worry about color bleeding through.
Step 3: Choose Your Paint Color
Choose a paint color that complements your French Provincial furniture. You can use either an oil-based or water-based paint, depending on the surface and look you want to achieve. You have to be careful when selecting a color since you don’t want the finished product to look too bright or overwhelming.
Step 4: Apply Paint and Finishes
Once you’ve chosen your paint color, it’s time to apply it. Use a quality brush and start from one corner of the furniture, painting in long strokes. Make sure to apply two coats of paint for an even and consistent finish. When the paint is dry, you can add your choice of finishes, such as wax or varnish.
Step 5: Add Decorative Details
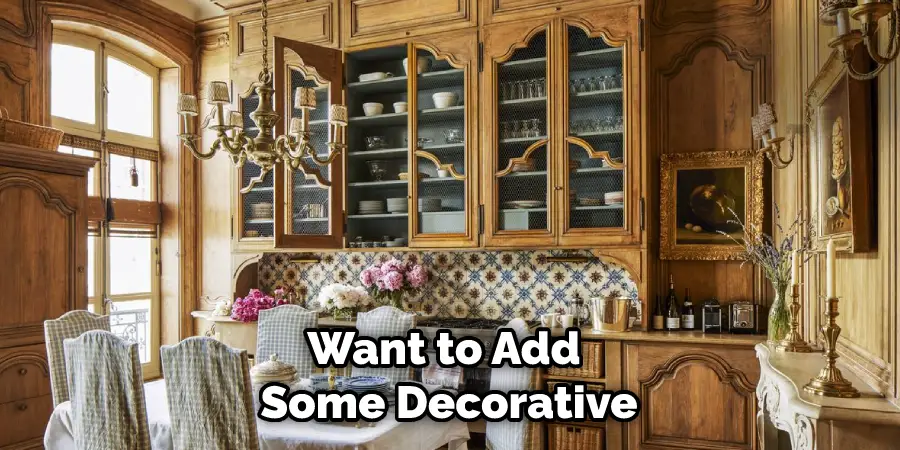
You may want to add some decorative details to give your French Provincial furniture a more authentic look. This could include adding porcelain knobs, ornate metal handles, or even hand-painted designs or motifs.
Step 6: Double Check
The last step is to double-check and ensure everything is in order. This includes checking for any smudges, drips, or uneven surfaces. Once everything looks perfect, you’re ready to enjoy your beautifully painted French Provincial furniture!
There you have it – how to paint French Provincial furniture in 6 easy steps! With these tips, you can easily update your furniture and give it a brand-new look. Have fun getting creative with colors, finishes, and decorations to achieve your perfect style. Good luck!
Some Extra Tips to Paint French Provincial Furniture
1. Do Not Rush the Process
French provincial furniture requires multiple steps and layers of paint to achieve a quality finish. Taking your time ensures you have good coverage and a smooth, professional look at the end.
Also, try to do the work in a well-ventilated area and away from direct sunlight.
2. Clean and Sand Thoroughly
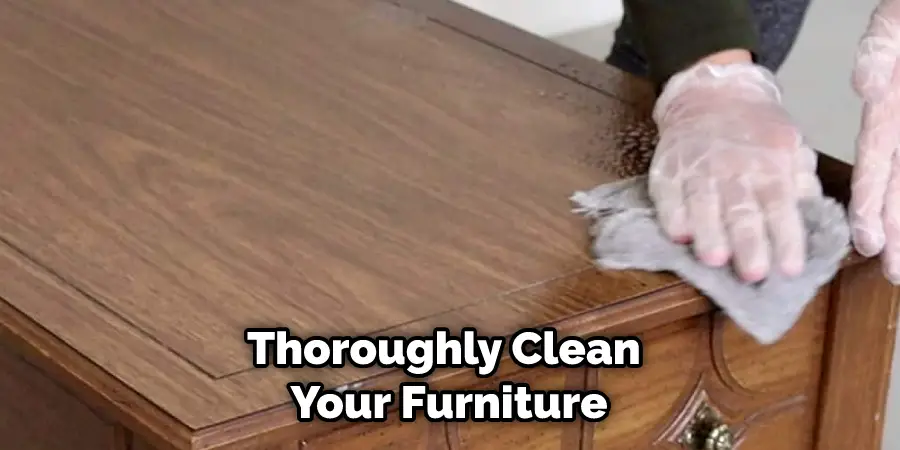
Before you start painting, make sure to thoroughly clean your furniture with a cleaner or detergent to remove dirt and grime. Then sand the surface with fine-grain sandpaper before applying a primer.
3. Use Primer and High-Quality Paint
Primer will ensure the paint has good coverage and adheres properly, so make sure to use a quality primer for your French provincial furniture. When selecting paint, choose one with a smooth finish that won’t chip or flake over time.
4. Finish It Off With an Appropriate Sealer
Once you have finished painting your French provincial furniture, apply a sealer to protect it from wear and tear. A good sealer will also ensure that moisture or sunlight won’t affect the paint. Also, use a soft cloth when applying the sealer to prevent any streaks or marks.
5. Avoid Over-Saturating With Paint
When painting, avoid over-saturating with paint to prevent streaks and brush marks. Take your time and use thin, even coats of paint, adding additional layers if needed. This will ensure that the finish looks professional when you’re done.
6. Let It All Dry
Allow the primer, paint, and sealer to dry completely before handling the furniture. This will help prevent any damage or smudging of the paint job.
So make sure to let the furniture dry overnight before you enjoy it in your home!
Following these steps will help you achieve a professional-looking finish on your French provincial furniture. You can create a beautiful piece that will last for years with patience and attention to detail.
Frequently Asked Questions
What Precautions Should I Take Before Painting French Provincial Furniture?
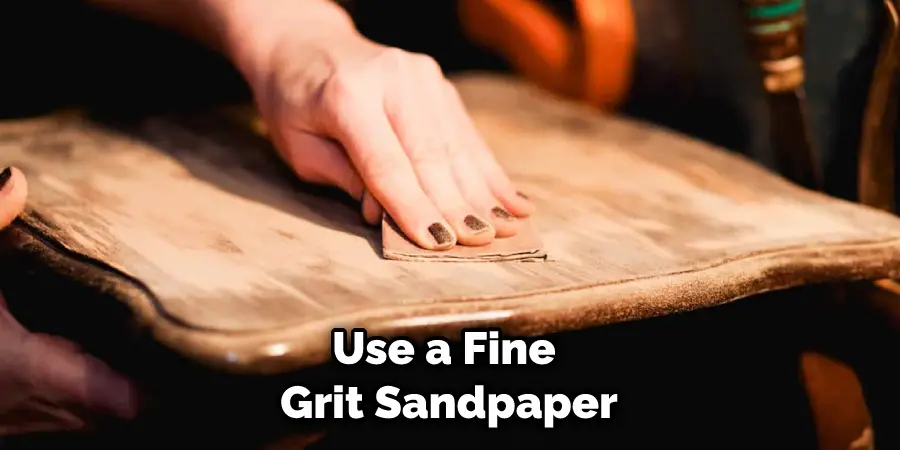
Before painting French Provincial furniture, it is important to sand the piece down so that the paint adheres well. Use fine-grit sandpaper and an electric sander for the best results. Additionally, make sure to clean off any dust or dirt on the furniture’s surface. You should also use a primer before applying paint, as this will help ensure that the color adheres to the surface better.
What Type of Paint is Best for French Provincial Furniture?
Oil-based paints are generally the best choice for painting French Provincial furniture. They are long lasting and durable, which makes them ideal for protecting your furniture piece. Additionally, oil-based paints adhere better than other types of paint when used on French Provincial furniture, which means that the color won’t easily fade or chip away over time.
How Many Coats of Paint Should I Use?
In most cases, two coats of paint should be enough to cover the entire surface of your French Provincial furniture piece. However, if you find that the first coat isn’t covering the piece properly, you may need to add an extra layer of paint. It is important to wait for the first coat to dry completely before applying the second one, as this will help ensure even coverage and a smooth finish.
Once I Have Painted My French Provincial Furniture, How Can I Protect It?
Once you have finished painting your furniture piece, it is important to protect the surface with a clear sealant. This will help guard against scratches and other damage that could occur over time. Additionally, try to avoid placing the furniture in direct sunlight or in an area with high humidity levels, as this could cause the paint to fade or become discolored. With proper care, your French Provincial furniture should last for many years to come.
Can I Paint My French Provincial Furniture With a Spray Paint?
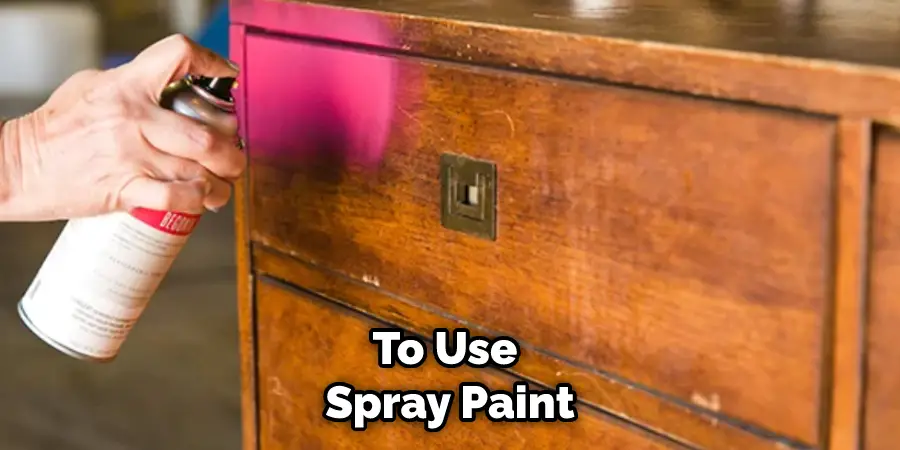
Yes, it is possible to use spray paint on French Provincial furniture. However, this type of paint does not provide the same level of protection as oil-based paint. Additionally, you must take extra care to ensure that the spray paint is applied evenly and smoothly to achieve a professional-looking finish. If you are not experienced in using spray paint, it is best to stick with an oil-based paint for your French Provincial furniture piece.
How Much Time Should I Allow for Painting French Provincial Furniture?
The amount of time needed to complete your furniture project will depend on the size and complexity of the piece. Generally, allowing at least two days for the entire process, including sanding, priming, painting, and sealing is best. If you are working with a larger or more intricate piece, you may need to allow for more time.
Conclusion
Learning how to paint french provincial furniture can be an invigorating experience. Not only can you breathe new life into your existing décor, but you will save money by not needing to buy a replacement. Plus, the feeling of accomplishment you get from DIYing any project is absolutely priceless.
Armed with these simple steps, you now have all the information required to transform your chandelier into something stunning and sophisticated. Once it’s complete, make sure to take a minute or two to stand back and admire your hard work. With just a few supplies and a bit of effort, you can create something truly spectacular!
About
Angela is the chief editor of Indoorense. She began her career as an interior designer before applying her strategic and creative passion to lifestyle and home.
She has close to 15 years of experience in creative writing and online content strategy for housekeeping and cleaning,home decorations as well as other efforts.
She loves her job and has the privilege of working with an extraordinary team. She lives with her husband, two sons, and daughter in Petersburg. When she’s not busy working she spent time with her family.

