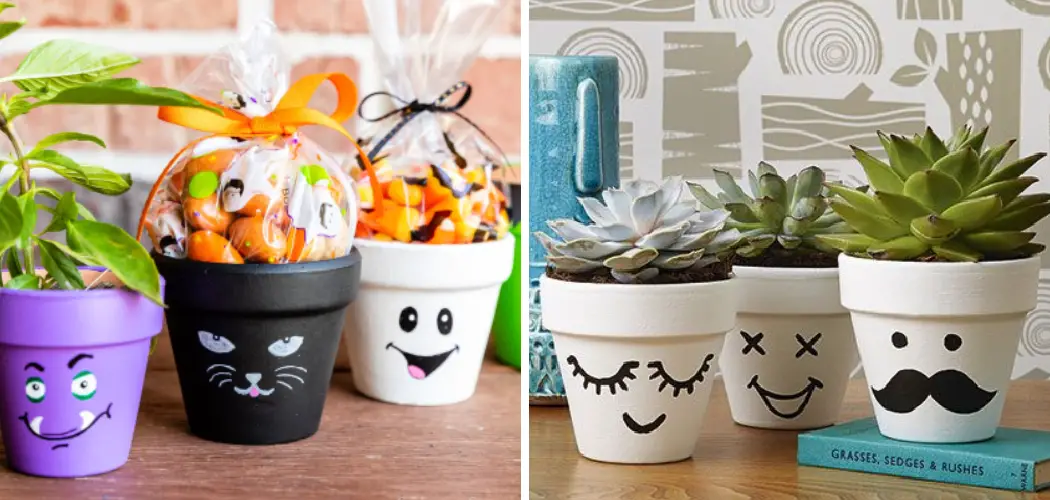
Are you looking for a fun and creative way to spruce up your plain clay pots? Painting faces on them is a great way to add personality and character to your garden or home decor.
How to paint faces on clay pots is a fun and creative way to personalize your garden or home decor. This artistic endeavor allows individuals to express creativity while transforming plain clay vessels into charming decorative pieces. Beginners and seasoned artists alike can enjoy this project, as it requires minimal materials and offers endless design possibilities. With a few supplies, such as acrylic paints, brushes, and sealant, you can learn the basic techniques to bring unique and whimsical expressions to life on the surface of your clay pots.
Painting faces on clay pots is a delightful activity that combines art and functionality, whether you’re making gifts or adding a personal touch to your home.
What Will You Need?
Before you get started, here are the materials you’ll need to create your own painted clay pot faces:
- Clay pots in various sizes
- Acrylic paints (in colors of your choice)
- Paintbrushes (different sizes for different details)
- Water cup and paper towels (for cleaning brushes)
- Pencil or chalk (for sketching out designs)
- Clear sealant spray or gloss varnish (to protect your finished work)
You can find all these supplies at your local craft store or online. Don’t worry about having expensive or high-quality materials – this project is all about creativity and having fun with what you have. So gather your supplies, and let’s get started!
10 Easy Steps on How to Paint Faces on Clay Pots:
Step 1. Prepare Your Workspace
Ensure you have a clean, well-lit area designated for your painting project. Cover your workspace with newspaper or a plastic tablecloth to protect it from paint spills or splatters. Ensure you have ample room to move around without knocking over your materials. Organize your supplies within easy reach and keep a cup of water and paper towels nearby for cleaning your brushes. Having a comfortable chair and good lighting will help you focus on the details of your design, reducing eye strain and allowing for precision in your brushwork.
Setting up an inviting and organized workstation will enhance your painting experience, making it more enjoyable and efficient.
Step 2. Choose Your Design
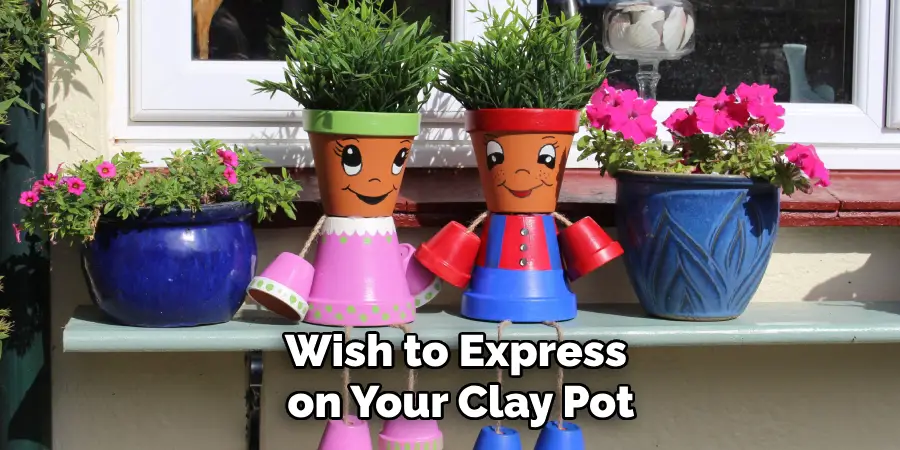
Before you start painting, deciding on the face design you want to create is important. Consider the personality and style you wish to express on your clay pot. You could opt for a silly cartoon face, a realistic portrait, or a whimsical or abstract design. Sketch out your ideas on paper first to visualize the outcome. If you’re not confident with freehand drawing, look for inspiration online or use templates to guide your design.
Once you have a clear idea of what you want, lightly sketch the design onto the clay pot using a pencil or chalk. This sketch will serve as your roadmap, helping you apply paint with confidence and precision.
Step 3. Prime the Clay Pot
To ensure your paint adheres well to the clay surface, it is essential to prime the pot. Clean the clay pot with a damp cloth to remove dust or dirt. Once dry, apply a base coat of white acrylic paint evenly over the surface. This will help the colors pop and prevent the clay’s natural color from altering your chosen shades. Allow the base coat to dry completely before painting your design.
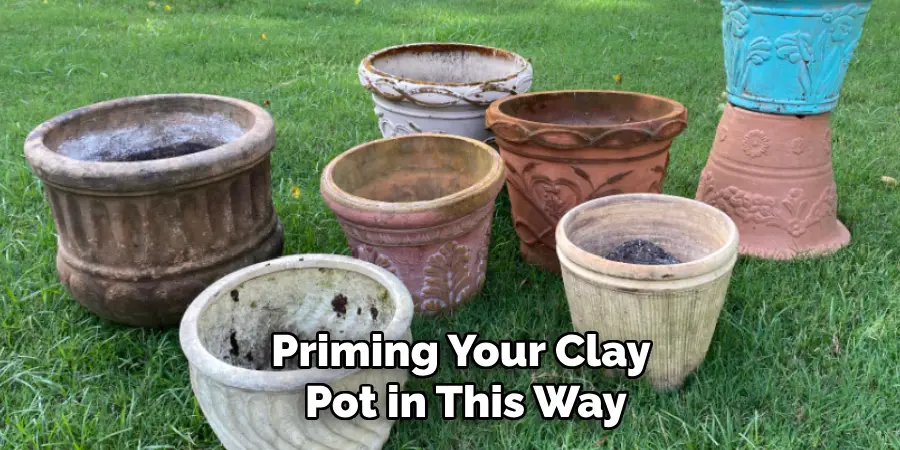
Priming your clay pot in this way provides a smooth and even surface, making the painting process more gratifying and ensuring the longevity of your artwork.
Step 4. Paint the Base Colors
Once the primed pot is fully dry, you’re ready to start painting the base colors of your design. Begin by applying the largest, broadest areas of color first. Use a flat or larger brush for these sections to cover more surface area efficiently. Depending on your design, this could include painting the face’s base skin tone or background elements that frame the facial features. Work with one color at a time, and let each layer dry before adding new colors or details to avoid blending and smudging.
Building up the base colors in layers gives a solid foundation for your design and ensures that the subsequent detailing stands out vibrantly against the backdrop.
Step 5. Add Facial Features
With the base colors in place, it’s time to add the facial features to bring your character to life. Use smaller brushes to carefully paint details such as eyes, nose, mouth, and any other desired embellishments. Start with the more prominent features and move on to finer details, like eyebrows and eyelashes, which may require a fine-tipped brush or even a toothpick for precision. Remember, these features give your pot its personality, so take time crafting expressions that reflect the desired mood or character.
You can also experiment with different realistic or exaggerated styles to see what fits best with your overall design. Allow each feature to dry before touching up or layering on additional details to prevent smudging or accidental mistakes. Patience and attention to detail in this step will ensure your painted pot has a compelling and lively appearance.
Step 6. Refine and Highlight Details
Now that the primary facial features are painted focus on refining and highlighting the details to enhance the overall expression of your clay pot face. Use a thin brush to outline features, such as the eyes and lips, with a darker shade for depth and definition. Adding highlights can make the eyes sparkle or give the lips a subtle shine—achieved by using lighter shades and applying them sparingly. For additional interest, consider adding freckles, blush, or accessories like glasses or hats.
Attention to these finer details can significantly elevate your design, lending it depth and personality.
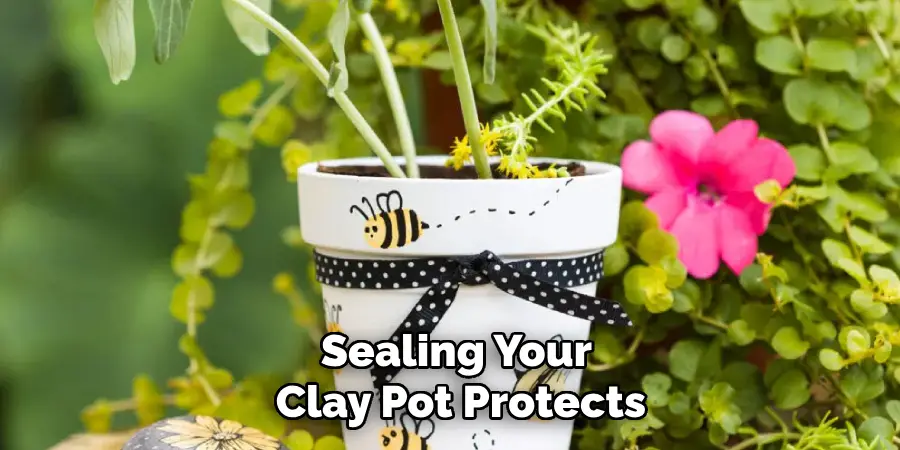
Step 7. Seal and Protect Your Artwork
Once you are satisfied with your painted design and all layers are completely dry, it’s essential to seal your work to protect it from wear and tear. Apply a clear acrylic sealer or varnish evenly over the entire surface of the pot. This sealer will safeguard the paint from moisture, UV rays, and chipping, ensuring the longevity of your artwork. Choose a finish that suits your aesthetic preference, such as glossy for a shiny look or matte for a more subdued effect.
Spray sealers can offer a smooth finish, while brush-on options can provide more control. Apply in a well-ventilated area and allow each coat to dry thoroughly before handling the pot. Sealing your clay pot protects your creative efforts and enhances the vibrancy of the colors, making your artwork appear polished and complete.
Step 8. Display Your Masterpiece
Now that your clay pot is beautifully painted and sealed, it’s time to choose the perfect spot to display your artistic creation. Whether indoors as a decorative piece or outdoors as a charming addition to your garden, decide on a location that complements the design and theme of your painted pot. Consider placing it where it receives natural light to accentuate the vibrant colors and intricate details or position it among plants to create a delightful contrast.
If using it as a planter, ensure it has proper drainage and conditions suitable for your chosen plant. Displaying your completed artwork highlights your creative finesse and provides a personal touch to your space, showcasing your personality and artistic expression.
Step 9. Maintain Your Painted Clay Pot
Regular maintenance is important to keep your painted clay pot looking its best and ensure it lasts. For outdoor pots, bring them inside during harsh weather conditions such as heavy rain or frost, which can damage both the pot and the paint. Clean the pot gently with a soft, damp cloth to remove any dust or dirt buildup, avoiding harsh cleaners that might strip the stain or sealer. If used as a planter, be mindful of water spilling over, which can lead to wear over time; consider using a liner or saucer to catch excess water.
Periodically inspect your pot for chips or fading, and reapply a coat of sealer if needed to maintain its protective layer.
Step 10. Share Your Work
Having put so much effort into creating your painted clay pot, sharing your work can be a gratifying experience and inspire others in their creative endeavors. Capture high-quality photos showing different angles and details of your finished pot to highlight your craftsmanship. You could create a gallery or collage to showcase the progression from a plain clay surface to a stunning piece of art. Consider sharing your photos and artistic process on social media platforms, online art communities, or local craft groups to receive feedback and connect with fellow enthusiasts.
You could also participate in local craft fairs or exhibitions where you can display your piece alongside other artworks.
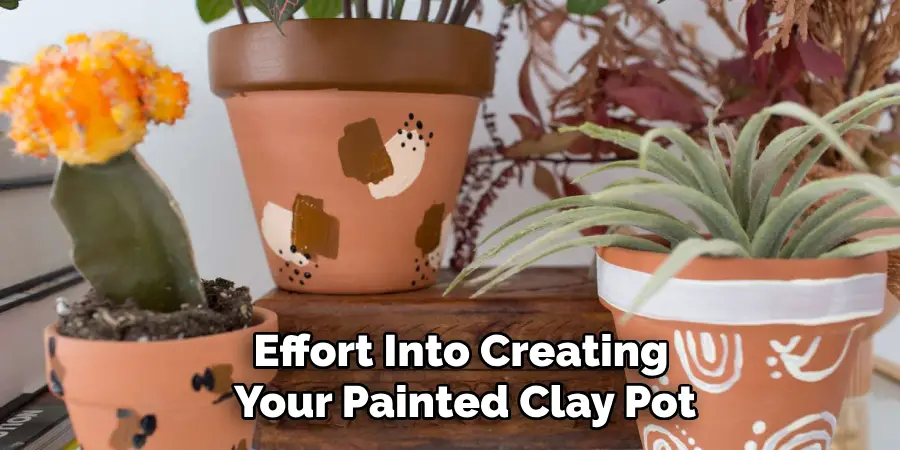
Following these steps, you can transform a simple clay pot into a beautiful work of art. With patience, attention to detail, and creativity, your painted clay pot can become a unique and personalized addition to your home or garden décor.
Conclusion
how to paint faces on clay pots is a rewarding and creative endeavor that combines artistic expression with practical skills.
By following these comprehensive steps, from preparing your materials to applying the final sealant and finding the perfect display spot, you can produce a functional and aesthetically pleasing piece. The process allows for personal expression and customization, whether you’re aiming for whimsical designs or realistic portrayals. Maintaining your artwork ensures longevity, allowing you to enjoy your creation for years. Sharing your work offers a sense of accomplishment and inspires others to embark on their creative journeys.
Ultimately, the act of painting faces on clay pots is not just about the final result; it’s about the joy and satisfaction derived from creating art that resonates with your style and enriches your environment.
About
Angela is the chief editor of Indoorense. She began her career as an interior designer before applying her strategic and creative passion to lifestyle and home.
She has close to 15 years of experience in creative writing and online content strategy for housekeeping and cleaning,home decorations as well as other efforts.
She loves her job and has the privilege of working with an extraordinary team. She lives with her husband, two sons, and daughter in Petersburg. When she’s not busy working she spent time with her family.

