
Are you tired of the dull and worn-out handrails on your stairs? Painting it is easy to give it a fresh new look and make your whole staircase look more modern and updated.
How to paint a handrail is a straightforward yet impactful way to refresh the look of your space while also providing protection against wear and tear. Whether the handrail is indoors or outdoors, painting it can add a splash of color or enhance the existing decor. This guide will walk you through each process step, from selecting the right materials to applying the final coat of paint.

With proper preparation and technique, you can achieve a smooth, professional finish that will last for years to come. Whether you’re a seasoned DIY enthusiast or a beginner, painting a handrail is a manageable project that can greatly enhance the overall aesthetic of your home.
What Will You Need?
Before starting the painting process, ensure you have all the necessary materials and tools. Here’s a list of things you’ll need:
- Sandpaper or sanding block
- Tack cloth
- Painter’s tape
- Drop cloths or old sheets
- Primer
- Paint (latex or oil-based)
- Paintbrushes/rollers
- Optional: paint sprayer for larger handrails
Once you have all your materials, it’s time to start prepping the handrail for painting.
10 Easy Steps on How to Paint a Handrail
Step 1: Prepare the Handrail
Proper preparation of the handrail before beginning the painting process is crucial to achieving a long-lasting and professional finish. Start by cleaning the handrail thoroughly to remove any dust, grease, or grime accumulated over time. This can be done using a mild detergent mixed with water and a soft cloth or sponge. After cleaning, ensure the handrail is completely dry before proceeding to the next step.
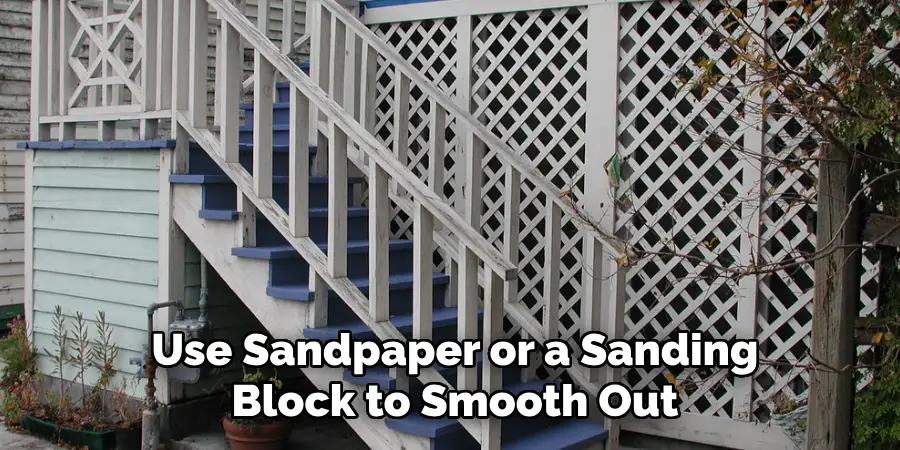
Next, use sandpaper or a sanding block to smooth out any rough patches or imperfections on the handrail’s surface. Begin with coarser grit sandpaper to remove old paint and finish, then switch to a finer grit for a smoother surface. Sanding smooths the surface and helps the primer and paint adhere better.
Step 2: Apply Primer
Once the handrail is prepped and the surrounding areas are protected with painter’s tape, the next step is to apply a coat of primer. Primer serves an essential role in creating a uniform surface and ensuring better adhesion of the paint. Choose a primer suitable for your handrail’s material, whether it’s wood, metal, or another material. Using a high-quality paintbrush or roller, apply a thin and even coat of primer over the entire handrail surface. Be sure to work in the direction of the handrail’s grain or length to avoid visible brush strokes.
Allow the primer to dry completely per the manufacturer’s instructions before moving on to the next painting step. This might take a few hours or overnight, depending on the type of primer used. Properly priming the handrail will help ensure a durable and professional finish.
Step 3: Paint the Handrail
After allowing the primer to dry thoroughly, you can paint the handrail. Select a high-quality paint suitable for your handrail’s material and intended use—whether it’s indoor or outdoor, and choose latex or oil-based paint accordingly. Using a clean paintbrush or roller, apply the first coat of paint evenly over the surface. Just like with the primer, it’s essential to follow the grain or natural lines of the handrail to achieve a consistent finish. Avoid overloading the brush with paint to prevent drips and uneven coverage. A paint sprayer can provide a smoother, more even finish for more oversized handrails. Allow the first coat to dry completely, which may take a few hours or as the manufacturer recommends.
Step 4: Finish and Protect the Handrail
Once the paint has dried completely and you’re satisfied with the coverage and finish, it’s time to apply a clear protective coat. This topcoat will enhance the finish’s durability and add a subtle sheen to the handrail. Choose a clear polyurethane sealer or varnish that is compatible with the type of paint used, whether water-based or oil-based. Using a clean brush, apply a thin layer of the clear coat over the painted surface, ensuring even coverage. Allow the protective coat to dry thoroughly according to the product’s specifications. Consider applying a second coat once the first one is dry for added durability.

After the final protective layer has cured, carefully remove the painter’s tape from the surrounding areas. Your newly painted handrail is now complete, protected, and ready to be enjoyed by everyone who ascends your staircase.
Step 5: Clean Up and Final Touches
After completing the painting process and ensuring the protective coat is fully dry, take the time to tidy up your workspace. Carefully remove any remaining painter’s tape, pulling it away at a 45-degree angle to prevent peeling off any paint. Gather all used drop cloths or sheets and dispose of or wash them as needed. Clean your brushes, rollers, or paint sprayer according to the manufacturer’s instructions to ensure they remain in good condition for future projects. Finally, inspect the handrail and its surroundings for any touch-ups that might be necessary. Use a small brush to address minor imperfections or spots that need extra attention.
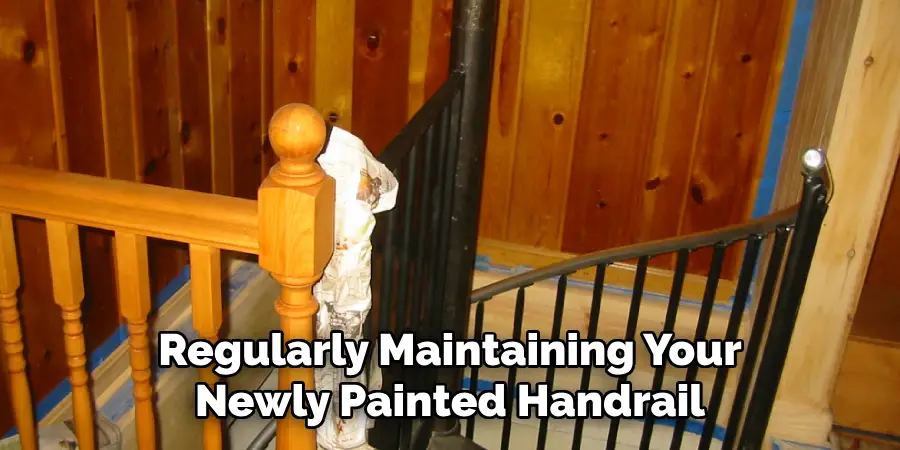
Step 6: Maintain the Painted Handrail
Regularly maintaining your newly painted handrail will ensure its longevity and keep it looking fresh. Begin by routinely dusting the handrail with a soft, dry cloth to prevent the accumulation of dust and dirt. For more thorough cleanings, use a mild detergent solution and a damp cloth to gently wipe away any grime, being careful not to use harsh chemicals that may damage the paint. Inspect the handrail periodically for any signs of wear or damage, such as chips or scratches, and touch up these areas with matching paint to maintain a seamless appearance.
Step 7: Enjoy and Showcase the Handrail
With the handrail project completed, take a moment to appreciate the transformation and the effort that went into rejuvenating this element of your home. The freshly painted handrail not only enhances the aesthetic appeal of your staircase but also adds a personal touch that complements your interior design. Invite family and friends to admire the outcome, sharing the journey of your DIY project with them. The satisfaction and pride in having achieved a professional-looking finish are well-deserved. Whether it’s a subtle accent or a bold statement piece, the updated handrail is sure to add character and charm to your living space, reinforcing your home’s warm and welcoming ambiance.
Step 8: Prepare for Future Painting Projects
After successfully completing your handrail painting project, preparing for any future painting endeavors is beneficial. Begin by organizing your materials and tools, ensuring any leftover paint is stored correctly in sealed containers to prevent drying out. Label these containers with the type of paint and application details for easy reference later on.
Additionally, take note of the brush or roller types used, particularly if they worked well with your chosen paint to achieve the desired finish. By keeping a record of the products and techniques that yield the best results, you can streamline future projects and ensure consistency in your efforts. Embrace the learning experience of this project and carry forward the skills and knowledge gained toward other home improvement tasks.
Step 9: Reflect on the Project Outcome
Once you have completed your handrail painting project, take some time to reflect on the entire process. Consider what aspects went well and any challenges you encountered along the way. Write down these observations as they can be invaluable for personal growth and improvement in future projects. Evaluate the tools and techniques you utilized, and consider whether there are any areas for refining your approach. This reflection can also help you recognize any new skills you’ve acquired, boosting your confidence for tackling more complex DIY tasks. Lastly, celebrate the accomplishment—it’s a testament to your ability and resourcefulness in enhancing your living space with a custom touch.
Step 10: Plan Your Next DIY Project
Now that you’ve refinished your handrail, consider planning your next home improvement project. Start by assessing different areas of your home to identify where a refresh might be needed. Perhaps tired-looking kitchen cabinets need a facelift or a bedroom that could benefit from a fresh coat of paint. Prioritize projects that will significantly impact your living space, keeping in mind your personal style and budget. Research materials and techniques to bring your vision to life, and list the tools you might need. Setting a timeline and budget for the project can help manage expectations and ensure that the endeavor is achievable and enjoyable.
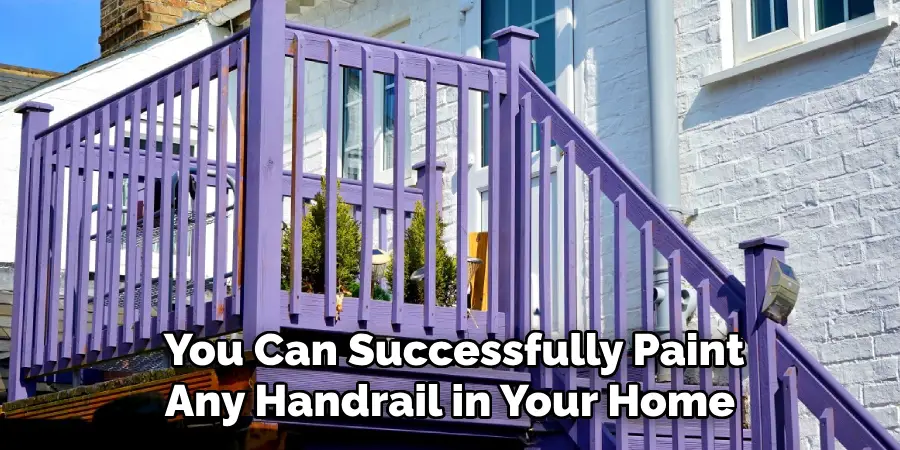
By following these ten steps, you can successfully paint any handrail in your home, adding a personal touch and elevating its overall appearance.
Conclusion
How to paint a handrail is a rewarding DIY project that can significantly enhance the appearance and functionality of your home.
By following the detailed steps outlined above, you gain not only a beautifully refreshed handrail but also valuable skills and knowledge for future projects. The process, from preparation and painting to maintenance and reflection, emphasizes the importance of thoroughness and care at every stage. Whether you undertake this project to improve your home’s aesthetics or to develop your DIY capabilities, the result is a testament to your dedication and attention to detail.
Remember to enjoy the creative journey, learn from each experience, and take pride in the transformation you’ve achieved in your living space.
About
Angela is the chief editor of Indoorense. She began her career as an interior designer before applying her strategic and creative passion to lifestyle and home.
She has close to 15 years of experience in creative writing and online content strategy for housekeeping and cleaning,home decorations as well as other efforts.
She loves her job and has the privilege of working with an extraordinary team. She lives with her husband, two sons, and daughter in Petersburg. When she’s not busy working she spent time with her family.