
Are you looking to install new window screens but don’t know where to start? Measuring for window screens can seem daunting, but it doesn’t have to be. All you need is a few simple tools and a bit of knowledge on the process.

If you’re looking to give your windows a makeover, adding window screens is the perfect way to enhance the beauty and comfort of any room. Not only do window screens provide more ventilation in your home, but they can also be used for creative purposes as well – such as craft projects or decorations. Measuring correctly for window screens is an important factor when planning this kind of project, so here are some tips on how to get it right!
This guide will walk you through essential steps and provide all the information needed about how to measure for window screens!
What Will You Need?
Before you begin, make sure you have the following items on hand:
- Measuring tape
- Pencil and paper
- Window measurements
- Screen frame kit (optional)
Once you have all the tools and materials ready, you can start measuring!
10 Easy Steps on How to Measure for Window Screens
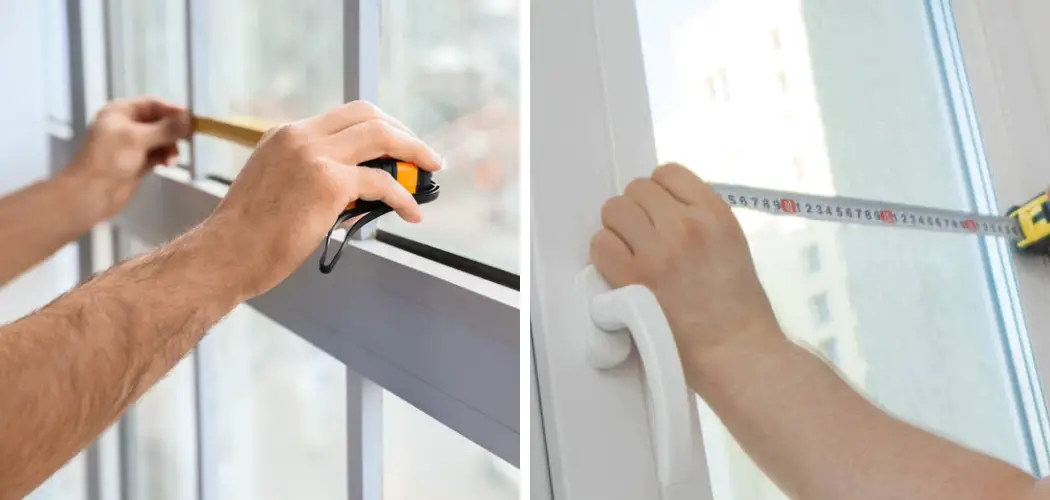
Step 1. Measure the Width :
Using a measuring tape, measure the width of your window opening from the inside edge to the inside edge. If you have a window screen frame kit, make sure to adjust the measurements accordingly. It will be slightly wider than the opening size.
Step 2. Measure the Height:
Then, measure the height of your window opening from top to bottom using the measuring tape. You can also use the window frame kit to adjust your measurements. Another tip is to measure the height from the top of your window sill and make sure it’s level when you mark it.

Step 3. Note Your Measurements:
Once you’ve obtained both measurements, write them down on a piece of paper for reference. This will help you pick the right size window screen for your project. Additionally, ensure the measurements are accurate to ensure your window screens will fit perfectly. Otherwise, you might have to make some adjustments during the installation process.
Step 4. Determine Frame Size:
Next, decide what size frame you would like for your screen and determine how much larger or smaller than your measurement it should be (this will depend on how flush or recessed you want the screen to fit). If you’re using a frame kit, note the dimensions to ensure it meets your desired size. There are typically three frame sizes available – standard, oversized, or custom.
Step 5. Add Allowance for Recess or Flush Fit:
Now that you have the frame size decided, add or subtract the allowance for a flush or recessed fit to your measurements. Be careful not to make it too tight or too loose. As a general rule of thumb, a 1/4 inch allowance should do the trick.
Step 6. Measure the Height from the Top:
Measure the height of your window opening again, this time starting from the top and adding in allowances for recess or flush fittings. It is important to get this measurement right, as it will affect the overall look of your window screens. Moreover, make sure to note down all your measurements on a piece of paper for easy reference.
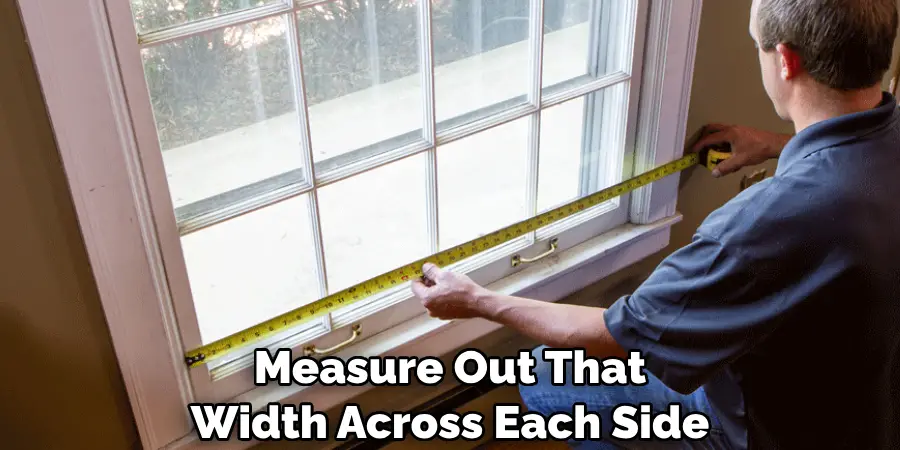
Step 7. Measure Frame Width:
Once you’ve determined the overall frame size and how much larger (or smaller) it should be than your initial measurement, measure out that width across each side of the window’s frame. Ensure that the measurements are accurate and note them down. Remember the frame should fit snugly on all four sides to ensure a quality installation.
Step 8. Measure Frame Height:
Next, measure up from the bottom edge to ensure enough height for both sides of your screen frame before cutting any material. You may have to adjust your measurements if the height isn’t enough. Don’t forget to note down your measurements for easy reference.
Step 9. Subtract Space for Screen Mesh:
Finally, subtract the space you would like to leave for your screen mesh from both your width and height measurements to get the final size of your window screen frame. Check to ensure the measurements are accurate before marking out the material. Notice that the measurements should be slightly larger than your window opening to accommodate for any allowances.
Step 10. Cut Screen Frame Material & Install:
Cut the material for your window screen frame according to your measurements, and then install it with whatever method best suits your window. Remember to use a level so that everything is even and secure. Finally, ensure your window screens are clean and debris-free when you’re finished.
And there you have it! You now know how to measure window screens. As long as you have all the necessary materials and follow these steps, you should be able to create a beautiful and functional window screen in no time at all! Have fun measuring!
5 Additional Tips and Tricks
- Double-check your measurements. Taking multiple measurements before cutting your material is important to ensure accuracy.
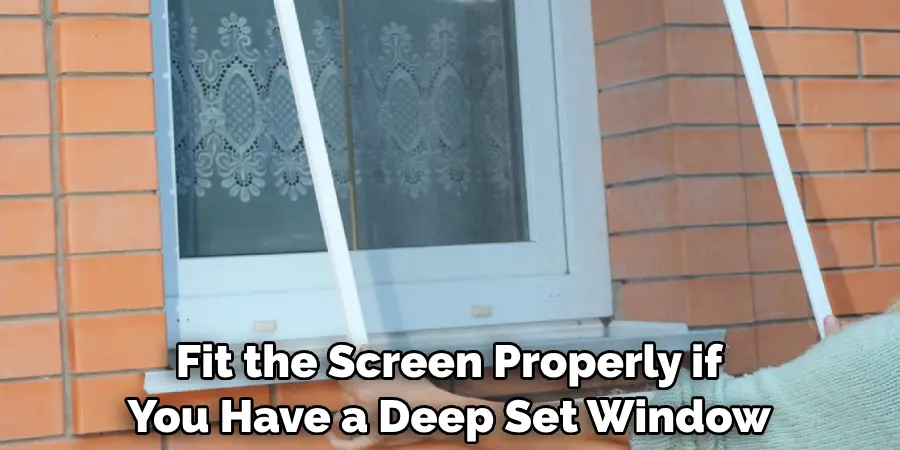
- Consider the placement of the frame. You may need additional space to fit the screen properly if you have a deep set window.
- Use a level and straight edge to make sure your cuts are even and precise.
- Take into account the type of material that will be used for your window screens to choose the correct measurement tools (e.g., ruler versus measuring tape).
- When measuring around corners, use an extra piece of string or cord to accurately measure and ensure proper fitment of your window screen frames.
Following these tips and tricks will help ensure that you get the perfect fit when measuring for window screens. With accurate measurements, you can enjoy your new window screens with confidence!
5 Things You Should Avoid
- Don’t assume that all windows are the same. Every window is unique, so it’s important to take accurate measurements every time.
- Don’t rush when taking measurements. Take your time to get the most accurate measurement possible.
- Don’t forget to measure for any extra space you may need (e.g., deep-set windows).
- Avoid using inaccurate measuring tools, such as yardsticks or carpenter’s squares, which can lead to incorrect measurements.
- Don’t cut too much material! If you’re unsure how much extra material you should have after cutting, err on the side of caution and leave a little more than necessary so that it can be adjusted later on.
By avoiding these mistakes, you will ensure that your window screens are measured correctly the first time around! This will save you time and money in the long run.
What is the Most Common Window Screen?
The most common window screen is the fiberglass window screen. This type of screen is lightweight, inexpensive, and easy to install. It can also be used in various climates and provides good visibility. Fiberglass screens are also easy to repair if need be.
Additionally, aluminum window screens are also popular due to their strength and durability. These screens are more expensive than fiberglass but provide better protection from the elements.
No matter what type of window screen you decide to measure for, it’s important to follow these tips and tricks to get the perfect fit every time. With accurate measurements, you’ll enjoy your new window screens with confidence!
Is the Screen Size Diagonal or Horizontal?
When measuring for window screens, it’s important to determine whether the size you need is horizontal or diagonal.
Horizontal measurements are taken from one side of the frame to the other. This type of measurement is typically used when measuring for rectangular or square frames.
Diagonal measurements are taken from corner to corner. If your window frame has angled sides or odd shapes, these measurements should be taken.
By knowing which measurement type you need, you can ensure that you get an accurate fit when installing your window screens!

Conclusion
Measuring window screens is an easy task that can be done in a couple of steps. Taking the time to get the measurements right can pay off exponentially by having screens that fit properly, making life easier and more intuitive by ensuring that openings are adequately covered. With the right tools and instructions, anyone from first-time DIYers to old pros can successfully measure for new window screens.
Furthermore, taking measurements also provides an excellent opportunity to hone basic math skills and practice using levelers—an important craft item to keep handy at home. So don’t be intimidated by the process; measuring for window screens requires no special skills or tools and is one of the best ways to ensure adequate coverage for windows in your home or apartment.
Hopefully, the article on how to measure for window screens has provided you with sufficient information to get started. With accurate measurements, your window screens will fit properly and make life easier by keeping out pests and maintaining the airflow in your space. Good luck!
About
Angela is the chief editor of Indoorense. She began her career as an interior designer before applying her strategic and creative passion to lifestyle and home.
She has close to 15 years of experience in creative writing and online content strategy for housekeeping and cleaning,home decorations as well as other efforts.
She loves her job and has the privilege of working with an extraordinary team. She lives with her husband, two sons, and daughter in Petersburg. When she’s not busy working she spent time with her family.