

Choosing the right ceiling light for your space involves more than just selecting a style you like. Accurately measuring for a ceiling light is crucial to ensure that the fixture complements the room’s dimensions, provides adequate lighting, and is safely installed.
Whether you’re updating an existing fixture or considering a renovation, knowing how to properly measure for a ceiling light will help you avoid common pitfalls and make a more informed decision. In this guide, we will walk you through how to measure for a ceiling light, ensuring that your new ceiling light enhances both the functionality and aesthetics of your room.
Importance of Proper Ceiling Light Sizing
Proper ceiling light sizing is vital for both functional and aesthetic reasons. A light fixture that is too large can overwhelm a room, making it feel cramped and disproportionate. Conversely, a light that’s too small may not provide sufficient illumination, leaving dark corners and an unbalanced appearance in the space. Beyond aesthetics, the correct size ensures that the light spreads evenly, enhancing visibility and comfort. It also plays a critical role in safety, preventing accidents that could occur from an improperly placed or sized fixture. By choosing the right size, you contribute to an inviting and well-lit environment that supports everyday activities and enhances the overall ambiance of your home.

Tools and Materials Needed
To accurately measure and install your ceiling light, you’ll need a few essential tools and materials. First, a measuring tape is crucial for recording dimensions accurately, ensuring your light fixture will fit the space as intended. A ladder or step stool is necessary to safely reach your ceiling, especially in rooms with higher ceilings. For electrical work, you should have a voltage tester on hand to safely confirm that power is off before starting any installation.
Additionally, a notepad and pen can be helpful for recording measurements and jotting down important notes. Lastly, if you are installing the fixture yourself, having the appropriate screwdriver set is essential, as well as any other tools recommended by the light fixture’s manufacturer for installation. Make sure to gather these items before beginning your project to ensure a smooth and efficient process.
10 Methods How to Measure for a Ceiling Light
1. Measure the Room’s Width and Length for Proper Fixture Size
One of the first steps in determining the right ceiling light size is to measure the room’s width and length. A general rule of thumb is to add the two measurements together (in feet) to get the diameter of your ceiling light in inches. For example, if your room is 10 feet by 12 feet, the sum is 22. This means your ceiling light should have a diameter of approximately 22 inches. This formula works well for chandeliers and pendant lights, ensuring that the fixture is proportionate to the room size without overwhelming the space or appearing too small.
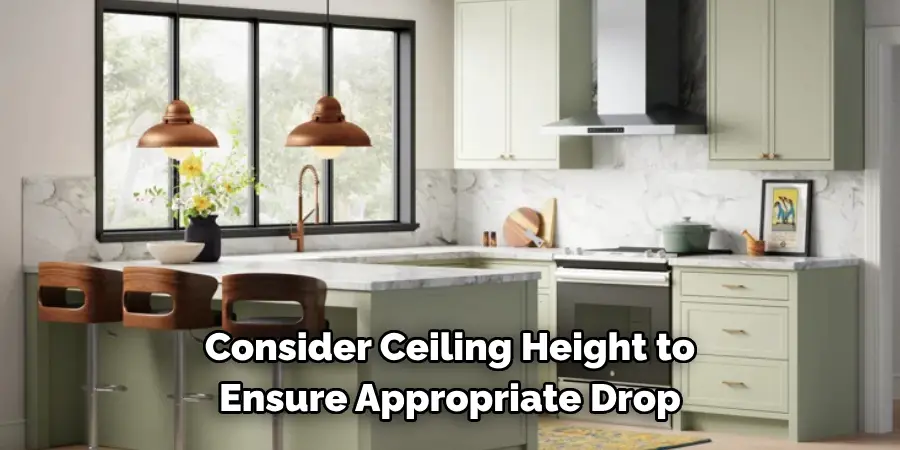
2. Consider Ceiling Height to Ensure Appropriate Drop
The height of your ceiling plays a crucial role in determining how low your ceiling light should hang. For rooms with standard 8-foot ceilings, most ceiling lights should hang approximately 7 feet from the floor, leaving about 12 inches between the bottom of the fixture and the ceiling. If you have higher ceilings, you’ll want to adjust the drop accordingly. A good guideline is to add about 3 inches for every additional foot of ceiling height. For instance, in a room with 10-foot ceilings, your light should hang 18 to 24 inches from the ceiling. This ensures the fixture doesn’t hang too low, obstructing movement, or sit too high, losing its visual impact.
3. Measure the Height of the Space
Along with ceiling height, the height of the room also affects the size and placement of your light fixture. A tall room can accommodate a larger fixture, such as a grand chandelier, which would look proportionally awkward in a smaller room. To determine the ideal height of your ceiling light, measure the height of the room and multiply it by 2.5 to 3 inches per foot of ceiling height. This formula gives you an appropriate height range for your light fixture. For example, if your room has 10-foot ceilings, you should look for a fixture that’s about 25 to 30 inches tall.
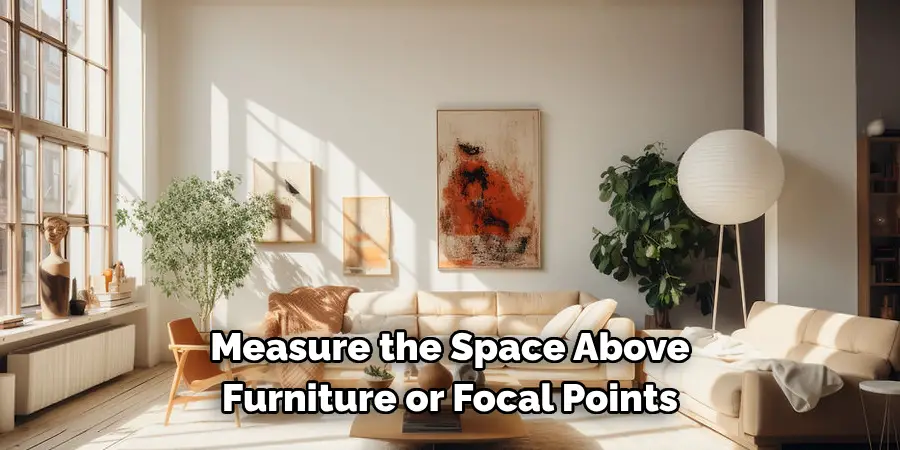
4. Measure the Space Above Furniture or Focal Points
If your ceiling light will be hanging above furniture, such as a dining table, kitchen island, or bed, it’s essential to consider the vertical clearance. For dining tables and kitchen islands, your light should hang approximately 30 to 34 inches above the surface. This ensures the fixture is low enough to provide focused lighting without obstructing the view or making the space feel cramped. In bedrooms or living rooms, if the light is a focal point, ensure it doesn’t hang too low over seating areas or impede movement around the room.
5. Account for the Light’s Shape and Design
Different types of ceiling lights have varying shapes, and the design of the fixture should be taken into account when measuring for placement. Chandeliers, pendants, and drum lights can be tall and narrow or wide and shallow. A tall chandelier might need to hang higher in a room with lower ceilings, while a wider fixture can be hung lower to create a more dramatic effect. Consider the visual weight of the light and how its shape will fit into the room’s vertical space. Additionally, fixtures with multiple tiers or arms may require more room to avoid crowding.
6. Consider the Room’s Purpose When Measuring Light Size
The purpose of the room where the ceiling light will be installed also impacts your measurements. A dining room or living room might benefit from a statement chandelier or large pendant, while a hallway or bathroom may only require a smaller flush mount or semi-flush fixture. For functional spaces like kitchens or workspaces, the ceiling light should provide ample illumination, so the size and brightness are critical. In decorative spaces, aesthetics might take precedence, but proper measurements are still necessary to ensure the fixture complements the room’s design and function.
7. Ensure Adequate Clearance for Doorways and Walkways
In rooms where the ceiling light will be installed near doorways or walkways, it’s important to measure for clearance. For standard doorways, ensure there’s at least 7 feet of clearance between the bottom of the light fixture and the floor. This will prevent the light from obstructing traffic flow or hitting someone as they walk through. In hallways or corridors, keep the light flush or semi-flush to the ceiling to avoid creating an obstacle. The fixture should also be proportionate to the narrow space, providing enough light without overwhelming the area.
8. Measure for Multiple Fixtures in a Room
If you’re installing multiple ceiling lights, such as pendant lights over a kitchen island or sconces alongside a mirror, you’ll need to measure the spacing carefully. For pendant lights, space them evenly across the length of the island or table, leaving approximately 30 inches between each fixture. This ensures balanced lighting and a harmonious appearance. When placing sconces or lights in pairs, such as in a bathroom, measure from the center of the mirror or vanity to ensure the fixtures are evenly spaced on either side, typically about 36 to 40 inches apart.
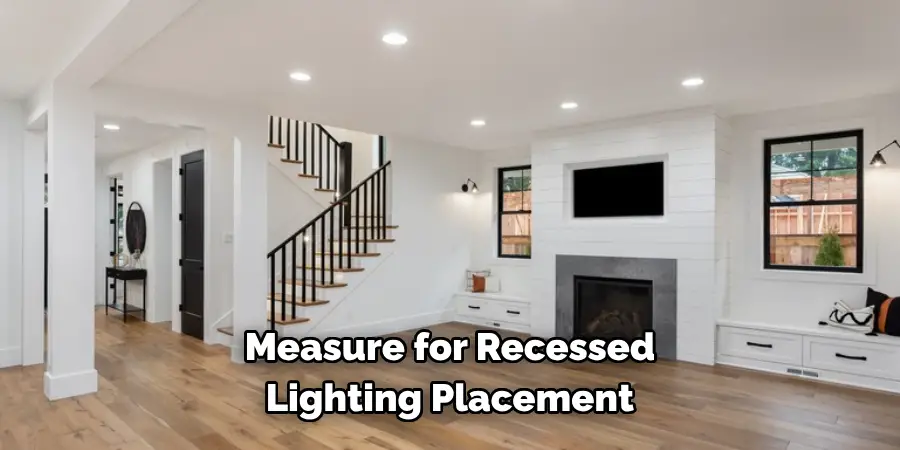
9. Measure for Recessed Lighting Placement
For recessed lighting, also known as can lights, the spacing is crucial to avoid uneven lighting or shadowy areas. A common rule for recessed lighting is to space the fixtures about 4 to 6 feet apart, depending on the size of the room and the desired brightness. Measure the room’s width and length to calculate how many recessed lights are needed and where they should be placed for even illumination. Additionally, ensure that recessed lights are placed far enough from the walls (approximately 12 to 24 inches) to avoid creating harsh shadows.
10. Measure Ceiling Slopes or Architectural Features
In rooms with sloped ceilings or architectural features such as beams or vaulted ceilings, you’ll need to adjust your measurements accordingly. For sloped ceilings, look for fixtures with adjustable rods or chains that allow you to hang the light level despite the angle. Measure the highest and lowest points of the ceiling to determine where the fixture should hang to provide balanced lighting. In rooms with architectural details, ensure the light is positioned to highlight the features without competing with them. A large chandelier can enhance a vaulted ceiling, while flush mounts or recessed lights might work better for rooms with low ceilings or beams.
Conclusion
Measuring for a ceiling light requires careful consideration of the room’s dimensions, ceiling height, furniture placement, and the light’s design. By following these ten methods, you can ensure that your ceiling light fits the space both functionally and aesthetically. Whether you’re installing a statement chandelier in a dining room or recessed lighting in a hallway, accurate measurements will help you choose the right size and placement for a beautifully lit room. Thanks for reading, and we hope this has given you some inspiration on how to measure for a ceiling light!
About
Angela is the chief editor of Indoorense. She began her career as an interior designer before applying her strategic and creative passion to lifestyle and home.
She has close to 15 years of experience in creative writing and online content strategy for housekeeping and cleaning,home decorations as well as other efforts.
She loves her job and has the privilege of working with an extraordinary team. She lives with her husband, two sons, and daughter in Petersburg. When she’s not busy working she spent time with her family.