
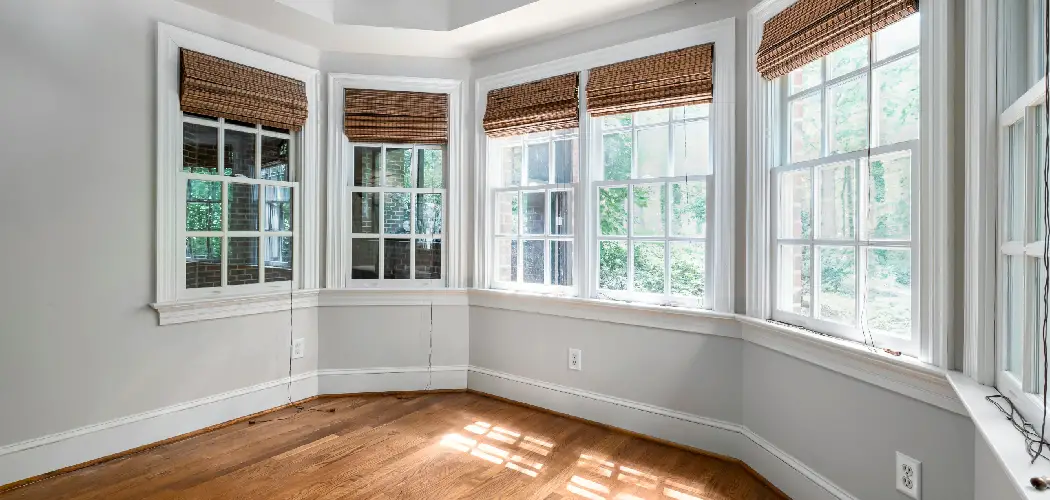
When it comes to installing blinds for a bay window, precise measurements are crucial to ensure a perfect fit and a polished look. Bay windows, with their unique angles and design, require a careful approach to measuring that accommodates their specific architectural nuances. Measuring correctly not only enhances the aesthetic appeal but also ensures effective light control and privacy.

In this guide on how to measure a bay window for blinds, you’ll learn the step-by-step process of accurately measuring a bay window to achieve the best results for your window coverings. Whether you’re a seasoned DIY enthusiast or a beginner, this comprehensive introduction will help you get started on the right track.
Why Measure Accurately?
Before diving into the measuring process, it’s essential to understand why precise measurements are crucial for bay window blinds. When blinds don’t fit well, they can leave unwanted gap or overlap, affecting the function and style of the window coverings.
In addition to aesthetics, poorly fitted blinds can also compromise privacy and light control. Bay windows are typically large and often face high-traffic areas such as living rooms or bedrooms, making them important for maintaining a comfortable and secure environment.
Tools You Will Need
To complete this task, you’ll need some essential tools to ensure accurate measurements:
Measuring Tape:
This is an obvious but essential tool for measuring any window accurately. Make sure it’s sturdy, at least 25 feet long, and has a lock feature to prevent the tape from retracting while taking measurements.
Ladder or Step Stool:
Depending on the height of your bay window, you may need to use a ladder or step stool to reach certain areas for measuring. Safety should always be a top priority when using these tools.
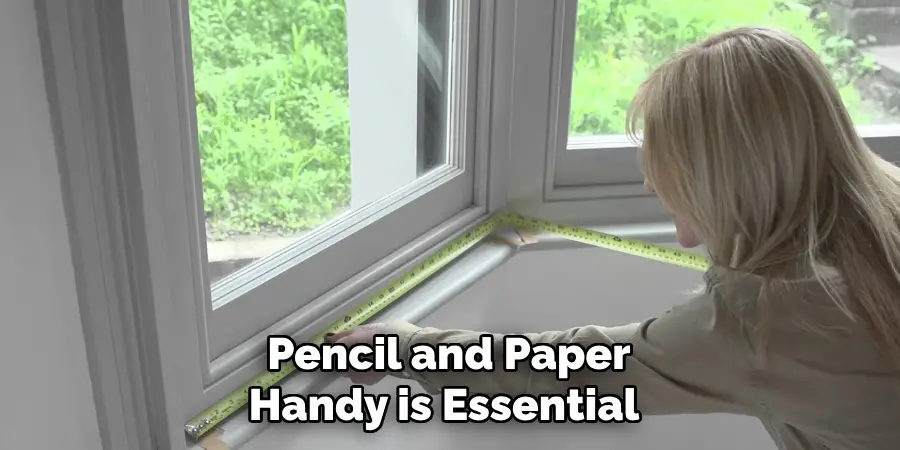
Pencil and Paper:
Having a pencil and paper handy is essential for jotting down the measurements as you take them. This will help you keep track of each measurement and avoid any confusion later on in the process.
Level:
A level is necessary for ensuring that your blinds will hang straight once installed. It’s important to use a level even if your bay window may appear straight, as it can be deceiving to the eye.
8 Step-by-step Guidelines on How to Measure a Bay Window for Blinds
Step 1: Measure the Width of Each Window
Begin by measuring the width of each individual window panel that makes up the bay window. Use your measuring tape to take the measurement from edge to edge, keeping the tape measure straight and taut. It is recommended to measure from the inside of the frame to ensure accuracy. Write down the measurement for each window panel separately, as bay windows often consist of multiple window panels, each requiring its own measurement.
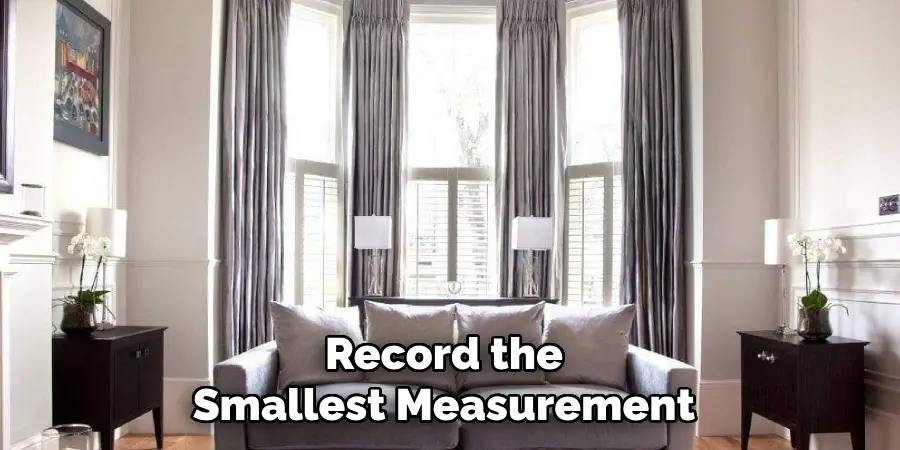
Additionally, measure in three places—top, middle, and bottom—and use the smallest measurement to account for any potential irregularities in the window frame. This ensures that your blinds will have the best fit, minimizing gaps and maximizing privacy and light control. Make sure to label each measurement clearly so you can match each blind to its corresponding window panel later.
Step 2: Measure the Height of Each Window
Next, proceed to measure the height of each individual window panel within the bay window. Starting from the top inside edge of the window frame, extend your measuring tape down to the sill or bottom inside edge. For accuracy, take this measurement at three different locations: the left, center, and right sides of each window panel, as windows can sometimes be uneven.
Record the smallest measurement for each panel, much like you did for the width, to account for any variations in the frame. Properly labeling each height measurement will assist you in ensuring that each blind fits precisely to its designated window panel, providing optimal function and aesthetics once installed.
Step 3: Measure the Depth of Each Window
The depth measurement is essential for ensuring that your blinds have enough clearance to operate smoothly and without obstruction. Using your measuring tape, measure from the front of the window frame to the back, noting down each panel’s measurement separately.
If you plan on installing inside-mount blinds, this measurement will be particularly crucial as it determines how much space there is between the window and any potential obstructions such as handles or cranks. If you are unsure about which type of mount you prefer, don’t worry; we’ll cover that in more detail later in this guide.
Step 4: Measure for Extension Brackets (Optional)
If you plan on installing outside-mounted blinds, you’ll need to measure for extension brackets, which will extend the blind away from the window frame. These brackets are necessary if your windows have obstructions such as handles or cranks, that could interfere with the blinds’ operation.
To determine the required length of these extension brackets, measure from the front of the window frame to where the obstruction begins and add one inch for clearance. This additional inch ensures that there is enough space for smooth operation of your blinds without any interference.
Step 5: Measure for Mount Type
Now is a good time to decide whether you want inside- or outside-mounted blinds. For inside mounts, deduct ⅛ inch from each measurement (width and height) to allow for a proper fit. For outside mounts, add 3-4 inches to each measurement (width and height) to ensure that the blinds fully cover the window and provide maximum privacy and light control.
It’s important to consider the style and function you want when deciding on a mount type. Inside mounts create a sleeker, more streamlined look, while outside mounts offer better light control and can cover any potential imperfections in your window frame.
Step 6: Measure for Valance (Optional)
If you plan on using a valance with your blinds, measure the width of each window panel from edge to edge, including any trim or molding. For outside-mounted blinds, add an additional 3-4 inches to this measurement to ensure full coverage by the valance. If you’re using inside-mount blinds, deduct ⅛ inch from the width measurement for a proper fit.
But what is a valance? A valance is a decorative piece that covers the top of your blinds, adding a finishing touch to your window treatment. It can also help hide any hardware or mounting brackets for a cleaner and more polished look.
Step 7: Consider Additional Measurements
Depending on the style of your bay window, there may be additional measurements needed for a proper fit. For example, if your bay window has angled windows or curves, you’ll need to measure these areas separately to ensure accuracy.
It’s also important to consider any potential obstructions such as handles or cranks and measure around them accordingly. Taking additional measurements now will save you from potential headaches later on in the installation process.
Step 8: Double Check Your Measurements
Before finalizing your measurements, it’s crucial to double-check them for accuracy. Make sure all measurements are clearly labeled and match their corresponding window panel. Ensure that you have accounted for any potential obstructions or irregularities in the window frame.

It’s also a good idea to take a step back and look at your bay window as a whole to see if anything seems off or needs to be adjusted. Taking the time now to double check everything will save you from having blinds that don’t fit properly once they arrive.
Following these steps on how to measure a bay window for blinds and taking accurate measurements will ensure that your blinds fit perfectly in your bay window, providing both function and style. Don’t rush through the measuring process; take your time and do it right for a professional-looking installation. Now, you’re ready to move on to choosing the perfect blinds for your bay window. Stay tuned for the next step in this guide!
Frequently Asked Questions
Q1: Is It Okay to Measure Just Once for Each Window Panel?
A1: It’s best to take multiple measurements for each window panel at different locations to account for any variations in the frame. This will ensure a precise fit for your blinds.
Q2: What Is the Purpose of Extension Brackets?
A2: Extension brackets are used to extend the blinds away from the window frame, providing clearance for any obstructions such as handles or cranks. They are necessary for outside-mounted blinds.
Q3: Can I Use Inside-Mount Blinds on an Outside-Mount Bay Window?
A3: Yes, you can use inside-mount blinds on an outside-mount bay window, but they may not provide full coverage and optimal light control. It’s best to choose a mount type that is specifically designed for your bay window style.
Q4: Do I Need a Valance for My Bay Window Blinds?
A4: No, a valance is not necessary for bay window blinds, but it can add a decorative touch and help hide any hardware or mounting brackets. It’s up to personal preference.

With these steps on how to measure a bay window for blinds and some frequently asked questions clarified, you should now have a solid understanding of how to accurately measure for your bay window blinds. Remember to take your time and double check your measurements for the best results.
Conclusion
Measuring a bay window accurately is crucial for ensuring the proper fit and function of your blinds. By following these step-by-step instructions on how to measure a bay window for blinds and taking accurate measurements, you can ensure a professional-looking installation of your window treatments.
Remember to take your time and double check all measurements to avoid any potential issues. Stay tuned for the next step in this guide – choosing the perfect blinds for your bay window!
About
Angela is the chief editor of Indoorense. She began her career as an interior designer before applying her strategic and creative passion to lifestyle and home.
She has close to 15 years of experience in creative writing and online content strategy for housekeeping and cleaning,home decorations as well as other efforts.
She loves her job and has the privilege of working with an extraordinary team. She lives with her husband, two sons, and daughter in Petersburg. When she’s not busy working she spent time with her family.