

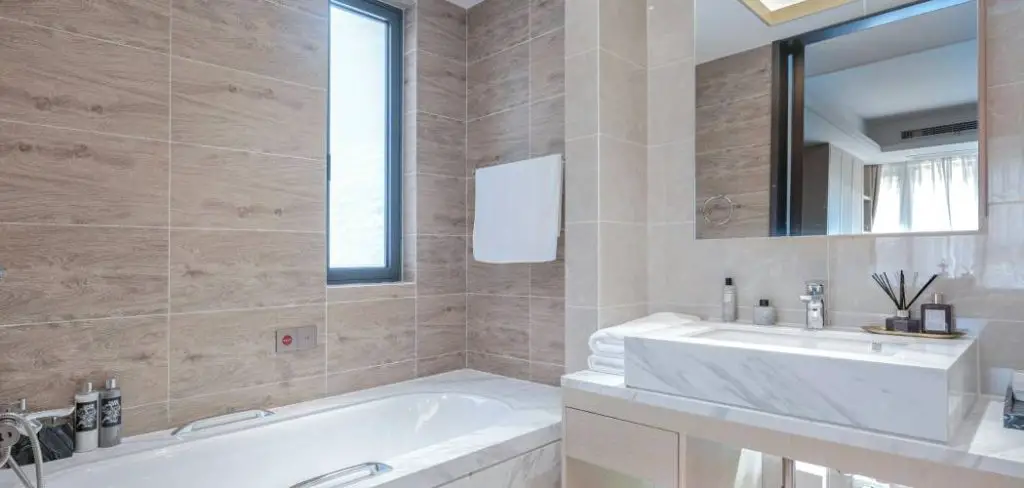
Are you bored of your bathroom and would like to give it a fresh new look? One way to do this is by matching the floor and wall tiles. This simple yet effective design choice can completely transform the look and feel of your bathroom.
When designing a bathroom, choosing the right tiles for both the floor and walls is crucial for creating a cohesive and stylish look. How to match bathroom floor and wall tiles involves considering factors such as color, texture, and size to ensure they complement each other well. The right combination can transform a bathroom into a harmonious space that reflects your personal style and enhances the overall ambiance.
Whether you seek a modern, rustic, or classic aesthetic, knowing how to pair floor and wall tiles effectively will help you achieve a seamless and visually appealing design.
What Will You Need?
- Floor tiles
- Wall tiles
- Tile adhesive and grout
- Measuring tape
- Leveling tool
Once you have all the necessary materials, you can start matching your bathroom floor and wall tiles.
10 Easy Steps on How to Match Bathroom Floor and Wall Tiles
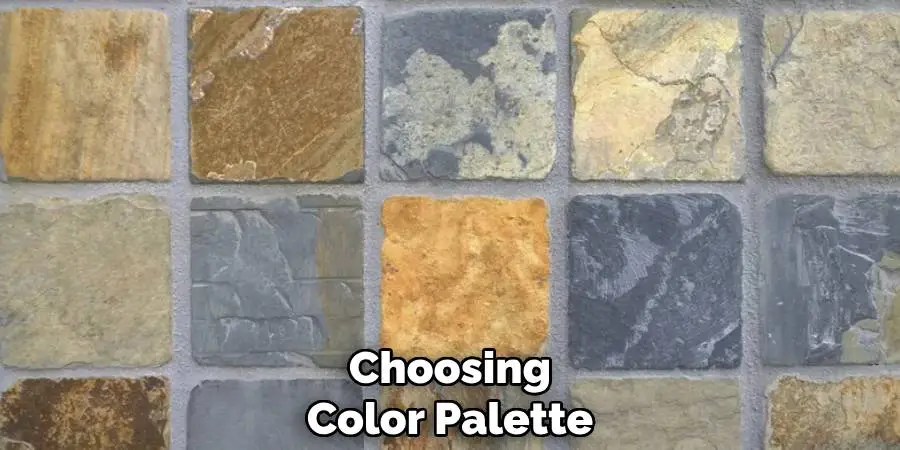
Step 1: Choose a Color Palette
The first step in matching bathroom tiles is to choose a color palette. You can either go for complementary colors or opt for a monochromatic look. Complementary colors are opposite each other on the color wheel, such as blue and orange or green and red. Monochromatic colors are shades of the same color, such as light grey and dark grey.
When choosing a color palette, consider the existing colors in your bathroom, including fixtures, accessories, and countertop material. This will ensure that your tiles blend well with the rest of the bathroom.
Step 2: Decide on a Tile Size
Choosing the size of your tiles is crucial because it can significantly affect the overall look of your bathroom. Larger tiles make a space feel more extensive and more open, creating fewer grout lines and offering a seamless appearance. They’re ideal for modern bathroom designs that prioritize sleek, clean lines. Conversely, smaller tiles can add visual interest and texture and are often used in more traditional or rustic designs.
Mixing different sizes, such as using large tiles on the floor and smaller ones on the walls or in a specific area, like the shower, can create a stunning focal point. When deciding on tile sizes, consider the dimensions of your bathroom. In a small bathroom, large tiles may make the space appear larger, while small tiles can add charm and intricacy to a spacious bathroom. Always ensure the chosen tile size complements the overall style and functionality of the space.
Step 3: Select Tile Texture
Texture plays a significant role in the aesthetic and functionality of bathroom tiles. Smooth, glossy tiles can make a space feel sleek and modern, reflecting more light to create a brighter environment. However, they may become slippery when wet, so consider incorporating non-slip textures for safety. Matte-finish tiles offer a softer, more natural appearance. They are generally slip-resistant, making them ideal for bathroom floors.
Textured tiles, such as those with raised patterns or natural stone finishes, can add depth and warmth, creating a more rustic or spa-like atmosphere. Balancing different textures between the floor and walls can enhance the overall design, for example, pairing glossy wall tiles with matte floor tiles. As you select tile textures, think about both the visual effect and practical aspects, ensuring your bathroom is both beautiful and safe.
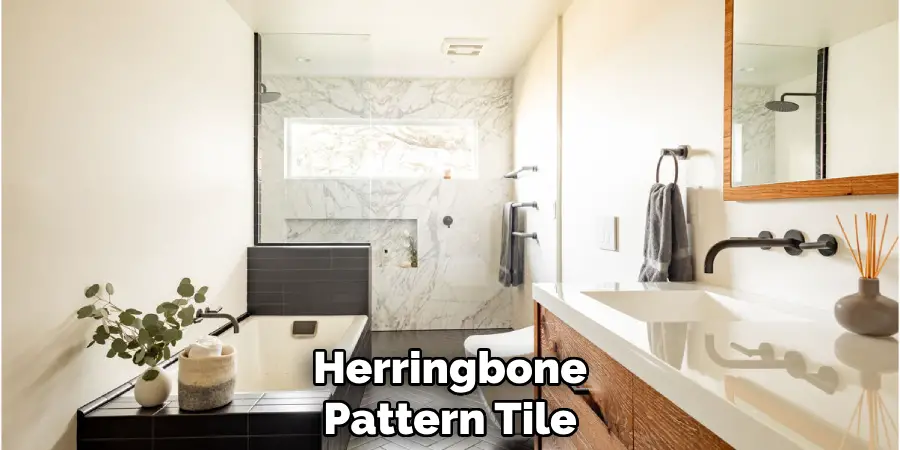
Step 4: Consider Pattern and Layout
When selecting tiles for your bathroom, the pattern and layout can significantly influence the space’s aesthetic and flow. Popular patterns include grid, brick, herringbone, and basketweave, each offering a distinct vibe. The grid pattern, with tiles aligned straight and orderly, is perfect for creating a clean, modern look. The brick pattern, reminiscent of brick walls, adds a traditional touch with its staggered alignment. The herringbone pattern, with its distinctive zigzag arrangement, is ideal for a dynamic and eye-catching design.
Similarly, the basket weave pattern’s interlocking layout brings a classic, intricate feel. Consider how each pattern might interact with the size and texture of your tiles to craft a cohesive look. Furthermore, attention must be paid to the alignment and continuity between the floor and wall tile patterns to maintain design harmony. The correct pattern and layout can elevate your bathroom, providing a unique, personalized touch that aligns with your style and functional needs.
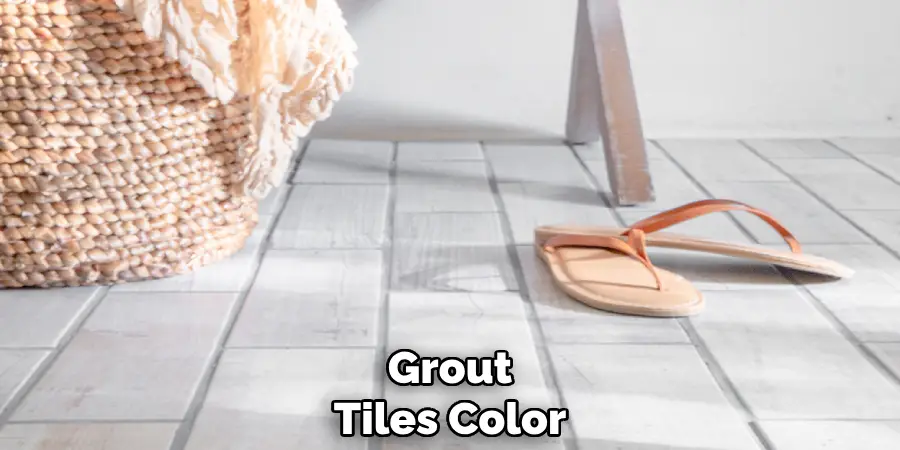
Step 5: Choose a Grout Color
Grout color is often an overlooked detail, but it can significantly affect the overall look of your bathroom tiles. For a seamless appearance, choose a grout color that matches or closely resembles the tile color, minimizing the visibility of grout lines and making the tiles appear more unified. Conversely, selecting a contrasting grout color can highlight the pattern of the tiles and add visual interest.
For instance, dark grout with lighter tiles creates a dramatic, bold contrast, while light grout with dark tiles can soften the look and bring a subtle elegance. Consider the maintenance aspect as well; darker grout hides dirt and stains better than lighter grout, making it a practical choice for high-traffic areas. Whatever your preference, ensure that the grout color complements the floor and wall tiles to maintain a cohesive and appealing bathroom design.
Step 6: Plan the Installation
Before installing your bathroom tiles, thorough planning is essential to ensure a beautiful and efficient outcome. First, measure your bathroom accurately to determine the exact tiles required, minimizing waste and potential delays. Visualize the tile layout by marking reference lines on the floor and walls; this will guide precise placement and align tiles correctly, especially near edges and corners.
Decide whether you prefer a straight or staggered pattern for your tiles, as this affects the aesthetic and technical considerations of installation. Organize your tiles by sorting them according to color, size, and pattern to streamline the process and ensure a seamless transition between different sections. Planning will save time and resources and facilitate a smoother installation, culminating in a well-executed, visually pleasing bathroom design.
Step 7: Seal the Tiles and Grout
Once the tiles are installed, sealing them is crucial to ensure longevity and maintain their pristine appearance. Sealing helps protect the tiles and grout from moisture, stains, and mildew, common in bathroom environments. Choose a high-quality sealant appropriate for the specific type of tiles you’ve chosen, such as ceramic, porcelain, or natural stone. Apply the sealant according to the manufacturer’s instructions, covering all areas thoroughly.
Step 8: Perform Maintenance and Cleaning
Proper maintenance and regular cleaning are essential to ensure your bathroom tiles remain in top condition. Use a non-abrasive cleaner and a soft cloth or mop to clean the tiles regularly, preventing grime buildup and maintaining their original luster. A specific grout cleaner or a mixture of baking soda and water can be used to tackle more stubborn stains. Avoid harsh chemicals or steel wool, as these can damage the tiles and grout.
Additionally, proper ventilation should be ensured to reduce moisture buildup and prevent mold growth. Regularly inspect the tiles and grout for any signs of wear or damage, addressing any issues promptly to avoid further deterioration.
Step 9: Add Finishing Touches
To complete your bathroom tile project, consider adding finishing touches that enhance the space’s overall design and functionality. Installing baseboards or trim along the edges of your tiles can create a clean, polished look. These trims are available in various materials like ceramic, metal, or wood, allowing you to match or contrast with your tile design.
Additionally, consider incorporating design elements such as decorative accents, inlays, or a backsplash to elevate the bathroom’s aesthetic. Ensure any added features are water-resistant and complement the existing decor and tilework. Finally, install accessories such as towel racks, mirrors, and shelving, keeping in mind the integration with your tile design and practical use.
Step 10: Enjoy Your New Bathroom
After completing your bathroom tile project, it’s time to step back and enjoy the transformation you have achieved. Whether you have opted for a modern minimalist design or a rich, traditional look, your new tiles should bring life and elegance to your bathroom space. Take pleasure in the rejuvenated ambiance and the satisfaction of crafting a space that reflects your style and meets your functional needs. Embrace the opportunity to relax and recharge in your newly designed bathroom oasis, feeling proud of the hard work and careful planning culminating in this beautiful result.
Once you have completed these steps, you are well on your way to creating a stunning bathroom that is both visually appealing and functional.
Conclusion
How to match bathroom floor and wall tiles is an art that balances aesthetics, practicality, and personal taste.
By considering factors such as tile color, size, pattern, and grout, you can create a cohesive, harmonious design that complements your space. Thoughtful planning and careful execution—from selecting the suitable materials to finishing with additional touches—ensure your bathroom looks stunning and functions seamlessly. Ultimately, the goal is to achieve a design that reflects your style while enhancing your bathroom’s overall comfort and functionality.
With attention to detail and a strategic approach, you can transform your bathroom into a sanctuary that stands the test of time in beauty and usability.