

Suppose you have ever wanted to make a wood burner but didn’t know where to start. With this article, you can turn an old microwave into a handy wood-burning stove in no time! This project is fun and easy, but it’s also inexpensive. In this article, we’ll discuss how to make a wood burner out of a microwave. So gather your supplies and get started on your new DIY project today!
A wood burner is an appliance used to produce heat by burning wood. Wood burners come in various shapes and sizes, but they all work in the same basic way. Many people choose to build their wood burners as they can be cheaper and more customizable than store-bought models. If you’re interested in learning about making a wood burner out of a microwave, keep reading!
What You’ll Need
- A microwave
- Some wood
- A drill
- A saw
- Sandpaper
- Gloves
- Safety glasses
- Tape measure
- Pencil
- Adhesive
- Tinfoil
- Screwdriver
A Stepwise Guide on How to Make a Wood Burner Out of a Microwave
Step 1: Determine the Size of the Microwave
The first step is to determine the size of the microwave you will be using. This will help you choose the right wood pieces for the project.
The size of your microwave will determine the size of the wood burner you make. You’ll want to find a microwave at least the same size as the box you plan to create your burner from.
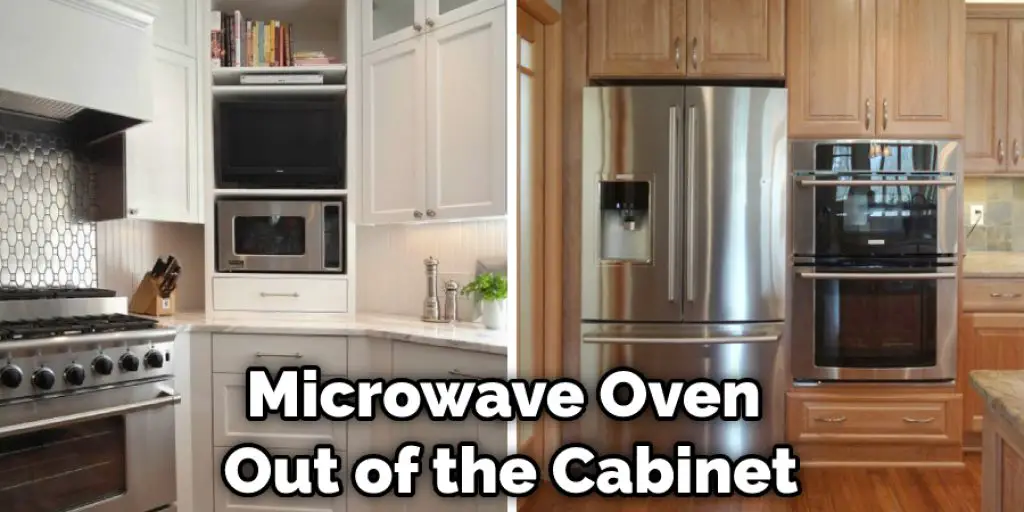
Step 2: Dismantle the Microwave
Once you have the microwave oven out of the cabinet, it’s time to take it apart. Start by disconnecting the power cord and removing the screws that hold the top of the oven in place. There may also be screws on the back that need to be removed.
With the top off, you should see the inside of the oven. Near the bottom, you’ll find a metal panel on one side. This is the one you’ll remove next.
There are usually two screws on this panel that hold it in place. Once they’re removed, you can lift the panel up and out of the oven.
Now you should see the magnetron, which is the part of the oven that generates the microwaves. This is what you’ll be using to create your wood burner.
If necessary, remove the screws that hold the magnetron in place and take it out of the oven. Be very careful not to touch the wires or anything else inside the oven while still plugged in.
Step 3: Cut Out the Base Plate of the Microwave
The next step is to cut out the base plate of the microwave. This will be the bottom of your wood burner.
Measure the inside dimensions of the microwave and draw a template on some cardboard. Cut out the template and use it to mark where you’ll need to cut the metal panel from the oven.
Use a drill to make a few starter holes around the edges of the panel. Then use a saw to cut along the lines you drew. Be very careful not to cut yourself.
If needed, use sandpaper to smooth out any rough edges on the panel.
Step 4: Cut the Wood
The next step is to cut the wood to the desired size. You’ll need two pieces of wood that are the same size like the microwave you are using. One piece of wood will be for the front and one for the back of the burner.

You’ll also need four pieces of wood that are each six inches wide by eight inches long. These will be used to create the sides and top of your burner.
If you’re using a circular saw, you’ll want to set the blade to cut through the wood at a 45-degree angle. If you’re using a hand saw, you’ll want to hold the saw at a 45-degree angle when cutting.
Step 5: Drill Holes in the Wood
The next step is to drill holes in the wood. This will allow you to attach it to the magnetron.
On each of the four pieces of wood that will be used for the sides and top of the burner, drill two holes three inches apart. The holes should be drilled in the middle of each piece of wood.
On the piece of wood that will be used for the front and back of the burner, drill two holes that are two inches apart. The holes should be drilled in the middle of each piece of wood.
Step 6: Tape Measure and Mark
Now that the wood is cut to size, you need to measure and mark where you will need to drill holes on each side of the wood to attach it to the microwave securely.
Once you have marked the spots, use a drill bit that is slightly smaller in diameter than the screws that came with your microwave to drill the holes. Be sure to drill the holes perpendicular to the surface of the wood so that the screws will be able to secure it in place properly.
Step 7: Apply Adhesive Around the Edge of the Microwave Panel
The next step is to apply adhesive around the edge of the microwave panel. This will help keep it in place when you’re burning wood.
Apply a thin layer of adhesive to the back of the panel and then press it firmly against the bottom of the oven. Be sure to smooth out any air bubbles that may form. Let the adhesive dry for 24 hours.
Step 8: Mount the Panel on the Wood
The next step is to mount the panel on the wood. This will hold it in place while you’re burning wood.
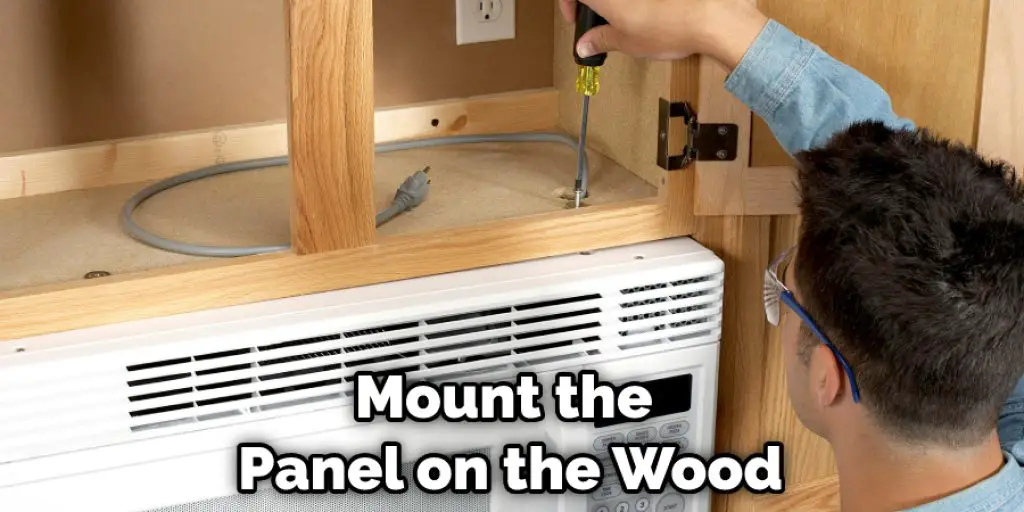
First, drill holes in each of the four corners of the panel. These should be big enough for screws to pass through.
Next, use a screwdriver to attach each panel corner to the corresponding hole on the wood. Be sure to use screws that are long enough to go through the panel and into the wood.
Step 9: Attach the Magnetron
The final step is to attach the magnetron to the wood. This will hold it in place while you’re burning wood.
First, use a screwdriver to attach the magnetron to the front of the piece of wood that will be used for the front of the burner. Make sure that it’s connected evenly so that it will be stable when you’re using it.
Next, use a screwdriver to attach the magnetron to the back of the piece of wood that will be used for the back of the burner. Again, make sure that it’s attached evenly to be stable when you’re using it. Now you’re ready to start burning wood!
Step 10: Inspect the Burner
Before you start using the burner, it’s a good idea to inspect it to ensure that everything is in place and safe to use.
Be sure to check for any loose screws or wires, and fix them if needed. Also, ensure that the panel is still attached securely to the wood. If it’s not, reattach it using screws. Finally, light a piece of paper on fire and hold it up to the burner. The flame should be evenly distributed across the entire surface of the panel. If not, adjust the position of the magnetron until it is. These steps will help in how to make a wood burner out of a microwave.
Tips and Warnings
Tips:
- If you are using an old microwave, remove the magnetron and all the wiring before beginning.
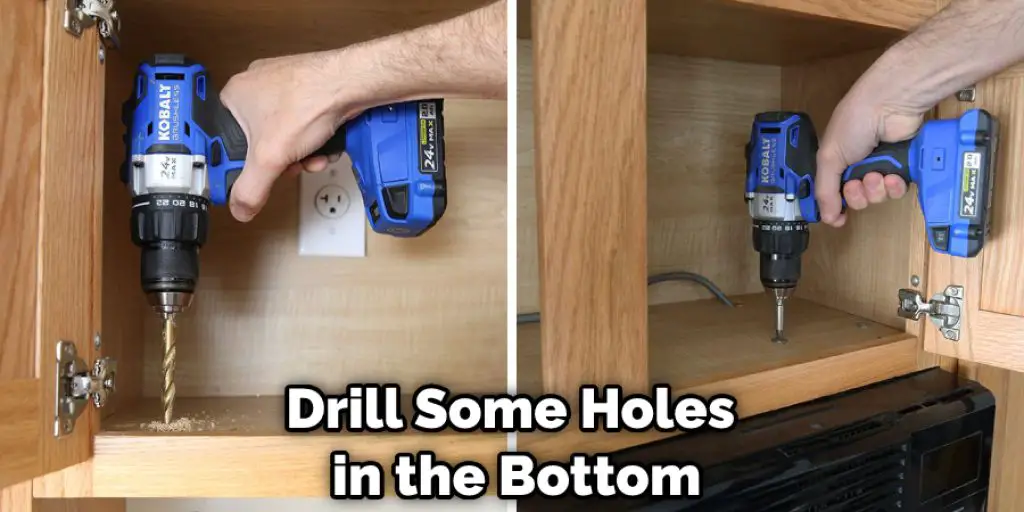
- To create a good airflow, make sure to drill some holes in the bottom of the microwave.
- You may also want to consider adding a fan to help circulate the air.
- Make sure that the top of the microwave is completely closed off so that no sparks can escape.
- If you have any questions or concerns, consult a professional before attempting this project.
Warnings:
- Never use a microwave that has been damaged or has had water inside it.
- Make sure the microwave is turned off and unplugged before beginning any project.
- Always use caution when working with fire.
- If you are not comfortable with this project, please consult a professional.
How Many Volts Does a Microwave Transformer Put Out?
The output voltage of a microwave transformer is determined by the number of turns on the secondary coil divided by the number of turns on the primary coil. For example, if the secondary coil has 500 turns and the primary coil has 100 turns, the transformer will have a 5:1 voltage ratio.
This means that the output voltage will be five times higher than the input voltage. The input voltage is typically 120 volts, so that the output voltage would be 600 volts in this example. However, it is essential to note that transformers are not 100% efficient, so that the actual output voltage would be slightly less than 600 volts.
Microwave transformers operate at high frequencies, typically between 0.5 MHz and 5 MHz. The output voltage can be as high as several thousand volts, so it is essential to take appropriate safety precautions when working with them.
Can Fractal Burning Be Done Safely?
Fractal burning, also known as Lichtenberg wood burning, is a process that involves using high-voltage electricity to create intricate designs on wood. While it can be a visually stunning technique, it does come with some potential risks if not done properly. However, with proper precautions, fractal burning can be done safely.
Using a High-Frequency machine that outputs at least 10,000 volts to create the burn patterns is important. It is also important to ensure that the wood used is dried and free of any moisture. Additionally, the wood should be properly sealed to prevent any potential electrical conduction.
It is imperative to use proper safety equipment, such as gloves, protective clothing, and a face shield. A GFCI (Ground Fault Circuit Interrupter) should be used to prevent electrical shocks. The workspace should also be well-ventilated to prevent any inhalation of the burning fumes.
Conclusion
So there you have it. Your very own homemade wood burner made from a microwave oven. It’s not the prettiest thing in the world, but it sure does the trick – and for free! Now that you know how to make a wood burner out of a microwave oven get creative with your designs and put this newfound knowledge to good use. Be sure to share your photos with us on our social media pages so we can see what amazing things you come up with.
You May Also Read: How to Reheat Seafood Boil in Microwave