
Are you the parent or guardian of a baby? If so, you know that keeping your little one safe is your highest priority. And when it comes to infants, safety begins with ensuring their sleep environment is secure and comfortable.
One key aspect of this is making sure the crib mattress is securely in place. In this blog post, we’ll be taking an in-depth look at how to lower a crib mattress for optimal safety and comfort!
We’ll explain what tools you need on hand, provide clear instructions step-by-step, and even give some helpful troubleshooting tips along the way. Read on to learn everything you need to know!
Required Items
Before we get started, you’ll need to have the following items on hand:
- Adjustable crib screws
- Screwdriver
- Ruler or measuring tape
10 Ways How to Lower a Crib Mattress
Now that you have all the necessary items let’s get started! Here are 10 simple steps for lowering a crib mattress:
1. Measurement
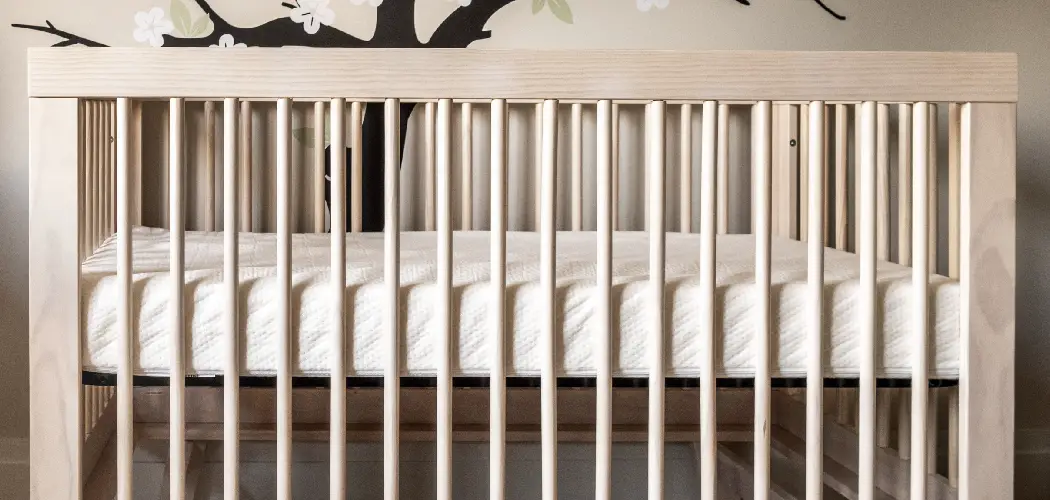
Begin by using a ruler or measuring tape to determine how low you’d like the mattress to be; it should not be lower than two inches from the top of the crib frame. Also, be sure to double-check that the mattress is centered and not off-kilter.
2. Adjustment
Once you’ve determined the desired height, it’s time to adjust the crib screws. This can be done using a screwdriver or an adjustable wrench. Simply turn the appropriate screw counterclockwise until the mattress has reached its desired height.
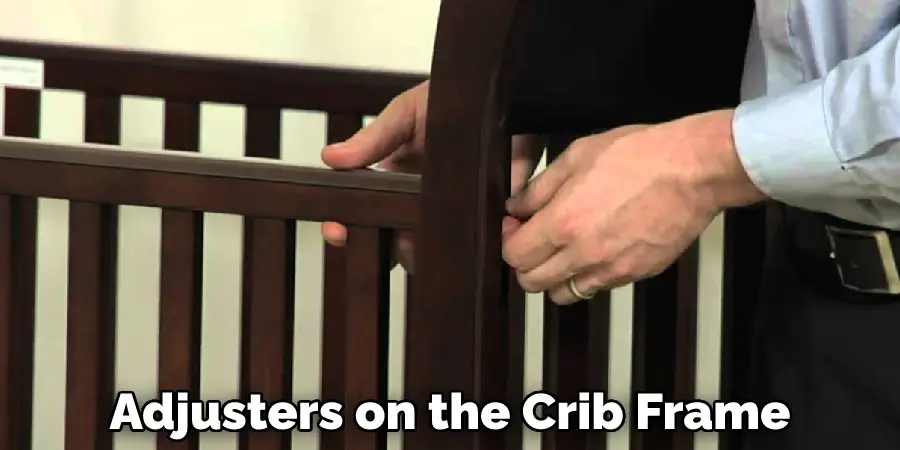
3. Remaining Screws
Once the desired height has been achieved, repeat this process for any remaining screws or adjusters on the crib frame. Make sure to double-check that all screws have been tightened securely before moving on. Also, be sure to follow any manufacturer instructions that came with the crib.
4. Safety
After you’ve adjusted all the screws, it’s time to check for safety. Make sure that there are no gaps between the mattress and frame and that nothing is obstructing your baby’s movements. Also, look for any sharp edges or objects that could pose a hazard.
5. Check Mattress Position
Now it’s time to check that the mattress is firmly in place and make sure it has not shifted during the adjustment process. You can do this by placing your hand in the center of the mattress, pressing down firmly, and then moving it around to feel for any looseness. If you find any, apply additional pressure to tighten up the screws until the mattress is secure.
6. Additional Security
If desired, you can add additional security to the crib by using special screws that are designed for this purpose. These are available at most hardware stores and will help ensure your baby’s mattress stays securely in place.
7. Cleaning
Once everything is secure and safe, it’s time to give the crib a quick cleaning. This includes wiping down any surfaces that may have come into contact with your baby’s skin and using an appropriate cleaner for more stubborn stains.
8. Replacement
Your mattress should be replaced every 2-3 years due to normal wear and tear. To replace your mattress, simply follow the instructions in reverse.
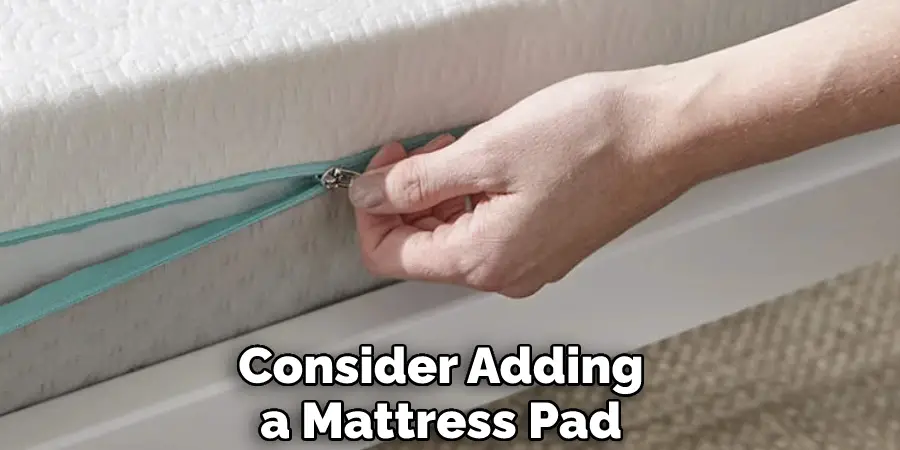
9. Mattress Pad
To make your baby’s sleep environment even more comfortable, consider adding a mattress pad or cover to the crib. This will help keep dust and other allergens away from your little one while also providing an extra layer of padding and warmth.
10. Check Regularly
Finally, make sure to always check the mattress height regularly. This will ensure that it hasn’t shifted or become loose over time, which could pose a safety risk. While you’re at it, also make sure to check for any tears or damage that may have occurred.
And there you have it! We hope that this blog post has helped you understand how to properly lower a crib mattress for your baby’s safety and comfort. With these 10 steps in mind, you’ll be able to keep your little one safe and cozy in no time.
8 Maintenance Tips for Lowering a Crib Mattress
1. Right Tools
Always use the appropriate tools when attempting to lower your crib mattress. You should have a Phillips head screwdriver, adjustable wrench, and pliers on hand for this process. Be sure to double-check that all screws are securely fastened before you begin lowering the mattress height.
2. Right Height
Once all the screws are in place, you can begin lowering the crib mattress height. Slowly lower the mattress until it reaches the desired height, and keep track of how many turns were required to get there. Do not lower it too far, as this could put babies at risk of getting stuck in between the mattress and frame.
3. Check for Loose Screws
Once the height is set, you should take a minute to check for any loose screws. Make sure all the screws are securely fastened and that nothing has been missed in the process of lowering your crib mattress. You can use a wrench or pliers to tighten any loose screws if necessary.
4. Read the Manual
Before adjusting your crib mattress height, be sure to read your owner’s manual for any specific instructions or warnings that could help you get the job done safely and correctly. Many manufacturers will also include diagrams of how to lower the mattress in their manuals which can come in handy when making adjustments.
5. Leave Room for Growth
Be sure to leave some room for your little one’s growth when lowering the crib mattress height. If possible, aim for a height that is two or three inches higher than what you generally use for an adult-sized mattress so that your baby can continue using their crib as they grow.

6. Check the Mattress’s Firmness
It is also important to make sure your baby’s mattress is firm enough for their age and size. Regularly check for any signs of sagging or soft spots, especially after you have lowered the crib mattress height. If necessary, add a firmer layer underneath it to provide more support.
7. Check the Slats
Once you’ve lowered and adjusted your crib mattress, it is important to check the slats beneath it. Make sure they are securely fastened and at least two inches apart in order to provide a safe sleeping environment for your little one. Also, keep in mind that slats should not be more than two and a half inches apart.
8. Regularly Inspect Your Crib
Finally, it is always important to check the mattress height regularly to ensure your baby’s safety. As they grow, you may need to lower the crib mattress even further so as to provide a safe sleeping environment. If you notice any signs of wear and tear or if the crib mattress height is no longer suitable, it is important to replace the mattress as soon as possible.
By following these 8 maintenance tips for lowering a crib mattress, you can create a safe and comfortable sleeping environment for your little one. Doing so will also help ensure that your crib mattress is properly adjusted and kept in good condition.
Never forget to double-check all screws before adjusting the height of your mattress, as this could create a dangerous situation for your baby. With these simple steps, you can easily lower the height of your crib mattress without any hassle!
Frequently Asked Questions
What Should I Consider Before Lowering the Crib Mattress?
Before you lower the crib mattress, it is important to make sure that it has a secure fit in the frame of your crib. Additionally, check for any screws or hardware that may be loose and tighten them if necessary. It is also important to ensure that the mattress is compliant with safety regulations, as this will affect how far you can lower the mattress. Also, take into consideration the age of your baby, as younger babies may require a higher mattress.
What is the Easiest Way to Lower a Crib Mattress?
The easiest way to lower a crib mattress is by using an adjustable bed base. This allows you to quickly and easily adjust the height of the mattress without having to use any tools. However, if your crib does not have an adjustable base, then you may need to purchase one to make the process easier.
How Do I Know When I Have Lowered the Crib Mattress Enough?
When determining how far you should lower the mattress, take into consideration your baby’s age and size. For infants, it is recommended that the top of the mattress should be no more than two inches above their chest. As babies get older, you can gradually lower the mattress until it is at its lowest position. Once you have reached the desired height of your crib mattress, use a ruler or tape measure to ensure that the mattress is even and securely fastened in place.
Conclusion
Lowering the mattress of a crib is an important step in ensuring that your little one sleeps soundly and comfortably. With these tips, you will know how to lower a crib mattress securely and safely, so you can have peace of mind that your baby’s sleeping arrangement is secure. Not only should you lower the mattress, but you should also use any other necessary safety precautions like strapping in the mattress or using guardrails to protect against rollovers.
Ultimately, sleep safety is a top priority to keep your baby safe at all times. So if you have any further questions, consult with a pediatrician or childproofing expert to pinpoint which measures are right for you and your baby’s individual needs. Create a secure sleep environment for your baby with these steps – and most importantly, enjoy this special time they grow!
You Can Check It Out to Clean Mattress Without Vacuum
About
Angela is the chief editor of Indoorense. She began her career as an interior designer before applying her strategic and creative passion to lifestyle and home.
She has close to 15 years of experience in creative writing and online content strategy for housekeeping and cleaning,home decorations as well as other efforts.
She loves her job and has the privilege of working with an extraordinary team. She lives with her husband, two sons, and daughter in Petersburg. When she’s not busy working she spent time with her family.