
A vapor barrier on the floor is an important step in controlling moisture and preventing mold growth. It can also help keep your home’s heating and cooling systems more efficient by keeping warm air inside during the winter and cold air during the summer. The installation process for this type of material varies depending on your floor type, so it is important to understand the proper steps for your particular situation.

Installing a vapor barrier on the floor can offer many advantages to homeowners. The barrier helps regulate the temperature and humidity in your home, as it acts like a blanket to protect against moisture entering through the floors. It also prevents mold and mildew from developing, which can cause health issues when present in the home. In this blog post, You will learn in detail how to install vapor barrier on floor.
Step by Step Processes for How to Install Vapor Barrier on Floor
Step 1: Inspect the Subfloor
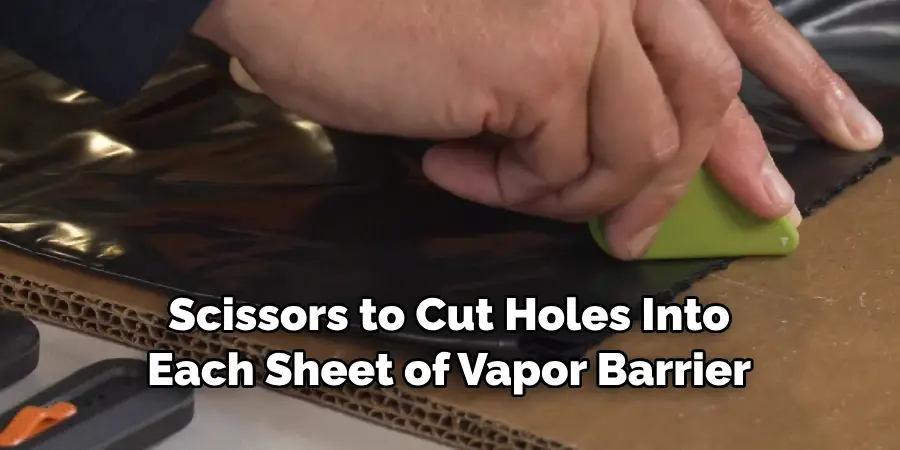
Before installing a vapor barrier, ensuring your subfloor is in good condition is important. Look for any cracks or warping and repair them before continuing with the installation process. Accurate measurements are essential to ensure you purchase enough material for the job. Measure each wall of your room and calculate the total square footage.
Step 2: Purchase the Vapor Barrier Material
Find a suitable vapor barrier product for your flooring, such as polyethylene sheeting or foam board insulation. Most products come in 4’x8’ sheets, so you must calculate how many sheets are necessary to cover your room based on their size.
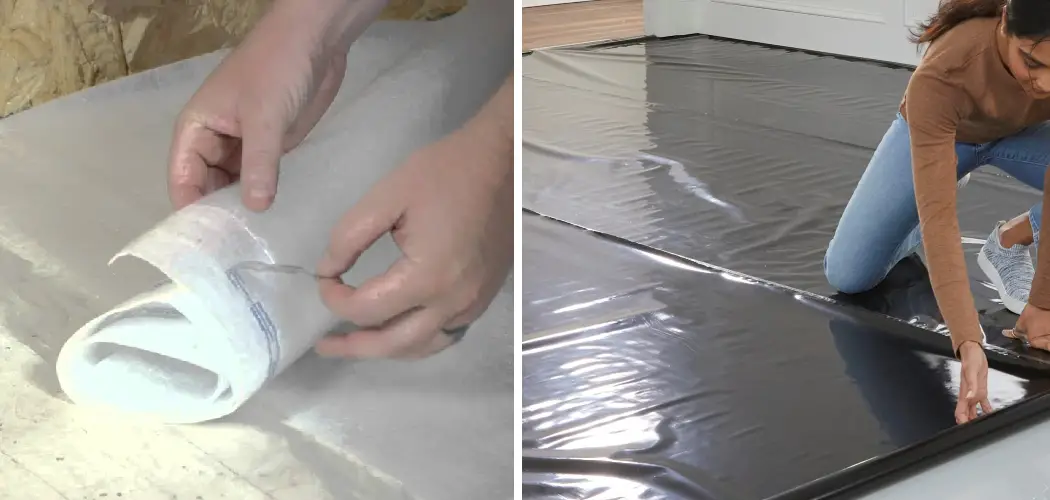
Step 3: Cut the Vapor Barrier Material to Size
Measure and then mark each sheet of vapor barrier material with a pencil or marker. Use scissors, a sharp utility knife, or shears to cut the sheets along these lines. Lay the first sheet in one corner of your room and tape the edges together. Lay the remaining sheets in a brick-like pattern, taping them together as you go.
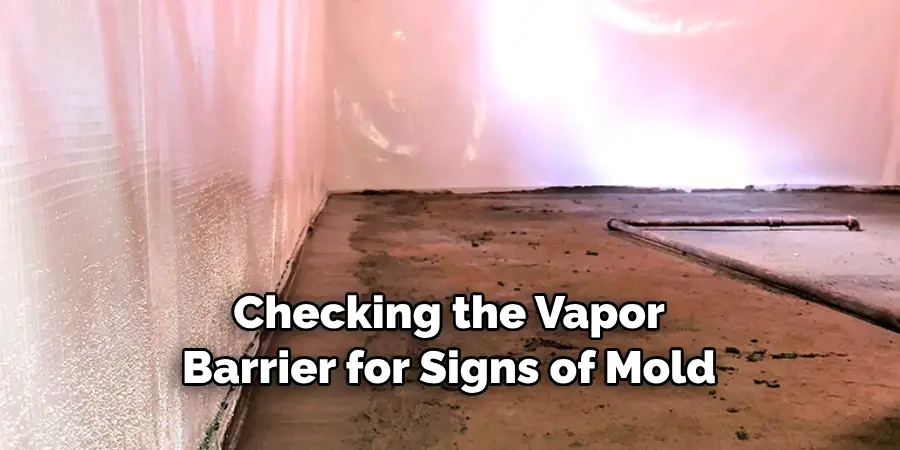
Step 4: Measure and Cut Holes for Ventilation
Measure and mark where any air vents are located on your floor with a pencil or marker. Use a utility knife or scissors to cut holes into each sheet of vapor barrier material, large enough to accommodate the vent openings. If there are any obstacles in your room, such as walls or furniture, measure and mark each obstacle with a pencil or marker. Use a utility knife or scissors to cut around these obstacles so that the vapor barrier fits perfectly.
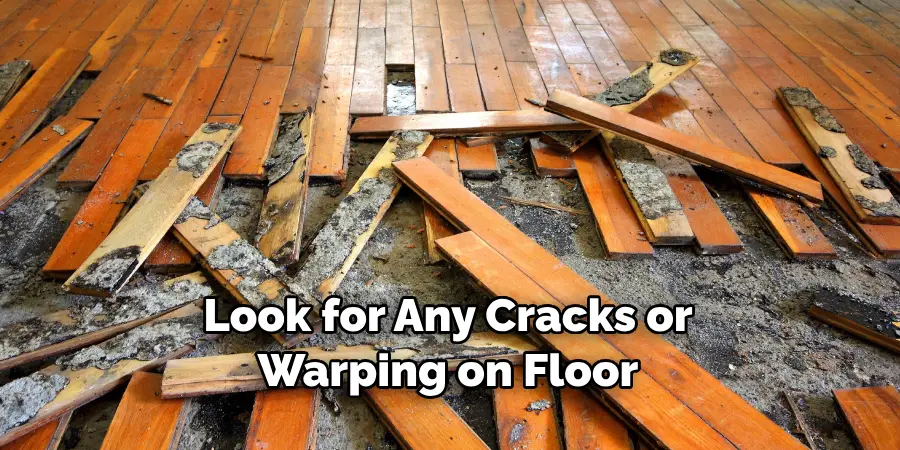
Step 5: Use Double-sided Tape to Secure the Sheets in Place
Use double-sided carpet tape or spray adhesive to affix each sheet to the subfloor to ensure your vapor barrier stays put. Measure and cut edging or trim pieces around your room’s perimeter. This will give the vapor barrier a finished edge and prevent it from coming up over time.
Step 6: Installing Flooring Over the Vapor Barrier
Once your vapor barrier is in place, install your chosen flooring material, such as laminate or hardwood.
These simple steps will help ensure you install a vapor barrier correctly on your floor. This will protect your subfloor from moisture damage and provide a great foundation for any type of floor covering you choose.
Tips for How to Install Vapor Barrier on Floor
- Ensure adequate ventilation in the work area, and wear appropriate protective equipment such as gloves, face masks, and goggles.
- Before installing the vapor barrier, ensure the subfloor surface is clean and free of dirt, dust, grease, or other debris.
- Cut the vapor barrier to fit the size of each room by measuring from wall to wall and floor-to-ceiling.
- Secure the vapor barrier to the subfloor with adhesive tape, nails, or staples.
- Seal all seams and connections in the vapor barrier using a good quality sealant for maximum protection.
- Test your installation by using a moisture meter to ensure no areas of excessive moisture or dampness can damage the vapor barrier. Do this before laying down any flooring material.
Installing a vapor barrier is important in preventing moisture from seeping into your floors and potentially leading to costly repairs or replacements.
What Are the Benefits of Having a Vapor Barrier on the Floor?
A vapor barrier is an important part of any home’s flooring system, as it helps prevent moisture from seeping into the subfloor and damaging your floors. A vapor barrier on the floor can help protect your investments in flooring and other parts of your home from excess moisture damage. This will also mean fewer repairs and maintenance costs over time and improved indoor air quality.
The vapor barrier helps protect your flooring from water damage caused by condensation and ground moisture. It also helps to regulate temperature, preventing cold air from entering the home through the floor. A vapor barrier can also help keep dust and allergens away from your living space. Lastly, it can help act as insulation against outside noises, providing more privacy in your home. By installing a vapor barrier on the floor, you can provide an effective layer of protection for the materials underneath, such as wood, tile, and laminate floors.
What Type of Maintenance is Required After Installing a Vapor Barrier on the Floor?
Once a vapor barrier is installed on the floor, it requires minimal maintenance. However, it is important to check the condition of the vapor barrier periodically and make any necessary repairs or replacements. If there are any punctures, tears, or holes in the material, these should be sealed using special tape made for vapor barriers. This will help ensure that moisture does not seep through and cause damage to the floor. It is also important to keep the vapor barrier clean.
If you have pets or high foot traffic, this can cause debris and dirt to build up on the material’s surface. Vacuuming or sweeping with a broom should be done once a month, as well as wiping down the surface with a damp cloth periodically. Finally, checking the vapor barrier for signs of mold or mildew growth is recommended. If these are found, they should be promptly treated and removed with an appropriate cleaning solution and, if necessary, replaced. Regularly inspecting and maintaining your vapor barrier will help ensure it remains effective against moisture for years.
Are There Any Insulation Requirements When Installing a Vapor Barrier?
When installing a vapor barrier on the floor, it is important to consider the insulation requirements to ensure your floor is properly sealed against moisture. Generally speaking, the minimum insulation requirement for a vapor barrier when installed on floors is R-3, which means that the material should be able to resist heat flow of at least 3 degrees Celsius per hour. When installing a vapor barrier on floors, you should ensure it is properly sealed and bonded to the surface.
Additionally, any seams or joints should be taped closed with adhesive tape to ensure proper insulation. If there are any gaps between the vapor barrier and the floor, this could allow moisture to escape and can result in mold growth or other forms of damage. It is also important to ensure you do not leave gaps between the edges of the vapor barrier and the walls. If this happens, moisture can enter through these small cracks and end up damaging your floor or causing other problems.
What Are the Most Common Mistakes to Avoid When Installing a Vapor Barrier?
When installing a vapor barrier on the floor, avoiding common mistakes is important. Some of these include not purchasing the correct type and thickness for your particular needs, not cutting the material properly or accurately, using incorrect adhesives, and not sealing seams properly. The most common type of vapor barrier is polyethylene plastic sheeting, which prevents water vapor from passing through the material.
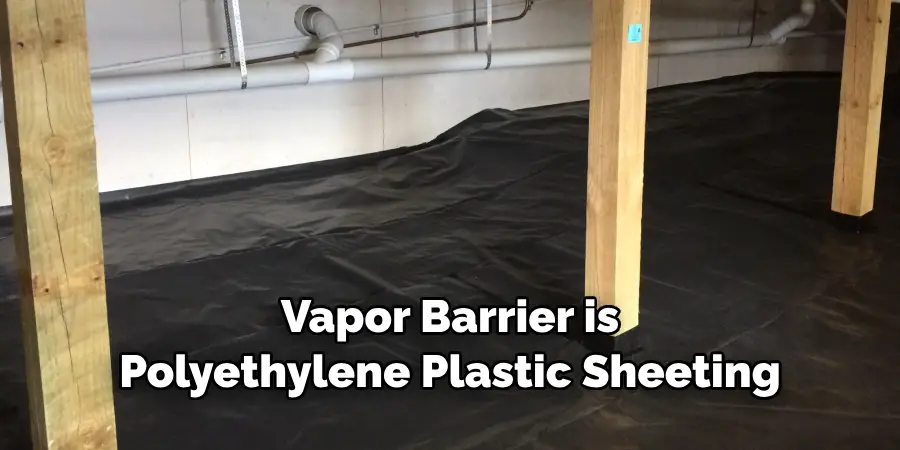
It should be the correct type and thickness to act as a moisture barrier for your flooring project effectively. Generally, 4-6 millimeter thick polyethylene is recommended for this purpose. When cutting the vapor barrier, it is important to use scissors or a sharp utility knife and cut along a straight edge. Cutting with a jagged edge can create gaps allowing water vapor to pass through, so accuracy is key. It’s also important to measure carefully before beginning any cuts, as cutting too much material can be costly when replacing the vapor barrier.
Conclusion
In conclusion, installing a vapor barrier on your floor is an important way to protect your home from water damage, mold growth, and other costly repairs. It may sound daunting, but it’s quite straightforward if you use the right materials and follow the steps outlined in this blog post. The most important thing to remember is to ensure your vapor barrier is securely attached to the floor and walls and that all joints are properly sealed. This article has been beneficial for learning how to install vapor barrier on floor. Make Sure the precautionary measures are followed chronologically.
About
Angela is the chief editor of Indoorense. She began her career as an interior designer before applying her strategic and creative passion to lifestyle and home.
She has close to 15 years of experience in creative writing and online content strategy for housekeeping and cleaning,home decorations as well as other efforts.
She loves her job and has the privilege of working with an extraordinary team. She lives with her husband, two sons, and daughter in Petersburg. When she’s not busy working she spent time with her family.