
Are you looking for a smart lock that is easy to install and simple to use? Then, look no further than the Simplisafe Smart Lock. This high-quality Lock is designed for both home and office use, and it can be installed in minutes using just a screwdriver.

The Simplisafe Smart Lock is fully compatible with the Simplisafe security system, so you can rest assured that your property is well protected. This guide will give you step-by-step instructions on how to install simplisafe smart Lock. Read on to learn more about this top-of-the-line Lock, and find out how to install it in your home or office today.
Five Benefits of Using Simplisafe Smart Lock
1. Easy to Install
The Simplisafe Smart Lock is designed for quick and easy installation. You need a screwdriver, and you can have it up and running in just a few minutes. The SimpliSafe smart lock can help you improve your home’s security without spending a lot of money or time.
2. No Wires Needed
Another great thing about the Simplisafe Smart Lock is that it doesn’t require wires. This means that you won’t have to worry about drilling holes in your walls or to deal with messy wiring. The SimpliSafe smart lock uses Bluetooth to connect to your SimpliSafe security system, so all you need is a Bluetooth-enabled device.
3. Keyless Entry
The Simplisafe Smart Lock allows you to ditch your keys and go keyless. This means that you’ll never have to worry about losing your keys or getting locked out of your home again. Instead, the SimpliSafe smart Lock uses a key fob that you can keep on your keychain, so all you need to do is push a button to unlock your door.
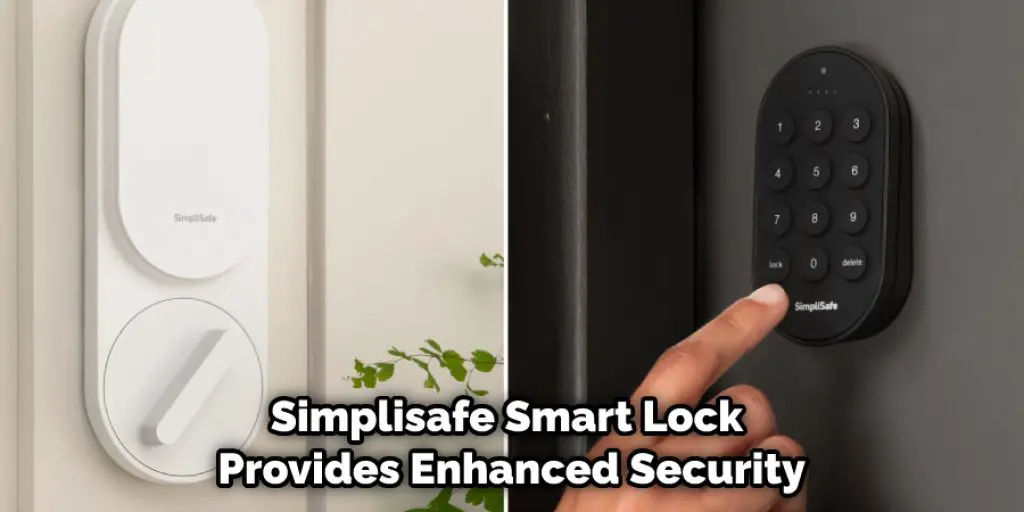
4. Enhanced Security
The Simplisafe Smart Lock provides enhanced security for your home. The Lock will automatically lock itself when you leave, and it can be set to send you alerts if someone tries to tamper with it. The SimpliSafe smart lock also features a tamper-proof design, ensuring that your home is safe and secure.
5. Remote Access
The Simplisafe Smart Lock gives you the ability to control your Lock from anywhere. With the SimpliSafe app, you can lock and unlock your door, check the battery level, and even see a history of who has entered and exited your home.
Tools and Materials Needed
- Screwdriver
- Pencil
- Tape measure
- Level
- Drill
- 1/8″ drill bit
- 3/4″ hole saw or jigsaw
Step by Step Guide: How to Install Simplisafe Smart Lock
Step 1: Prepare Your Deadbolt Ready.
Before you begin the installation process, you will need to take your deadbolt off. If you have a traditional deadbolt, this will require removing two screws from the inside of your door. On the other hand, there may be just one screw holding it in place for a more modern deadbolt. In either case, once the screws are removed, you should be able to pull the deadbolt out of the door simply.
Step 2: Choose the Correct Insert Plate.
Now that your deadbolt is removed, you need to select the appropriate insert plate for your Simplisafe Smart Lock. There are three different insert plates available, and you will need to choose the one that corresponds to the type of deadbolt you have. If you are unsure which insert plate to choose, don’t worry – the instructions that come with your Simplisafe Smart Lock will guide you through this process.
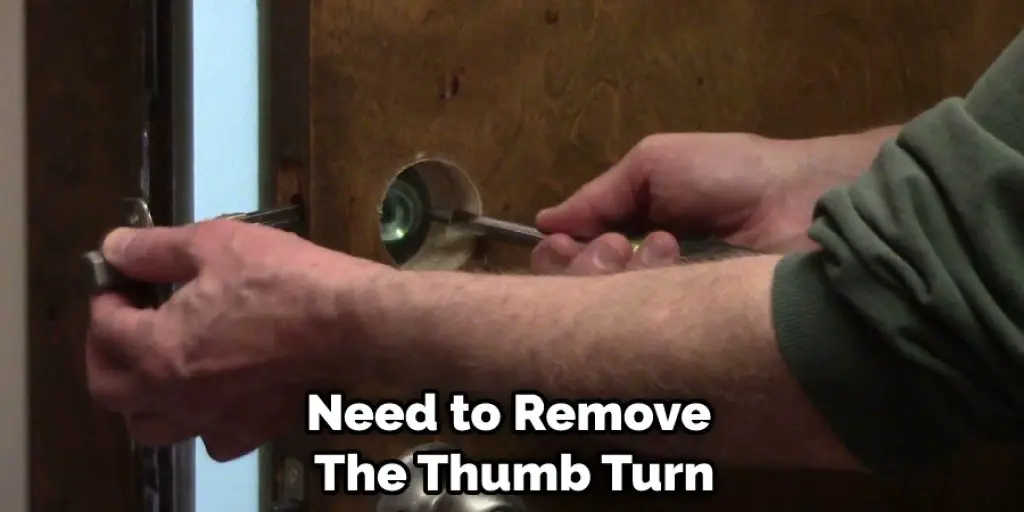
Step 3: Get Rid of the Thumbturn.
Next, you need to remove the thumb turn from your old deadbolt. The thumb turn is the small knob used to turn the deadbolt, and it is located on the inside of your door. To remove it, unscrew it from the deadbolt. In some cases, the thumb turn may be glued or otherwise attached to the deadbolt, in which case you will need to use a small screwdriver or other tools to pry it off.
Step 4: Remove the Existing Mounting Plate.
Now that the thumb turn is removed, you can remove the old mounting plate. The mounting plate is a small piece of metal attached to the door, and it holds the deadbolt in place. To remove it, simply unscrew it from the door. There will be two screws holding the mounting plate in place in most cases.
Step 5: Install the New Mounting Plate.
Once the old mounting plate has been removed, you can install the new one with your Simplisafe Smart Lock. Simply line up the new mounting plate with the holes in your door, and screw it into place. In most cases, you will use the same screws used to hold the old mounting plate in place.
Step 6: Choose an Adapter That Fits Your Thumbturn Connector.
Now that the new mounting plate is in place, you must select an adapter that fits your thumb turn connector. The adapter is a small piece of plastic that allows you to connect the new thumb turn to the Simplisafe Lock. There are several different adapters available, so be sure to select one compatible with your connector.
Step 7: Remove the Old Thumbturn Connector.
Once you have selected the correct adapter, it is time to remove the old thumb turn connector. To do this, unscrew it from the deadbolt. There will be two screws holding the connector in place in most cases.
Step 8: Prepare the Thumbturn to Install.
Now that the old connector has been removed, you need to prepare the new thumb turn for installation. To do this, screw the adapter onto the new thumb turn. In most cases, you will use the same screws used to hold the old connector in place. Now that you have prepared the new thumb turn, you are ready to install the Lock.
Step 9: Install the Lock.
After installing the thumb turn, it’s time to install the Lock. Start by holding the base of the Lock in place and then screwing in the two screws that hold it in place. Next, take the backplate and screw it into place. Finally, insert the batteries and close up the case. Your Simplisafe Smart Lock is now installed!
Step 10: Securing the Lock.
To secure the Lock, start by threading the security cable through the small hole in the bottom of the Lock. Next, loop the cable around a secure object, and then insert the end of the cable back into the Lock. Finally, use the provided Allen wrench to tighten the set screw and lock the cable in place.
Step 11: Testing the Lock Function.
Now that the Lock is installed, it’s time to test it out. Start by locking the door from the inside using the thumb turn. Next, try to unlock the door from the outside using your Simplisafe key fob. If the Lock successfully unlocks, then you’re all set! If not, check the batteries and make sure they are properly installed.
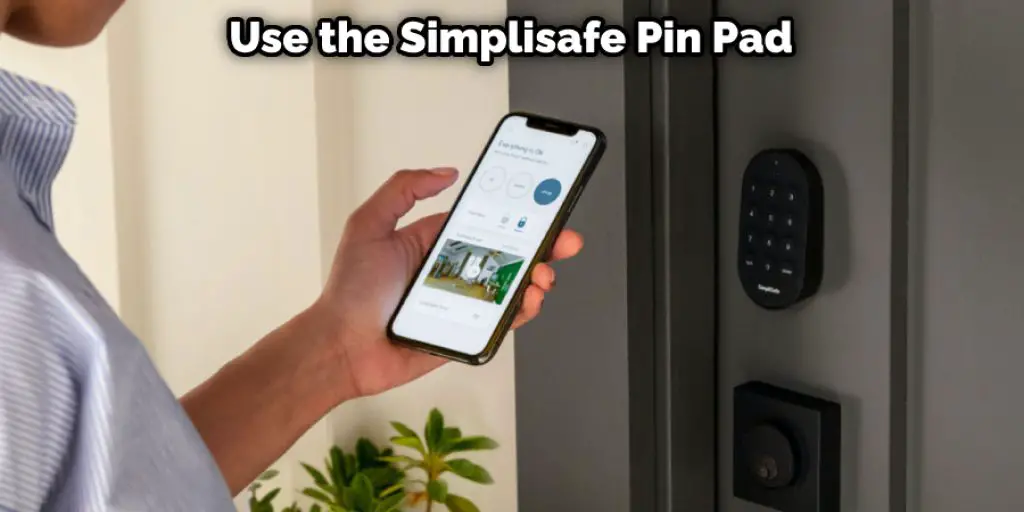
Step 12: Installing the Pin Pad.
If you want to use the Simplisafe Pin Pad, then you will need to install it after the Lock. To do this, peel off the adhesive backing on the bottom of the pin pad, and stick it to a flat surface near your door. Then, enter your code and press the “Lock” or “Unlock” button when ready to use the pin pad.
Step 13: Activate the Pin Pad.
Once the pin pad is installed, you will need to activate it. To do this, go to system settings in the Simplisafe app, and then select “Keypads.” Then, you can activate the pin pad and set up your code.
Step 14: Test the Pin Pad Function.
Once the pin pad is activated, it’s time to test it out. Start by locking the door from the inside using the thumb turn. Next, try to unlock the door from the outside using your pin code. If the Lock successfully unlocks, then you’re all set! If not, go back and check your wiring to ensure everything is connected correctly.
Step 15: Add a Deadbolt for Extra Security.
You can add a deadbolt above the Simplisafe Lock for even more security. This will make it even more difficult for someone to break into your home. To install a deadbolt, simply follow the instructions that came with it. In most cases, you will need to drill two holes in the door.
Some Helpful Tips and Suggestions
Here we have given tips on how to install SimpliSafe smart lock.
- If you have trouble removing the old thumb turn connector, try using a pair of pliers.
- Be sure to read the instructions with your Simplisafe Lock before beginning the installation process.
- If you are adding a deadbolt, place it above the Simplisafe Lock so that it cannot be reached from the outside.
- If you have trouble with the pin pad, check the batteries and make sure they are properly installed. You may also need to reset the pin pad by pressing the “Reset” button on its back.
- Always test your Lock before you leave home to ensure it is working properly.
- Make sure the area around your door is well lit to see when someone is trying to break in.
- Be sure to keep your Simplisafe key fob or pin code in a safe place so that only you have access to it.
With these tips and suggestions, you should be able to install your Simplisafe Smart Lock successfully.
Final Words
Smart locks are a great way to keep your home safe and secure. Simplisafe is one of the most popular brands on the market, and its smart Lock is a great option for those looking for an easy installation process and reliable security. In this article, we’ve discussed how to install Simplisafe Smart Lock in just a few simple steps.
The first step is to remove your old door knob or handle. This can be done by unscrewing the screws that hold it in place. If there are any decorative plates around the knob or handle, these will also need to be removed before taking off the actual hardware.
We hope this article was helpful and that you are now feeling confident in your ability to install your new smart Lock. If you have any questions or run into any problems during the installation process, please don’t hesitate to reach out to us for help.
Michael has always been interested in security and safety. When he was younger, he loved reading books about espionage and crime. This led him to develop a fascination with surveillance systems and home security systems.
He has 8 years of expertise installing, fixing camera problems and door locks. He also gained knowledge by helping homeowners to stay safe and secure in their homes.
Over the years, Michael has gained a great deal of experience in this field. He is responsible for the content development on this blog.