
Are you looking for an affordable, easy-to-install flooring option to give your home or office a high-end look? Mohawk vinyl flooring is just what you’re looking for! Not only are these floors more durable and long-lasting than other types of flooring, but they are also one of the most cost-effective options.

In this blog post, we’ll provide a step-by-step guide on how to install Mohawk vinyl flooring in the easiest way possible—so let’s get started!
Tools and Materials You Will Need to Install Mohawk Vinyl Flooring
- Tiles
- Underlayment
- Spacers
- Utility knife
- Tape measure
- Pencil
- Chalk line
- Hammer
- Notched trowel (1/16″ or 1/8″)
- Caulk gun
- Vinyl adhesive
Step-by-Step Guidelines on How to Install Mohawk Vinyl Flooring
Step 1: Prepare the Subfloor
To install Mohawk vinyl flooring, you must first make sure your subfloor is dry and flat. If necessary, use a self-leveler to fill in any low spots or cracks on the surface. Once the subfloor is level, vacuum it to remove any debris and dust. Preparing the subfloor will ensure that your Mohawk vinyl flooring will last for many years.
Step 2: Measure and Mark
The next step is to measure and mark out where you want to start installing the vinyl tiles. To do this, use a tape measure to determine the dimensions of the room and then draw a chalk line along where the first row of tiles will go. Make sure to double-check your measurements to make sure they are correct!
Step 3: Lay the Underlayment
Lay down a layer of underlayment on top of the subfloor before you begin laying out your Mohawk vinyl flooring. This layer will act as a cushion and help reduce noise, making it easier to stand on the floor. Make sure to overlap the seams by at least six inches and use a utility knife to cut any excess pieces.

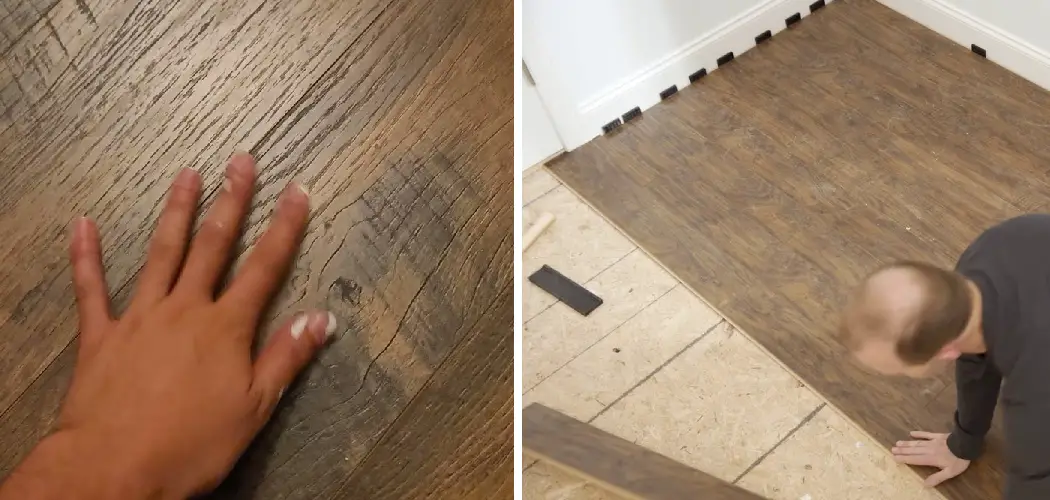
Step 4: Install the Tiles
Now you’re ready to start laying down your Mohawk vinyl tiles! Begin in one corner of the room and lay out your tiles along the chalk line, making sure that they are flush against each other. Use spacers to ensure that the tiles have a consistent gap between them. Once you have laid out all your tiles, use a notched trowel to spread vinyl adhesive over the back of each tile.
Step 5: Caulk and Seal the Edges
Once all your Mohawk vinyl flooring is in place, it’s important to caulk and seal the edges of your tiles. This will prevent moisture from seeping underneath and causing damage. Use a caulking gun to apply a thin layer of waterproof caulking along the perimeter of your vinyl flooring. Let it dry for 24 hours before walking on the floor or adding furniture back into the room.
And that’s it! You’ve now successfully installed your Mohawk vinyl flooring. With the right tools and know-how, this task is easier than you think—and you will have a beautiful new floor that will last for years to come. Enjoy!
Additional Tips and Tricks to Install Mohawk Vinyl Flooring
- Make sure the room temperature is at least 65 degrees F (18 degrees C) before and during installation to prevent any buckling or warping of the vinyl flooring.
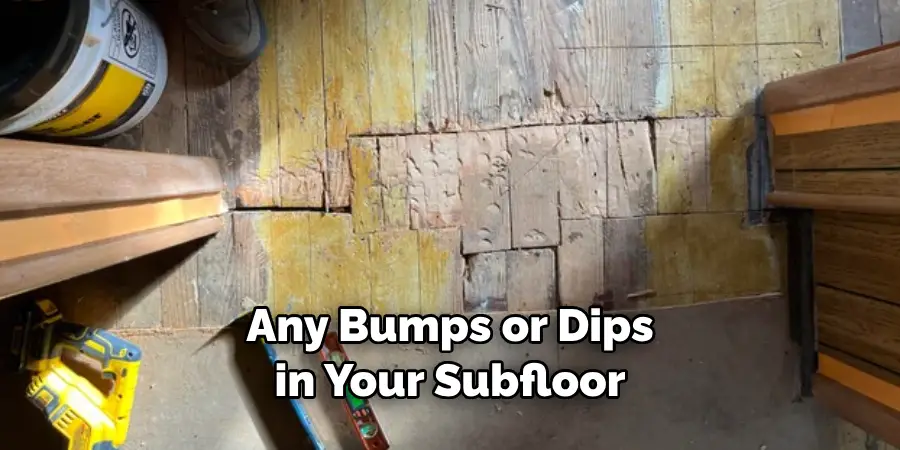
- Before starting, make sure that your subfloor is as level as possible by using a leveler tool. Any bumps or dips in your subfloor can cause lippage in the vinyl flooring.
- When measuring and marking out the area for installation, use a chalk line to ensure that your lines are straight and even.
- Before you start laying down the planks, be sure to check them for any physical defects or damage (e.g., peeling, tears, etc.). If there is any, discard those planks and replace them with new ones.
- Start by laying the planks in one corner of the room and working your way outwards to ensure that there’s an even balance of flooring material in all areas.
- After laying each plank, be sure to use a rubber mallet to firmly press it into place. This will help ensure that the planks stay in place and are properly connected.
- 7. To help finish off your flooring installation, use a PVC trim piece or edge strip to cover up any exposed edges or seams around the perimeter of the room.
- Once you have completed the installation, use a broom to sweep away any dirt or debris on the flooring and buff the surface with a clean, dry cloth. This will help protect your new floor from dirt and scratches.
- Finally, use a damp mop to clean the floor and give it a nice shine! Make sure to use an approved vinyl cleaner for best results.
Following these tips and tricks will ensure that you have a beautiful, long-lasting Mohawk vinyl flooring installation in your home that you’ll be able to enjoy for years to come!
Things You Should Consider to Install Mohawk Vinyl Flooring
- Determine the area where the vinyl flooring will be installed. Measure the space and note any doorways, windows, cabinets, pipes, or other obstructions that could affect your project.
- Choose a color and style of Mohawk vinyl flooring to best fit with the decor of your home or business. Consider factors such as room size, lighting, and the amount of traffic the floor will sustain.
- Purchase Mohawk vinyl flooring that includes a built-in underlayment or consider purchasing an additional underlayment before you begin installation. Underlayment helps reduce noise when walking on it, provides extra cushioning, makes it easier to install, and increases the lifespan of your vinyl flooring.
- Gather the necessary tools and supplies for installation, such as a utility knife, measuring tape, ruler, straight edge, chalk line, adhesive remover, primer or sealant (if needed), and protective wear items such as gloves and safety glasses.
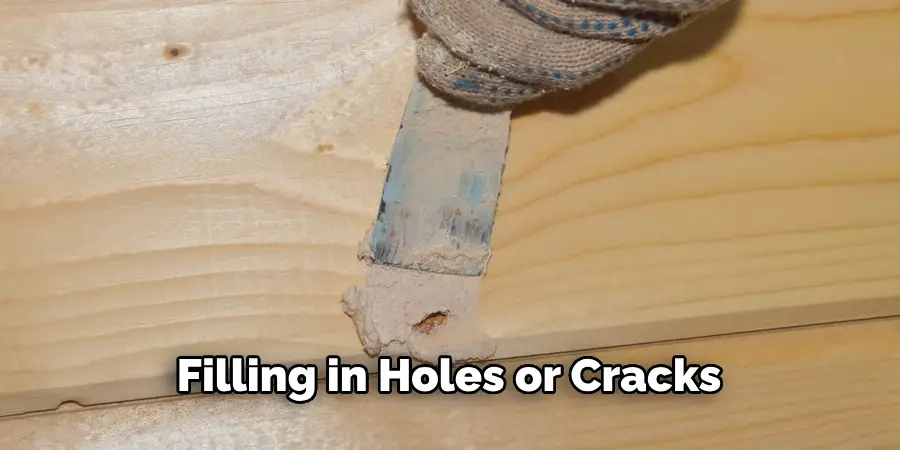
- Prepare the subfloor by removing any existing flooring materials, filling in holes or cracks, and cleaning the area thoroughly.
- If you are using adhesive to install your Mohawk vinyl flooring, make sure it is the proper type for the subfloor surface and follow the manufacturer’s instructions carefully when applying it.
- Place the vinyl planks in their desired position on the floor making sure that they fit together tightly without leaving any gaps.
- Use a hammer and tapping block to tap the planks together or use a roller to apply pressure along the seams of the planks.
- Once the planks have been installed, use a seam sealer to fill in any gaps and prevent moisture from seeping underneath.
- If you are installing Mohawk vinyl flooring over an existing concrete or wood subfloor, make sure that it is completely dry before beginning installation. Any trapped moisture can cause the vinyl planks to swell and buckle.
- After the installation is complete, make sure to inspect all seams and joints for any issues that may cause future problems. If any problems are found, be sure to repair them before using the flooring.
- Finally, clean your vinyl floor regularly with a recommended cleaner and make sure it stays dry. This will help extend the life of your vinyl flooring.
Follow these considerations to get that beautiful new Mohawk vinyl flooring installed in your home or business. You’re sure to love the finished result!
Frequently Asked Questions
Is Mohawk Vinyl Flooring Easy to Install?
Yes, Mohawk vinyl flooring is very easy to install and can typically be done in a single day. It’s important to follow the manufacturer’s instructions for installation, and proper adhesive must be applied before installation.
What Kind of Subfloor Do I Need for Mohawk Vinyl Flooring?
Generally, Mohawk vinyl flooring can be installed over any clean, dry, and flat surface. This includes concrete subfloor, wooden floors, and existing vinyl flooring. It’s important to check with the manufacturer for specific instructions before installing the flooring.
What Adhesive Should I Use for Mohawk Vinyl Flooring?
The type of adhesive used for Mohawk vinyl flooring depends on the subfloor and the manufacturer’s instructions. Generally, it is recommended to use a pressure-sensitive adhesive designed specifically for glue-down installations, or an acrylic latex compound for nail-down installations. It’s important to make sure that the adhesive is suitable for the type of subfloor you are installing on.

Is Mohawk Vinyl Flooring Durable?
Yes, Mohawk vinyl flooring is very durable and able to withstand heavy foot traffic. It is also resistant to scratches and scuffs, making it a great option for homes with pets or children. Additionally, Mohawk vinyl flooring is easy to clean and maintain.
Conclusion
So, it’s time to put your installer skills to the test, because now you know how to install Mohawk vinyl flooring! Taking the time and effort during the planning stages of installation can end up saving you a lot of precious time and energy further down the line.
From picking the right underlayment for your concrete slab to familiarizing yourself with how to properly cut and lay each plank, being patient and attentive will make all the difference. Now that you have knowledge in hand, there is nothing stopping you from creating beautiful floors that look great for years. So get started today – plan ahead, choose quality materials, and enjoy a fresh-looking new floor before you know it!
About
Angela is the chief editor of Indoorense. She began her career as an interior designer before applying her strategic and creative passion to lifestyle and home.
She has close to 15 years of experience in creative writing and online content strategy for housekeeping and cleaning,home decorations as well as other efforts.
She loves her job and has the privilege of working with an extraordinary team. She lives with her husband, two sons, and daughter in Petersburg. When she’s not busy working she spent time with her family.