
Are you a homeowner looking to improve the efficiency of your home? Installing jumper ducts in bedrooms is one way to do just that. Jumper ducts are designed to route warm or cool air from a connected room for improved circulation and temperature control throughout your home. In this blog post, we’ll give you an overview of what jumper ducts are, how they work, and how you can install them in bedrooms yourself!

Installing jumper ducts in bedrooms is a great way to improve air circulation and keep the room feeling comfortable. Jumper ducts are an essential component of any HVAC system, allowing warm or cool air to be distributed throughout your home without having to install additional piping.
In this post, we’ll explain how you can take advantage of this cost-effective installation yourself by giving you straightforward instructions on how to install jumper ducts in bedrooms. Read on to find out what steps you’ll need to take!
Benefits of a Jumper Ducts in Bedrooms
There are many benefits to installing jumper ducts in your bedrooms. Such as:
1. Improved Air Circulation
One of the main benefits of jumper ducts is that they help improve air circulation in your bedroom, leading to better sleep and a more comfortable environment. This is because jumper ducts help distribute air evenly throughout the room rather than letting hot or cold pockets accumulate.
2. Increased Energy Efficiency
Another benefit of jumper ducts is that they can help increase your home’s energy efficiency, as they prevent hot or cold air from getting trapped in certain areas of your bedroom. This means that you will spend less money on your monthly energy bills and be able to stay comfortable even during extreme weather conditions.
3. Easier Maintenance
Another advantage of installing jumper ducts in your bedroom is that they make maintenance much easier. Since the ducts are hidden within the walls or ceiling, you do not need to worry about dust, dirt, or other debris collecting on them. Additionally, since they are out of sight and out of mind, you won’t need to clean them as regularly as you would other types of ventilation systems.
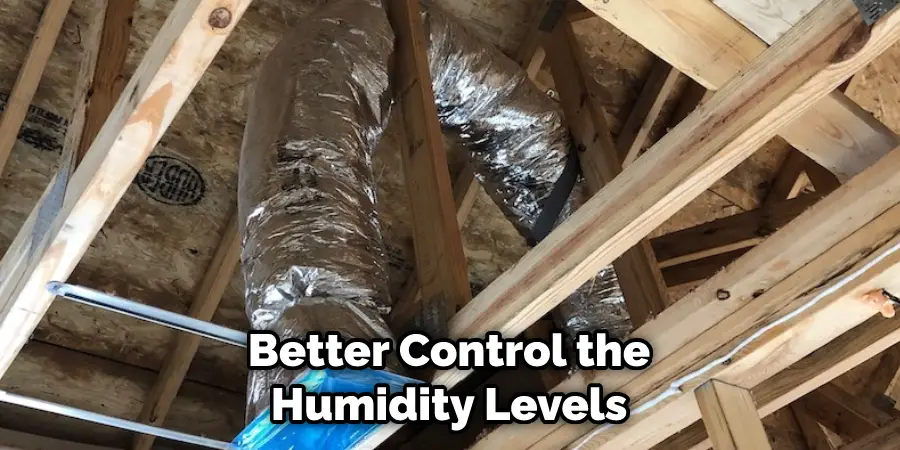
4. Improved Humidity Control
By installing jumper ducts in your bedroom, you can also help to better control the humidity levels in the room. This is due to the fact that jumper ducts are equipped with special dampers that allow you to regulate airflow and prevent excess humid air from building up.
If you are considering installing jumper ducts in your bedroom, consult a professional who can recommend the best type of ducts and installation method for your unique needs and preferences. With the right jumper ducts, you can enjoy better air circulation, improved energy efficiency, and easier maintenance in your bedroom for years to come.
How to Install Jumper Ducts in Bedrooms in 8 Easy Steps
Step 1: Gather All of the Necessary Tools
The first step is to gather all the tools you will need to install jumper ducts in your bedroom. This typically includes a tape measure, ladder, drywall saw, utility knife, and hammer. So make sure to keep these tools handy before you get started.
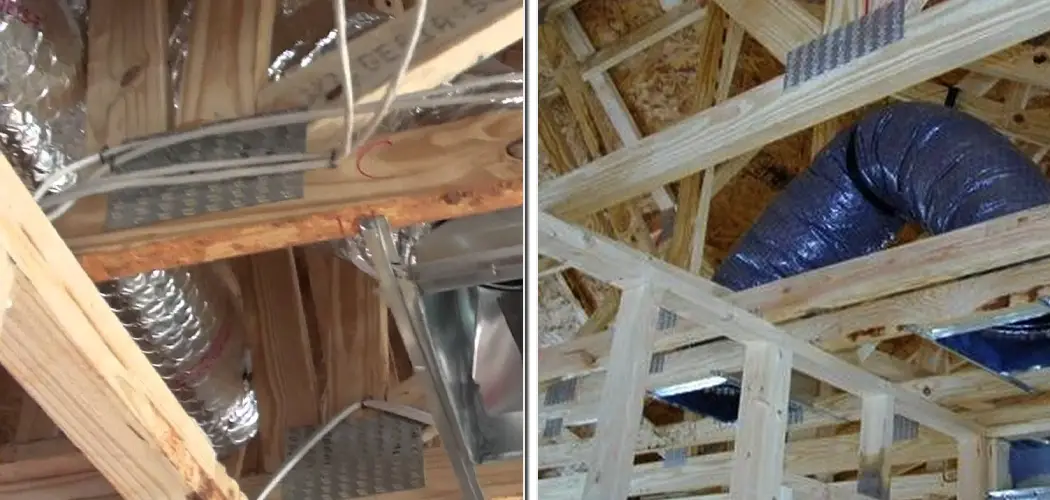
Step 2: Locate the Ceiling Joists
Once you have gathered all of your tools, the next step is to locate the ceiling joists in your bedroom. This can usually be done using a stud finder or tapping on the ceiling with a hammer until you hear a solid sound.
Step 3: Mark the Locations of the Joists
After you have located your ceiling joists, it’s time to mark the locations of these joists on the ceiling. You can do this by making a small mark with a pencil at each location where a joist intersects with your ceiling. But you have to be careful to avoid marking any electrical wiring, plumbing pipes, or other hazards that may be present in your ceiling.
Step 4: Cut Out the Holes for the Ducts
Once you have marked the locations of your joists on your ceiling, the next step is to use your drywall saw to cut out holes at each of these locations carefully. Be sure to cut out a hole that is large enough to accommodate your jumper ducts, but be careful not to make the holes too big.
Step 5: Insert the Ducts into the Holes
Once you have cut out all of the necessary holes in your ceiling, the next step is to insert your jumper ducts into these holes carefully. You may need to use some gentle force or a hammer to get them into place, but be careful not to damage the ducts in any way.

Step 6: Secure the Ducts in Place
After inserting your jumper ducts into their respective holes, the next step is to secure them using screws. You can simply drive a screw into the duct at each joist location you marked in step 3.
Step 7: Seal the Joints
Once all of your jumper ducts are secured, the next step is to seal any joints with duct tape or another type of high-quality sealing material. This will help prevent air leakage and ensure your ducts are fully functional.
Step 8: Test Your Ducts for Leaks
Before you start using your jumper ducts, testing them for leaks by running a fan or other device through the system is important. If there are any leaks, simply seal them up using more duct tape, and you’ll be all set to start using your new jumper ducts in your bedroom.
While installing jumper ducts in your bedroom can seem daunting, with the right tools and a little bit of patience, it is quite simple. By following these 8 easy steps, you can ensure that your jumper ducts are secure and leak-free, allowing you to enjoy the benefits of these handy HVAC systems immediately.
Some Additional Tips And Tricks to Install Jumper Ducts in Bedrooms
1. Do Not Rely on Pre-packaged Jumper Ducts
While pre-packaged jumper ducts may be tempting, they are often not the best option for installing jumper ducts in a bedroom. Instead, opt for custom-made jumper ducts that are specifically designed to work with your HVAC system.
2. Check How Your HVAC System is Mounted
In order to effectively install jumper ducts in a bedroom, you will need to have an understanding of how your HVAC system is mounted. It may be necessary to make some adjustments or even completely remove and reinstall the system before you can begin installing the jumper ducts.
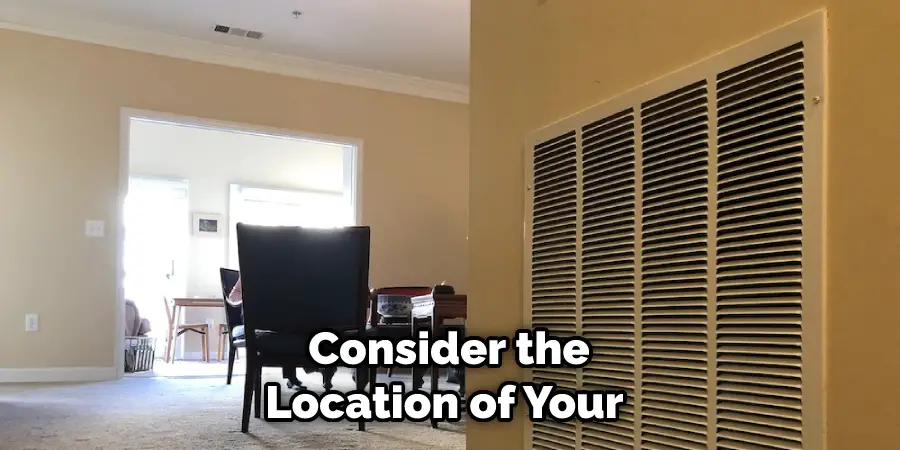
3. Choose a Location for Your Vent
When planning where to install your jumper ducts, it is important to consider the location of your home’s vents. Ideally, you will want to position your jumper ducts so that the vent on one end is located near a closet or other storage area and the vent on the other is positioned near a window.
4. Consider How You Want Your Room to Feel
The ideal location for the jumper ducts in a bedroom can vary depending on your goal. For example, if you want your bedroom to feel more spacious and airy, it may be best to position the jumper ducts to allow cool air to flow across the floor. On the other hand, if you want your bedroom to feel cozy and warm, it may be best to position the jumper ducts near the ceiling.
5. Ensure That Your Vent Cover is Clear and Open
One common reason why many people struggle to install jumper ducts successfully is that they neglect to clean or replace their vent covers properly. Before installing your jumper ducts, make sure that your vent cover is clear and open so that air can flow easily through the system.
6. Communicate With Your HVAC Contractor
If you are having any difficulty installing your jumper ducts, it is important to speak with your HVAC contractor as soon as possible. A professional contractor can help you troubleshoot any issues and ensure that your jumper ducts are properly installed and functioning.
7. Avoid Overfilling Your Ducts
When installing jumper ducts, it is important to be precise and avoid overfilling your ducts. This can help ensure that your HVAC system performs optimally and reduces the risk of any damage or leaks. So you have to be careful to measure and install your ducts properly.
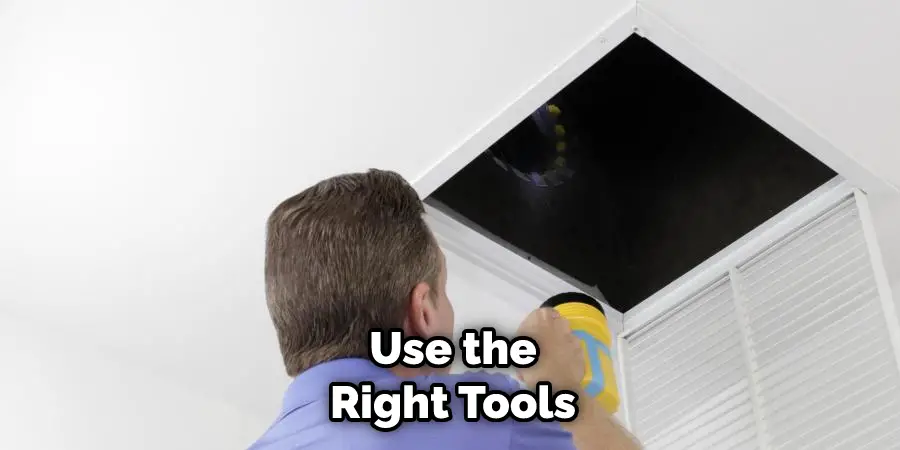
8. Use the Proper Tools for Installing Your Ducts
Installing jumper ducts can be complex, so it is important to use the right tools and follow proper installation procedures. Some of the most commonly used tools for installing jumper ducts include measuring tapes, screwdrivers, wrenches, and pliers.
If you are looking for an easy way to install jumper ducts in your bedroom, it is important to take the time to do your research and plan out the process carefully. By following these tips, you can ensure that your jumper ducts are properly installed and functioning properly.
Frequently Asked Questions
What Precautions Should I Take When Installing Jumper Ducts in Bedrooms?
One of the most important things to keep in mind when installing jumper ducts in bedrooms is to take proper safety precautions. This can include wearing protective gear, such as safety glasses and gloves, to minimize your risk of injury. Additionally, you should always follow the instructions and guidelines provided by the manufacturer of your jumper ducts, to ensure that they are properly installed and functioning correctly.
Can I Install Jumper Ducts in My Own Bedroom?
Yes, installing jumper ducts in your bedroom is generally safe. However, if you are inexperienced or unsure about how to perform this task properly, it may be a good idea to consult with a professional installer or HVAC technician for guidance and assistance. Additionally, be sure to follow all safety precautions when installing jumper ducts in your bedroom, including wearing protective gear and carefully reviewing the instructions provided by the manufacturer.
What Are Some Key Considerations When Choosing Jumper Ducts?
There are a few key considerations to keep in mind when choosing jumper ducts for your bedroom. These include the material that the ducts are made from, the size and shape of your bedroom, and any special requirements or preferences you may have. Additionally, it is important to carefully read the manufacturer’s instructions for installing jumper ducts to ensure that they are installed and functioning correctly.
Conclusion
Now that you know how to install jumper ducts in bedrooms, you can start enjoying the many benefits they offer! By circulating the air in your home, you can reduce energy costs, improve indoor air quality, and prevent mold and mildew growth. So don’t wait any longer – get started on installing jumper ducts today!
Follow these easy steps, and you’ll have jumper ducts installed in your bedrooms in no time! Be sure to take proper safety precautions and consult an expert if needed. With a little effort, you can enjoy the many benefits that jumper ducts offer.
Rick is a handyman who grew up helping his dad with his business. He learned a lot from him about how to fix things, and also about how to work hard and take care of business. These days, Rick is still into fixing things- only now, he’s doing it for a living.
Rick is always looking for new ways to help people grow and develop. That’s why he started contributing to this blog: to share all his experience and knowledge so that he can help people who are interested in DIY repair.