
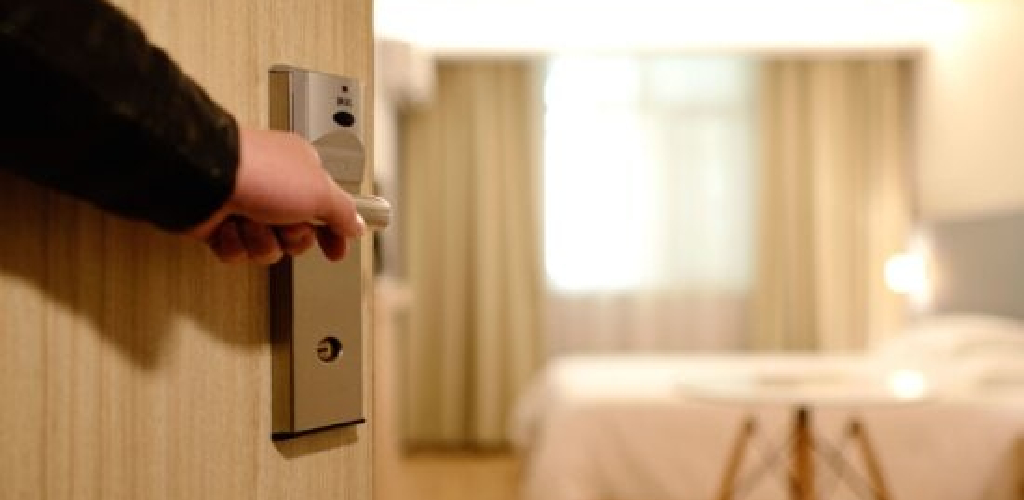
Most people think that installing a lock on a bedroom door is a job for a professional. But, it’s something that you can do yourself in just a few minutes. In this article, we’ll show you how to do it. So, whether you’re looking to keep your kids safe or want to add an extra layer of security to your home, read on for instructions on how to install a lock on a bedroom door.
Installing a lock on a door is a quick and inexpensive way to add extra security to your home. But, many people don’t think of it because they assume that you need to hire a professional. However, if you’ve ever used your drill to put together furniture or even hung up some picture frames on the wall, then installing a lock will be easy for you!
Tools and Materials:
- Drill
- 3/16 drill bit
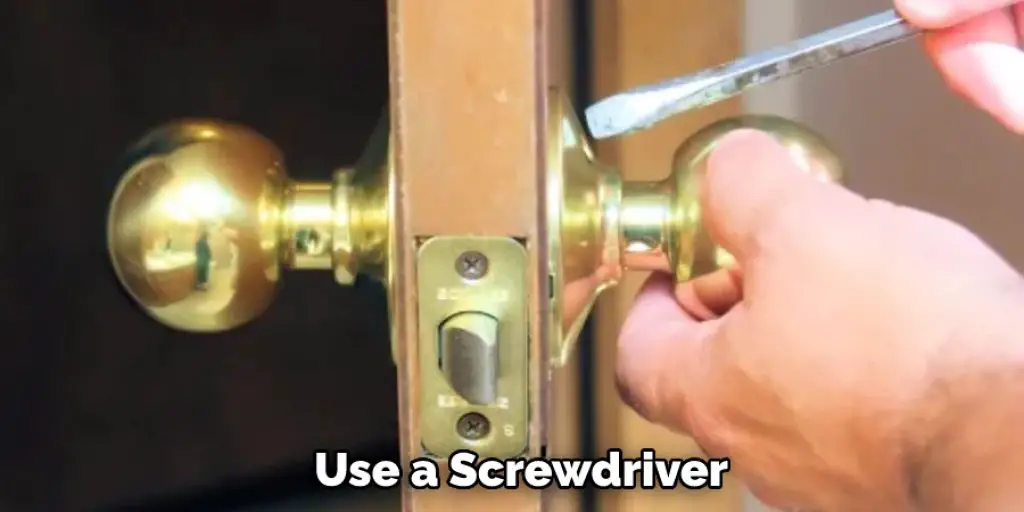
- Screwdriver
A Detailed Guide on How to Install a Lock on a Bedroom Door
Option 1: Installing General Lock
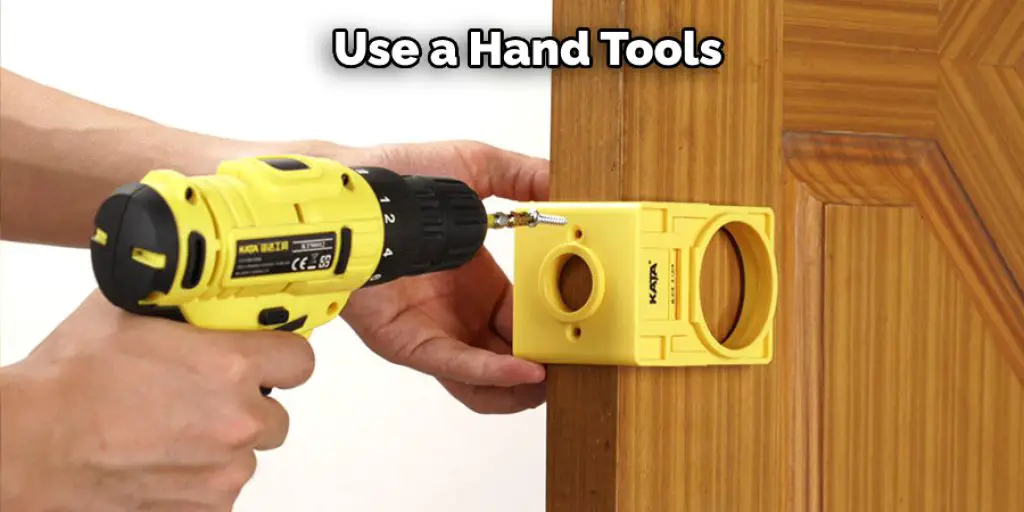
Step 1: Make A Hole With a Drill
Use a drill to make a hole at the center of the bedroom door. Put inside a suitable drill bit and twist it until the tip touches the surface. Don’t apply too much pressure on your drill since you’ll not go through soon.
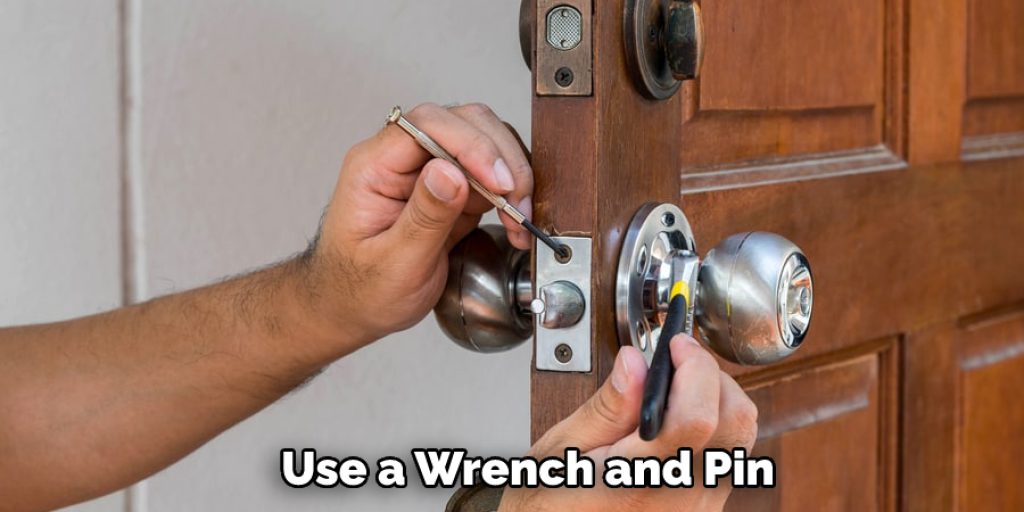
Step 2: Prepare
After making the hole, put the screwdriver into it and twist until you’ve opened up enough space for your lock installation kit’s latch. Ensure that there will be enough room for your new lock’s mechanism if ever someone from outside tries to open up from inside.
Step 3: Put In Your New Lock
After ensuring that there is enough space for your new lock mechanism, take out the old latch and insert the new one inside the hole. Grab your drill and attach it to the screwdriver’s slot. Twist until you’ve made a hole large enough for the latch to fit in. Make sure that there will be no problem fitting it since you’ll have no choice but to do with what is available between now and when you finish installing your lock.
Step 4:Installing The Lock
Now, please take out your screwdriver, attach it to your drill, and twist until you’ve reached the depth of the latch’s counterpart at the other side of the door. If this mechanism does not reach its counterpart, everything will be useless since there would still be an open space big enough for someone to unlock the door quickly.
Step 5: Check If The Lock Works!
After ensuring that your new lock has been installed correctly, check if it works by sliding the latch from one side of the hole to another. You may have a bigger problem if you haven’t been able to install the latch’s counterpart from outside perfectly since this would be bad news for whoever might have locked themself inside.
Option 2: Installing Door Knob Locks
Step 1: Align The Plate With Door
Remove the doorknob from your old doorknob and place it on a flat surface. Then, start with aligning the plate where the door will be going into the drilled hole. Make sure you have a space to work because this step can get messy.
Step 2: Install A Door Knob Lock Plate With Different Spacing
After you have your plate in position under your doorknob, grab some construction adhesive from your toolbox and squirt it all around the plate’s holes. This adhesive will hold everything securely while installing the rest of the plates. Let dry overnight for optimum results.
Step 3:Replace Deadbolt Locks Into Existing Handles
You can also try installing deadbolt locks into existing door handles. This is great for people looking to replace their old, out-of-date hardware with something more secure. Make sure you have a drill compatible with the deadbolt lock’s screws.
Step 4: Install A Door Knob Lock With Screws
Grab your screwdriver and some screws from your toolbox. Start by placing one screw on each side of the door to hold everything in place while you finish up. This will keep everything level as well. Then slide the doorknob onto the plates through the previously removed hole. Finally, put the remaining two screws into place just like the first ones to securely secure everything.
Step 5:Install A Door Knob Lock With Plates, Strikes, and Spacers
Grab your drill and screwdriver again. First, you will install the strike plates into the doorframe- this should be one on top and one on the bottom of your door. Next, grab your spacer locks, too. These spacers are meant to hold the doorknob’s latch, so it doesn’t slip out of place or break off while you’re using it. The last thing you’ll need is a new pair of deadbolts for inside the door handle. If someone tries to pry open your knob lock, they can’t get through your bedroom door because there’s an extra barrier to keeping them out (the second lock).
Once you have everything in place, make sure it is all level. You can do this by using a leveler to ensure the hinge pins are straight up and down.
Option 3: Installing Chain Locks
Step 1:Position The Stops On Your Door
The first thing you will need to do is measure the gap between your door’s hinges on each side. This gap will help determine how long your chain lock needs to be to reach the other side of the door. Make sure you measure this gap from each hinge and not just one because they don’t always come out.
Once done measuring, cut your metal cord with your scissors or utility knife until it reaches the correct length for both sides.
Step 2: Attach The Chain To The Hinges
Take your pliers and attach one end of the metal cord to each hinge. Ensure when you’re doing this that the hinges are tight against the door so it won’t fall out of position when you connect the chain.
Step 3: Position The Stop On The Other Side
Attach one end of your second metal cord to the other side of each hinge on your bedroom’s door. If they slide up and down in place, great! However, if not, try using a few zip ties to secure them together instead so your chain lock will stay in place when tightened or loosened.
Step 4: Mount The Door Chain Lock And Tighten Everything Up
Your chain link should be resting between both doorframes like a swinging gate at this point with two “stops” (the ones you attached to the hinges) on each side of your bedroom door.
Step 5: Set The Latch Plate Into Place
Line up one side of your chain to where it will be touching the other stop once tightened. You may need someone to help you with this part; if not, just shout out, and we’ll be there in no time! Once you have everything lined up, slide the latch plate through the chain until it is resting against the stop. Make sure everything is secured tightly by checking that both sides are even and won’t come loose or fall out while you use them.
Once done securing everything together, tug at your new chain lock to ensure it’s secure before using it!
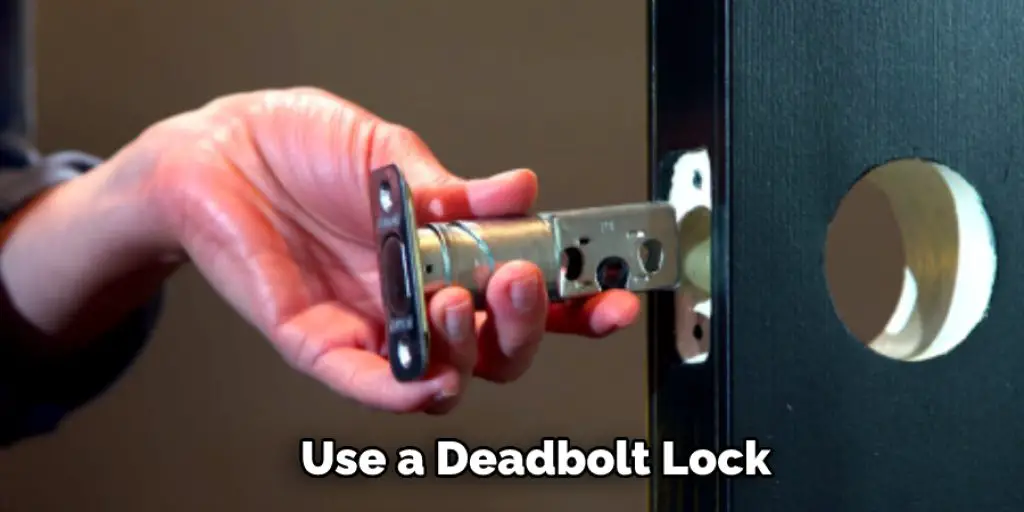
Option 4: Installing Deadbolt Lock
Step 1: Drill Out Holes For The Deadbolt Catch Plates
Grab your drill and measure where you will need to place the catch plates on your bedroom door. Make sure you have them lined up evenly so that the deadbolt will be straight when placed into each one. Drill out holes for these plates now- make sure to take your time with this step to ensure everything is nice and level!
Step 2: Insert The Catch Plates Into The Door
Once your holes are drilled, slide the catch plates into them. Make sure to make these tight enough so they won’t fall out of place when you’re using them but also not too tight that it’s difficult for you or others to move them! How this part goes will determine how well the deadbolt works later on.
Step 3:Mark Where You Will Drill The Second Hole
Next, you will need to mark the deadbolt’s cylinder where it needs to be drilled into the door. Measure across from one catch plate and see how far over the second hole for it (the one you just made) is. Once measured, make a small mark on the door to show where it goes.
Step 4: Extend Your Hole With A Dremel
Take your dremel and extend out your mark from step three so it can fit your cylinder into place later on. How far you need to go into the door depends on how thick its material is but try not to drill too deep, or you may risk damage to your bedroom’s door!
Step 5: Slide The Latch Plate Into Place
Your second hole should already be there from step three, but if not, make one now. How you go about this is up to you- some people prefer to use their dremel while others find it easier to use the drill. This part will determine how well your deadbolt lock turns out, so keep that in mind!
Step 6:Mount The Deadbolt Into Place
Finally, slide your cylinder into place through both holes and attach it to your other side’s latch plates. How tight you want these should be up to you- if it’s too loose, your lock won’t work correctly.
Step 7: Set The Deadbolt In Place
Once done with the quick and easy steps, slide the deadbolt in place, resting up against both sides of your bedroom door’s frame. How tight you want this to be is entirely up to you and how much use it will get. If it is something you will use all the time, tighten it up so it won’t move while your handle or knob is attached. These options will help in how to install a lock on a bedroom door.
You can check it out to Arrange Bedroom Furniture in a Rectangular Room
Conclusion:
If you are looking for a way to make your bedroom more secure, installing a lock on the door is excellent. By following the steps we’ve outlined in this article on how to install a lock on a bedroom door, you can install a lock on your bedroom door quickly and easily.
You can check it out to Pick a Kwikset Lock
Michael has always been interested in security and safety. When he was younger, he loved reading books about espionage and crime. This led him to develop a fascination with surveillance systems and home security systems.
He has 8 years of expertise installing, fixing camera problems and door locks. He also gained knowledge by helping homeowners to stay safe and secure in their homes.
Over the years, Michael has gained a great deal of experience in this field. He is responsible for the content development on this blog.