
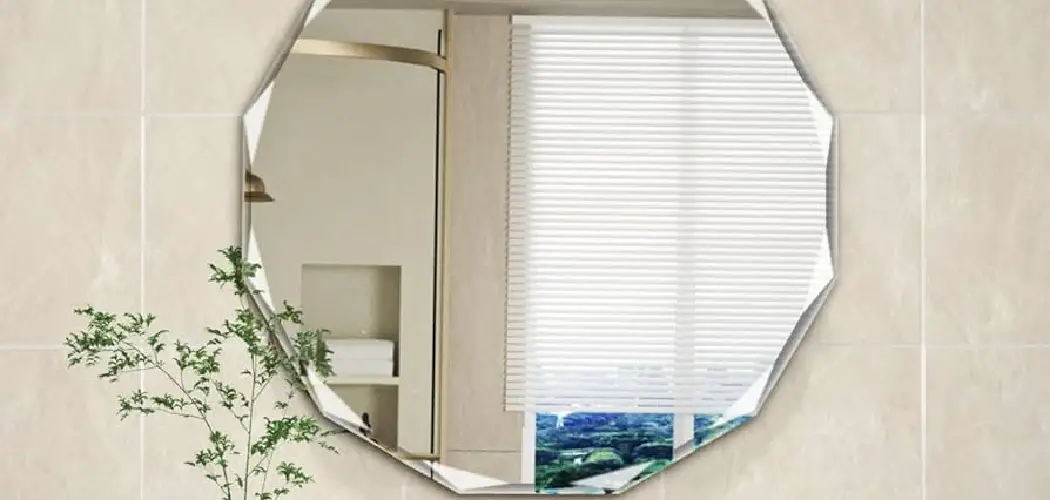
Are you tired of looking at the edges of your bathroom mirror? Do they ruin the overall aesthetic of your room? Well, you’re in luck because there are several ways to hide those pesky mirror edges and make your mirror look sleek and seamless.

When incorporating mirrors into your home décor, the edges of these mirrors can sometimes be an unsightly distraction. Fortunately, there are various creative ways to conceal mirror edges, enhancing the overall aesthetic of a room. Whether you’re looking to frame a mirror, use decorative trims, or integrate mirrored edges seamlessly into the wall design, there are methods to suit every style and preference.
This guide will explore several techniques for how to hide mirror edges, transforming them from a finishing dilemma into a harmonious part of your interior design.
What Will You Need?
- Measuring tape
- Adhesive
- Trim or framing materials of your choice (e.g. wood, metal)
- Saw or miter box for cutting materials
- Sandpaper or a sander
Once you have gathered your materials, it’s time to get started on concealing those mirror edges!
10 Easy Steps on How to Hide Mirror Edges
Step 1. Measure the Mirror:
To begin your project of hiding mirror edges, the first and most crucial step is accurate measurement. Make sure to measure the height and width of your mirror precisely with a measuring tape. This measurement is necessary to determine the exact trim or framing material you need. Additionally, taking account of any unevenness on the edges will help ensure a snug fit of your materials. It’s a good idea to measure multiple times to confirm accuracy, as even a slight discrepancy can lead to uneven or gaping edges once the trim is applied.

Carefully recording these measurements will guide the succeeding steps, guaranteeing a seamless and polished appearance once your project is completed.
Step 2. Choose the Trim or Frame Material:
Selecting the correct trim or frame material is vital for achieving the desired look and functionality. Depending on your style and the room’s decor, you might opt for wooden trims for a classic feel, metal for a modern touch, or decorative molding for added texture. Consider the room’s environment, such as the bathroom’s moisture levels, which may affect the material choice. Ensure the material complements the color palette and theme of the room to create a cohesive aesthetic.
Additionally, consider ease of installation, durability, and maintenance when choosing your material. Selecting the appropriate trim or frame sets the tone for the rest of the project, ensuring it aligns with your vision for a refined and appealing space.
Step 3. Cut the Trim or Frame Material:
With your chosen trim or frame material in hand, it’s time to cut it to the appropriate sizes as per your measurements. Using a saw or miter box, carefully cut the pieces to match the height and width of the mirror. Make precise, straight cuts; any uneven edges may lead to gaps when the trim is applied. Using wood, you can sand the edges with sandpaper or a sander for a smooth and finished appearance. For materials like metal, ensure all edges are clean and burr-free. Accurate cutting is essential to achieving a professional-looking result that enhances the overall aesthetic of your space.
Step 4. Sand and Finish the Edges:
After cutting your trim or frame material, sanding and finishing the edges is crucial to ensure a polished look. Use sandpaper or a sander to smooth rough edges on wooden trims, allowing for a clean fit against the mirror surface. If you’re working with metal or other materials, ensure all edges are burrs-free. Once sanded, you may apply a finish, such as paint, stain, or sealant, to protect the material and enhance its appearance. This finishing touch not only improves the durability of the trim or frame but also contributes to the overall aesthetic, ensuring it blends seamlessly with the mirror and room decor.

Step 5. Apply Adhesive to the Trim or Frame Material:
Once the edges of your trim or frame material are prepared, the next step is to apply adhesive. Select a high-quality adhesive suitable for the materials you are working with. Follow the manufacturer’s instructions for application, ensuring a solid bond between the trim and the mirror. Carefully apply the adhesive to the back side of the trim or frame pieces, making sure to cover the edges evenly but avoiding excess that could seep out. If your materials allow, consider using adhesive strips for a cleaner application process.
Step 6. Attach the Trim or Frame Pieces to the Mirror:
Carefully position the adhesive-covered trim or frame pieces along the mirror’s edges. Starting from one corner, align the first piece and press it firmly to create a strong bond. Add the remaining pieces, ensuring each aligns smoothly with its adjoining section to avoid misalignment or gaps. You may need a second pair of hands for more oversized mirrors to maintain accurate positioning. Take care to apply even pressure across all areas to secure the adhesive properly. Attaching the pieces with precision will not only conceal the mirror edges but also contribute to the seamless integration of the mirror into the room’s decor.
Step 7. Secure and Reinforce:
Once the trim or frame pieces are attached, it’s crucial to ensure they are properly secured and reinforced. For additional support, consider using small nails or screws, especially for heavier materials or larger mirrors. Carefully drill pilot holes to prevent splitting or damaging the trim. If using screws, ensure they are flush with the material to maintain a clean look. Alternatively, use brackets or corner braces placed behind the frame for a more inconspicuous reinforcement.

Step 8. Clean and Inspect the Finished Work:
After ensuring the trim or frame is securely attached and reinforced, clean and inspect your finished work. Gently remove any adhesive residue or fingerprints using a soft cloth and a mild cleaner suitable for the trim or frame material. Carefully examine all edges and connections to ensure no gaps or misalignments. Make minor adjustments or touch-ups to paint or stain for a flawless finish if needed. This final step not only enhances the visual appeal of your installation but also confirms the quality and precision of your craftsmanship, leaving you with a beautifully integrated mirror that complements your room’s decor.
Step 9. Enjoy Your Newly Framed Mirror:
With the mirror elegantly framed and securely installed, it’s time to enjoy your handiwork. Take a moment to step back and admire the transformation of your space. A well-framed mirror adds a touch of elegance and enhances the room by reflecting light and creating an illusion of more space. Whether it serves as a focal point or a subtle complement to your decor, your newly framed mirror will surely add beauty and functionality to the space. Relish in completing the project and consider the possibilities for your next home improvement venture.
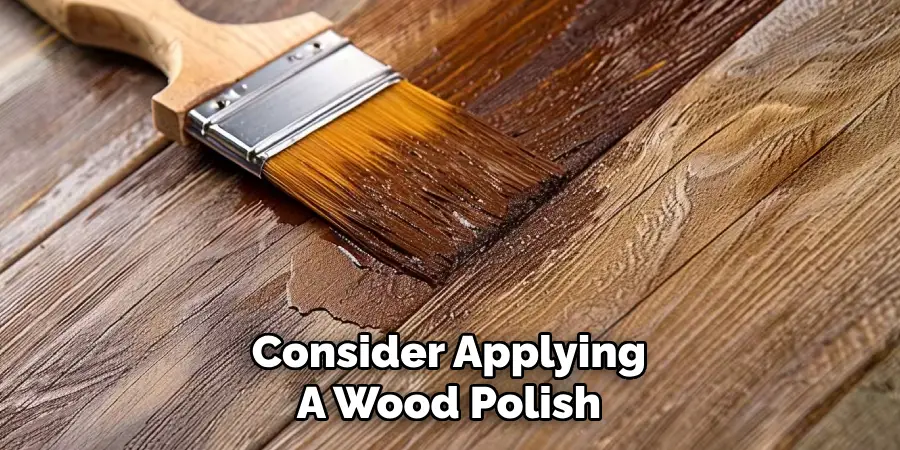
Step 10. Maintain the Framed Mirror:
Regular maintenance is essential to ensure your newly framed mirror’s longevity and pristine condition. Dust the frame periodically using a soft cloth or duster to prevent buildup. Consider applying a wood polish occasionally to retain its sheen and protect against moisture for wooden frames. A gentle metal cleaner can help preserve its finish and prevent tarnishing for metal frames. Regularly check the frame’s integrity, ensuring the adhesive and any additional fixtures remain secure. By routinely caring for your framed mirror, you can enjoy its beauty and functional benefits for many years, maintaining its role as a stylish enhancement to your room.
Following these steps and tips, you can successfully frame a mirror and transform an ordinary reflective surface into a stunning addition to your home.
5 Things You Should Avoid
- Ignoring the Frame Style: Choosing a frame that clashes with the existing decor can make the mirror stand out rather than blend in. Avoid selecting a style that competes with other elements in the space.
- Using Low-Quality Adhesives: Opting for cheap or low-quality adhesive materials can detach the frame over time. Always use durable and robust adhesives to ensure long-lasting results.
- Neglecting Measurements: Incorrectly measuring the mirror or the space around it may lead to uneven or awkward framing. Ensure precision in measurements to avoid a mismatched or ill-fitting frame.
- Overlooking Lighting Considerations: Forgetting to consider lighting can cause unwanted shadows or highlights around the mirror edges. Notice how light interacts with your framed mirror to create a harmonious look.
- Choosing the Wrong Materials: Some materials may not suit the bathroom environment, especially if exposed to moisture. Avoid materials prone to warping or damage, and choose those specifically designed for bathroom use.
Conclusion
In conclusion, how to hide mirror edges effectively involves careful planning, precise execution, and attention to detail.
By selecting the appropriate materials that align with your decor and environment and using high-quality adhesives, you ensure functionality and aesthetic appeal. Precision in measurement and installation techniques is crucial in achieving a seamless finish that integrates naturally into your space. Moreover, addressing considerations such as lighting and maintenance will enhance the longevity and appearance of the framed mirror.
By following these guidelines, you can transform an ordinary mirror into a sophisticated design element that enhances the beauty and cohesion of your room.
About
Angela is the chief editor of Indoorense. She began her career as an interior designer before applying her strategic and creative passion to lifestyle and home.
She has close to 15 years of experience in creative writing and online content strategy for housekeeping and cleaning,home decorations as well as other efforts.
She loves her job and has the privilege of working with an extraordinary team. She lives with her husband, two sons, and daughter in Petersburg. When she’s not busy working she spent time with her family.