
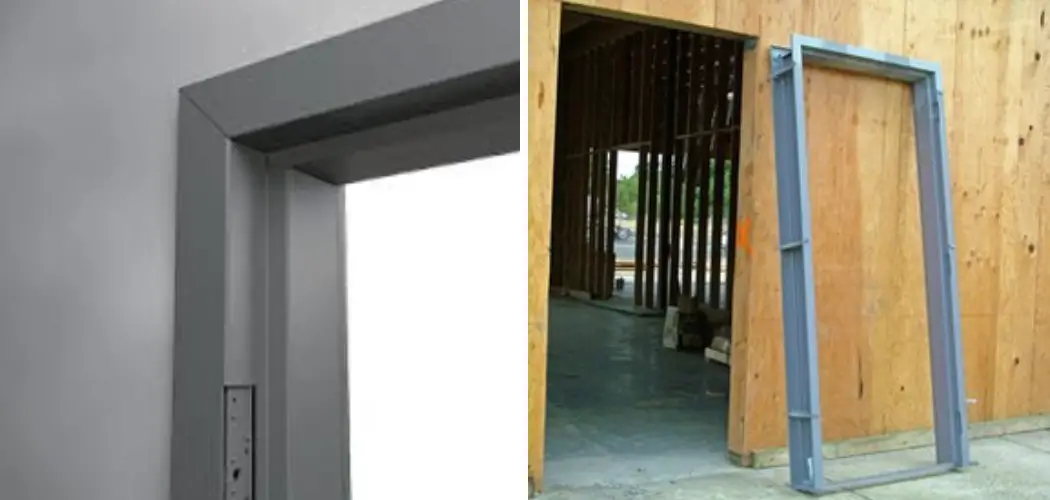
Covering metal door frames is a great way to improve the look of an entryway, making it more pleasing and aesthetically appealing. This can be accomplished with a variety of materials that are not only affordable but also come in various colors and styles. Depending on your preferences, you could choose something that adds a touch of sophistication or gives your home an extra bit of modern flair.

Covering metal door frames can effectively improve the look of your doors, add insulation, reduce noise infiltration, and better secure the area. It is a relatively easy process compared to more complex tasks like drywall installation but requires some knowledge and preparation. In this blog post, You will learn how to cover metal door frames in detail.
Materials You Will Need
- Door frame insulation strips
- Cardboard or paper templates
- Tape measure
- Utility knife or jigsaw
- Wood screws and anchors
- Hammer or drill with screwdriver bit set
- Sandpaper or electric sander
- Primer paint for metal door frames
- Finishing paint
- Metal corner bead
- Joint compound
- Putty knife or trowel
Step-by-Step Processes for How to Cover Metal Door Frames
Step 1: Inspect the Metal Door Frame
Before you start covering the metal door frame, it is important to inspect it for any existing rust or damage. This will help prevent further rusting and damage after you finish covering the metal door frame and provide a good base to work on.
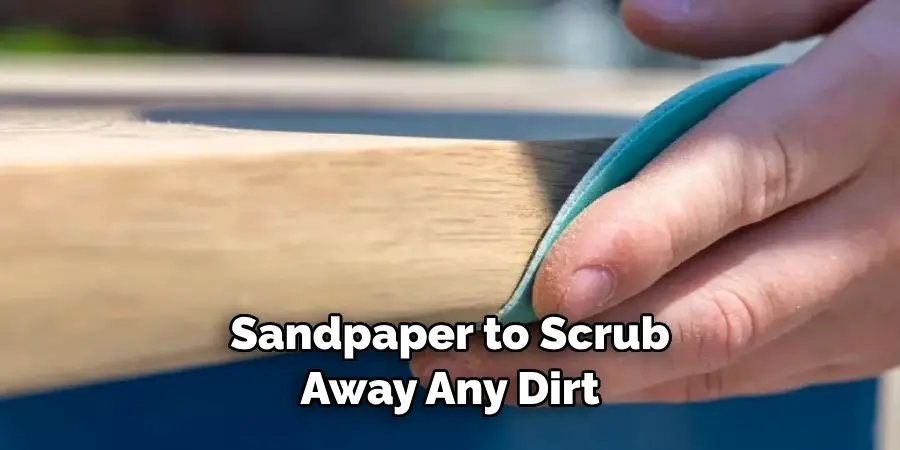
Step 2: Clean and Prep the Metal Door Frame
Once you have inspected the metal door frame for existing rust and damage, cleaning and prepping it before you start covering it is important. To do this, use steel wool or sandpaper to scrub away any dirt or grime built on the metal door frame over time. This will help ensure that the surface of your metal door frame is clean and ready to be covered.
Step 3: Measure and Cut the Materials for Covering the Metal Door Frame
Once you have cleaned and prepped the metal door frame, it is now time to measure and cut the necessary materials that will be used for covering the metal door frame. Depending on your preference, you can use wood or metal to cover the metal door frame. It is important to remember that you will need to leave enough room for the materials to fit properly and securely on the metal door frame.
Step 4: Apply Glue or Nails
Once you have measured and cut your materials, it is time to apply glue or nails to secure them onto the metal door frame. When applying glue, it is important to evenly spread it over the entire length of the material to ensure a strong bond. When using nails, make sure that you are driving them into an even straight line so there is no room for error or movement.
Step 5: Secure the Materials
Once you have applied glue or nails to the material, it is time to secure the materials onto the metal door frame. After ensuring everything is in its proper place, use a clamp or other securing device to keep them from slipping off. Once you have secured the materials on the metal door frame, it is time to apply any finish materials you may have. This could include paint, varnish, or sealant that will help protect the materials from further damage and weathering.
Step 6: Clean up Any Excess Materials
Once you are finished applying all the necessary materials and finishes to your metal door frame, it is time to clean up any excess materials that may have been left behind. Use a damp cloth or paper towel to remove debris or dust from the metal door frame.
Before you move on to the next step, it is important to check for any leaks that may have occurred during the covering process. This can be done by checking for any moisture or pooling of water on the metal door frame. If there are any, fix them before you move on to the next step.
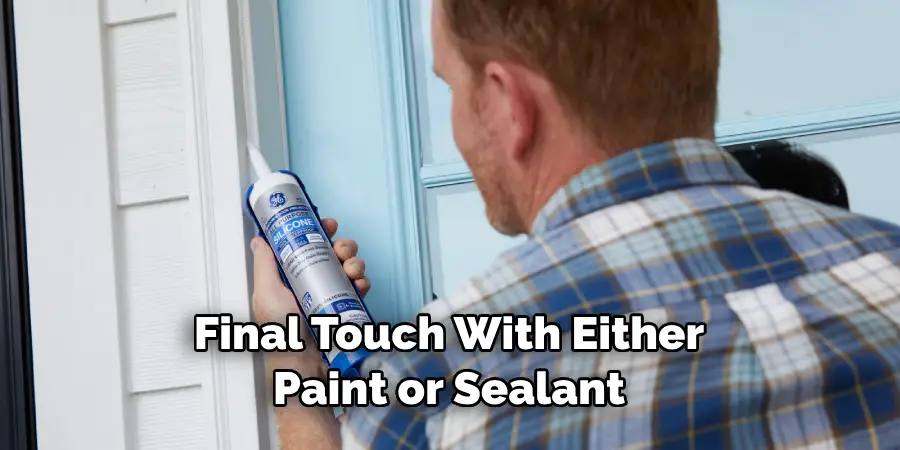
Step 7: Finish with Paint or Sealant
Once all the materials and finishes have been properly applied, it is time to give the metal door frame a final touch with either paint or sealant. Depending on your preferences, you can choose from various finishes, including gloss, matte, and metallic.
Enjoying your finished product is the last step in covering metal door frames. After spending all this time and effort, you can now sit back and enjoy the fruits of your labor. The metal door frame will look as good as new and be able to last for years to come.
Tips for How to Cover Metal Door Frames
- Wear safety gloves, a dust mask, and eye protection when installing metal door frames.
- Check for any exposed sharp edges or jagged surfaces on the door frame before beginning installation.
- Ensure you are working in an area with plenty of space and good ventilation, as fumes from paint or glue can be hazardous.
- Use a suitable door frame cover designed specifically for metal frames to ensure the best results and longevity of your finished product.
- When drilling or cutting into the metal door frame, take extra care that you don’t cause any damage to surrounding surfaces or objects, which can occur when handling heavier materials.
- When using adhesive, read and fully understand all safety instructions before use and any warnings on the packaging. Adhesives can be hazardous if misused.
Following these simple steps will give you a safe and successful metal door frame covering experience.
What Type of Adhesive is Best for Covering a Metal Door Frame?
When covering a metal door frame, the best adhesive to use is pressure-sensitive tape. It provides excellent adhesion and won’t damage the door frame or leave any residue behind. Additionally, you can easily remove it without worrying about any lasting damage. Make sure to measure the area of your door frame you want to cover before buying your adhesive to ensure you get the right size.
Another thing to remember when covering metal door frames is to use appropriate materials for this project. Vinyl, wood, and laminate are all viable options that provide good coverage and won’t be easily damaged by elements like heat or water.
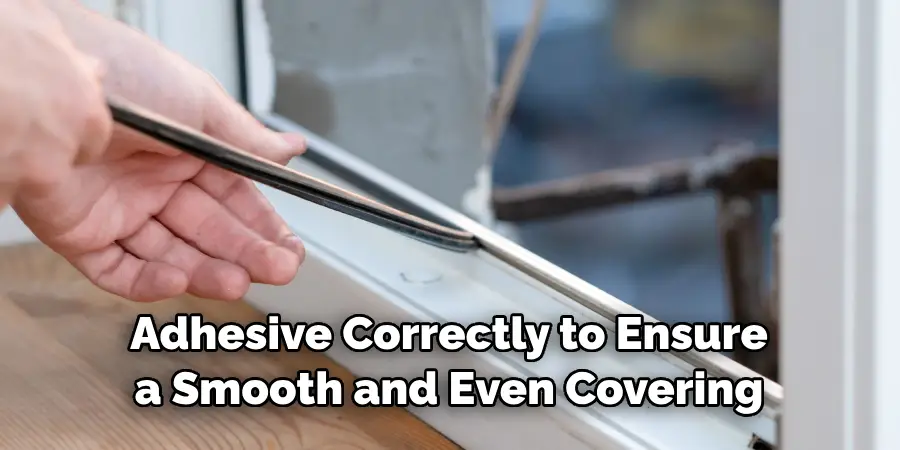
For added protection, consider using a sealant or primer to protect the material further and provide a longer-lasting finish. Finally, you’ll need to apply the adhesive correctly to ensure a smooth and even covering. Start by cutting your chosen material into slightly narrower strips than the door frame itself.
How Do You Prevent Any Air Bubbles When Covering a Metal Door Frame?
When covering a metal door frame with self-adhesive vinyl, it’s important to take the necessary steps to prevent any air bubbles from forming. An easy way to do this is by using a squeegee or credit card when attaching the vinyl. This will help ensure no air is trapped between the adhesive and the metal surface. Additionally, do not stretch the vinyl while covering the metal door frame, as it can lead to air bubbles.
Start from one corner and slowly work your way around the door frame’s perimeter, ensuring no air bubbles form. Doing this will ensure a smooth and even finish when you’re finished. Once all of the vinyl is applied, use a heat gun or blow dryer on a low setting to eliminate any air that may have been trapped. Be sure to move the heat source in a consistent, circular motion and never allow it to stay in one spot for too long to prevent warping or damaging the vinyl.
Are There Any Special Techniques Professionals Use When Covering a Metal Door Frame?
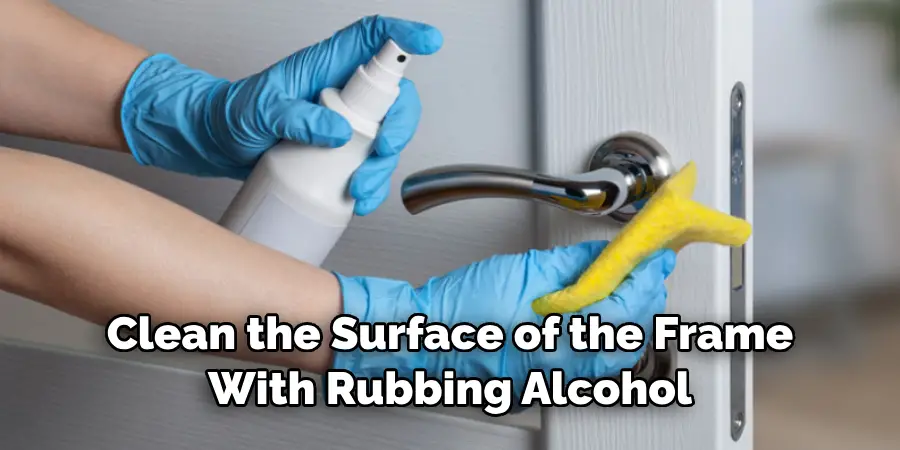
Professional installers typically use a few techniques to ensure the best possible finish when covering metal door frames. First, they usually clean the surface of the frame with rubbing alcohol before applying the vinyl. This ensures that no dirt or debris gets trapped beneath the adhesive and creates an uneven finish. Professionals may also use a heat gun on low settings during the application process to help create a secure bond between the vinyl and the metal surface.
Finally, professionals may use an edge sealer or corner trimmer when installing self-adhesive vinyl on metal door frames. Edge sealers cover up any exposed edges of the vinyl, which can prevent lifting or peeling over time. Corner trimmers can also help ensure the vinyl is applied evenly around tight corners or edges.
Conclusion
Covering metal door frames can provide a great way to update the look of a room or space. Covering a metal door frame is relatively simple but may require extra effort if you are not experienced with the process.
Start by measuring your frame and purchasing enough material to cover it, then cut the material to size and secure it with staples or screws as necessary. Finally, finish the job with some decorative trim to give the door frame a finished and polished look. This article has been beneficial for learning how to cover metal door frames. Make Sure the preventive measures are followed chronologically.
About
Angela is the chief editor of Indoorense. She began her career as an interior designer before applying her strategic and creative passion to lifestyle and home.
She has close to 15 years of experience in creative writing and online content strategy for housekeeping and cleaning,home decorations as well as other efforts.
She loves her job and has the privilege of working with an extraordinary team. She lives with her husband, two sons, and daughter in Petersburg. When she’s not busy working she spent time with her family.