
If you’re a homeowner, it’s likely that at some point in time you will encounter some type of damage to your drywall paper. Whether from furniture being moved around the house or impacts related to do-it-yourself projects, torn drywall paper can be both unsightly and problematic for homeowners.
Fortunately though, fixing small tears in kitchen or bathroom sheetrock is something that most people can do on their own with relative ease as long as they are equipped with the right knowledge and tools! In this blog post we will go through step by step instructions for how to fix torn drywall paper — so read on if you need help fixing up those pesky drywall problems!
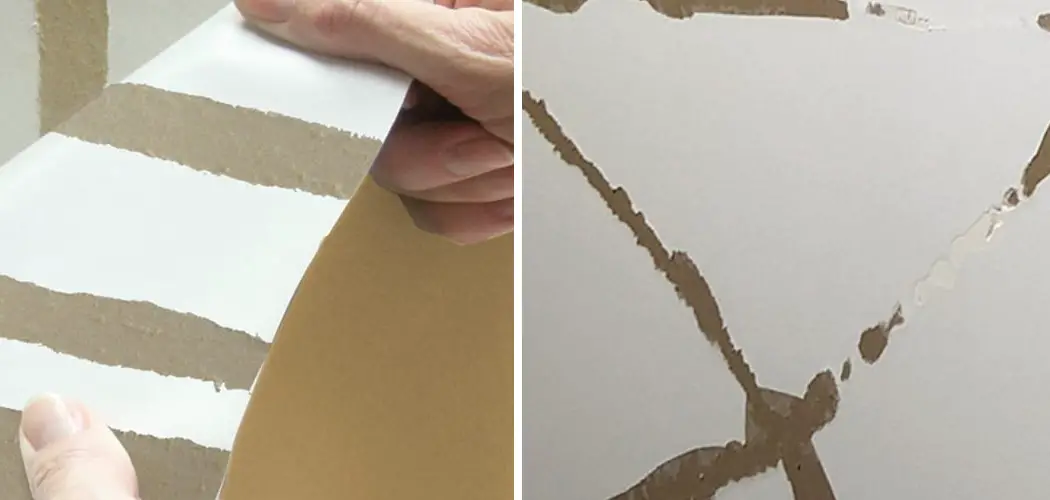
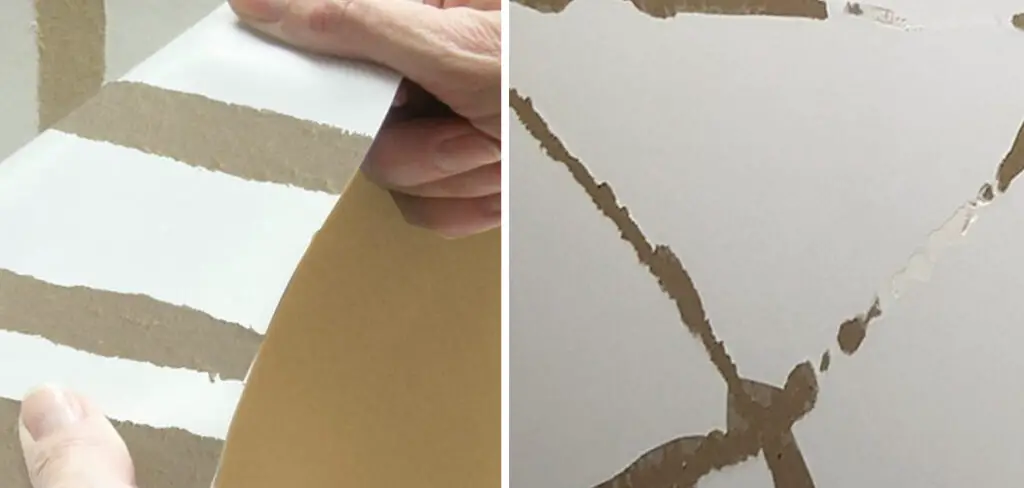
Recognizing the Issue of Torn Drywall Paper
Torn drywall paper is a common issue that many homeowners face. Drywall paper, also known as facing paper or joint tape, is the layer of paper that covers the seams between two pieces of drywall. It can become torn for a variety of reasons—poor housekeeping or even normal wear and tear. The good news is that it’s generally easy to repair if you know what you’re doing.
Before you begin any repairs, it’s important to assess the scope of the damage and plan out how you are going to tackle it. If several layers of drywall have been damaged, then your best option will be to replace the entire sheet rather than patching up individual tears. However, if only the drywall paper has been torn, you can likely make repairs without having to replace the entire sheet.
Importance of Addressing Torn Drywall Paper to Prevent Further Damage
Torn drywall paper is more than just an eyesore – it can cause serious damage if left unaddressed. In some cases, torn drywall paper can expose the substrate of the wall to moisture which can lead to mold and mildew growth.
Torn drywall paper also makes it easier for pests such as mice and roaches to enter your home, as small holes in the wall are often difficult to detect but provide just enough entry for them. Finally, torn drywall paper weakens overall structural integrity of walls and ceilings, leading to larger repairs or potentially costly remodeling projects down the road.
Fortunately, there are several strategies you can use to fix torn drywall paper quickly and easily before any of these problems arise. In most cases, all that is needed to repair torn drywall paper is a bit of spackling paste, use some sandpaper and some elbow grease. It is important to address torn drywall paper promptly before the damage becomes too extensive or costly. With a little bit of effort, you can prevent further damage and keep your drywall looking new.
10 Methods How to Fix Torn Drywall Paper
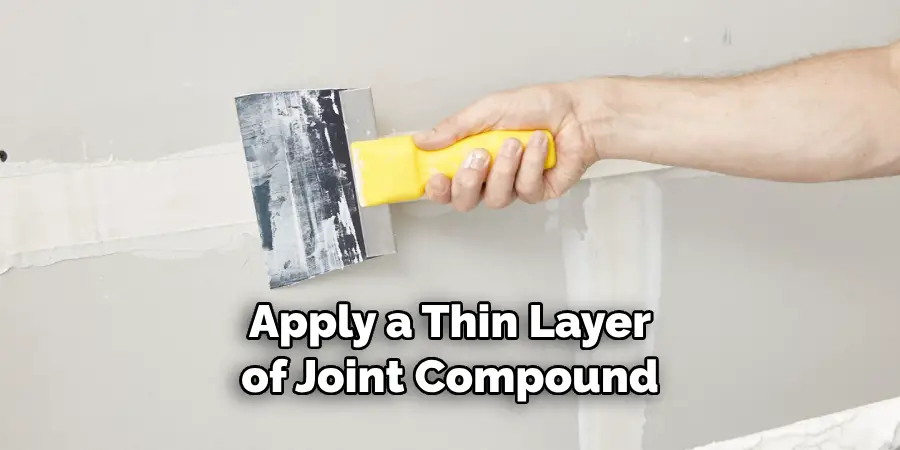
Method 1: Using Joint Compound
For small tears or punctures in the drywall paper, using joint compound can be an effective solution. Start by cleaning the damaged area and removing any loose or hanging paper. Apply a thin layer of joint compound over the tear, using a putty knife or a drywall taping knife. Smooth out the compound, feathering the edges to blend it with the surrounding wall surface. Allow the compound to dry completely, then sand it lightly with fine-grit sandpaper to achieve a smooth finish.
Method 2: Applying Drywall Tape
When dealing with larger tears or gaps in the drywall paper, applying drywall tape is an ideal method for reinforcement and repair. Begin by cutting a piece of self-adhesive drywall tape slightly longer than the damaged area.
Position the tape over the tear, pressing it firmly onto the wall surface. Use a putty knife to apply a thin layer of joint compound over the tape, feathering the edges. Smooth out the compound and ensure it covers the entire tape.
Method 3: Using Patching Compound
Patching compound is a versatile product specifically designed for repairing damaged drywall surfaces. This method is effective for larger tears or damaged sections of drywall paper. Begin by cleaning the area and removing any loose or hanging paper.
Apply a liberal amount of patching compound to a putty knife and spread it evenly over the damaged area, extending it slightly beyond the edges. Use a drywall taping knife to smooth out the compound and create a seamless finish.
Method 4: Utilizing a Drywall Patch Kit
For more extensive or complex tears in drywall paper, a drywall patch kit can provide an all-in-one solution. These kits typically include a self-adhesive patch and joint compound. Begin by cleaning the damaged area and removing any loose or hanging paper.
Cut the patch from the kit to fit the size of the tear, ensuring it extends beyond the damaged area. Position the patch over the tear and press it firmly onto the wall. Apply a thin layer of joint compound over the patch, feathering the edges. Smooth out the compound and blend it with the surrounding wall surface.
Method 5: Repairing with Wallpaper
If the torn drywall paper is in an inconspicuous area or you prefer a decorative solution, using wallpaper can be an effective option. Start by cleaning the damaged area and removing any loose or hanging paper. Cut a piece of wallpaper slightly larger than the tear.
Apply wallpaper adhesive to the back of the wallpaper and position it over the damaged section, smoothing out any air bubbles or wrinkles. Use a wallpaper smoothing tool to ensure the wallpaper adheres properly. Allow the adhesive to dry according to the manufacturer’s instructions, then trim any excess wallpaper and blend the edges seamlessly.
Method 6: Repairing with Joint Tape
Another method to fix torn drywall paper is by using joint tape, which provides reinforcement and stability to the damaged area. Begin by cleaning the tear and removing any loose or hanging paper. Cut a piece of joint tape slightly longer than the damaged section.
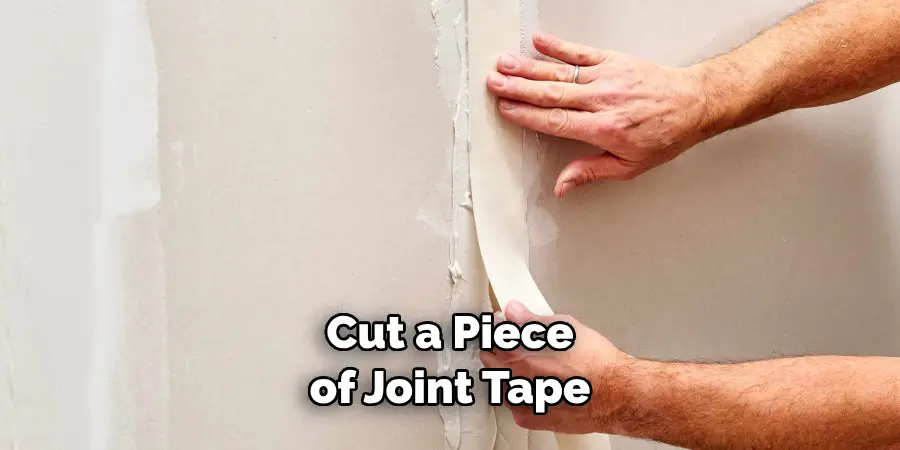
Apply a thin layer of joint compound over the tear, then position the joint tape over the compound, pressing it firmly onto the wall. Apply a second layer of joint compound over the tape, feathering the edges. Smooth out the compound and ensure it covers the entire tape.
Method 7: Using a Wall Liner
For extensive tears or damaged drywall paper that is difficult to repair, using a wall liner can provide an effective solution. A wall liner is a thick, paintable wallpaper that can cover and hide imperfections on the wall surface. Begin by cleaning the damaged area and removing any loose or hanging paper.
Measure and cut a piece of wall liner to fit the size of the damaged section. Apply wallpaper adhesive to the back of the wall liner and position it over the damaged area, smoothing out any air bubbles or wrinkles. Use a wallpaper smoothing tool to ensure the wall liner adheres properly.
Method 8: Skim Coating
Skim coating is a technique used to create a smooth and uniform surface on damaged or textured drywall. It is particularly useful for extensive tears or areas with multiple damaged sections. Begin by cleaning the damaged areas and removing any loose or hanging paper.
Prepare a mixture of joint compound and water to a thick, pancake batter-like consistency. Apply a thin layer of the mixture over the damaged sections using a trowel or drywall knife. Smooth out the compound, feathering the edges to blend it with the surrounding wall surface. Allow the compound to dry completely, then sand it gently to achieve a smooth finish.
Method 9: Seeking Professional Help
If you are unsure about repairing torn drywall paper yourself or if the damage is extensive, it may be best to seek professional assistance. Professional drywall contractors have the expertise, tools, and experience to handle complex repairs effectively.
They can assess the damage, determine the best course of action, and provide seamless repairs that match the existing wall surface. Hiring professionals can save you time, effort, and ensure a high-quality repair that restores the integrity and appearance of your walls.
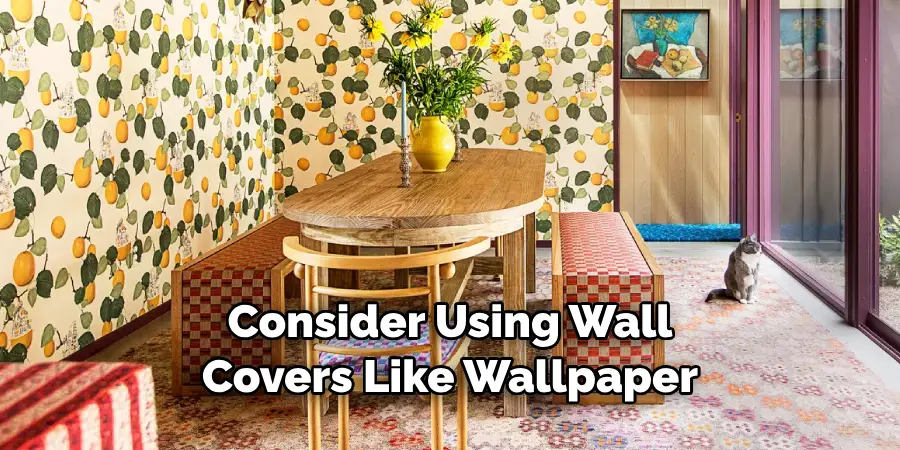
Method 10: Preventive Measures for Future Damage
To avoid dealing with torn drywall paper in the future, take preventive measures that will ensure your walls remain intact and damage-free. First, consider using wall covers like wallpaper or paint to protect the drywall paper from wear and tear over time.
Additionally, be mindful of any sharp objects in your home that may come into contact with the walls. These items can easily damage the drywall paper, so store them safely away when not in use. Lastly, inspect the walls regularly for signs of scratches or tears and repair them immediately before they worsen.
Conclusion
Working with drywall can seem daunting, but it doesn’t have to be! With the right tools and materials, it’s possible to make ambitious repairs without breaking the bank or your schedule. By following the steps outlined, you can complete a DIY repair of torn drywall paper in no time! Be sure to choose a patch that is strong and flexible enough to stand up to potential future wear and tear.
Remember that although tearing drywall paper may be frustrating, the good news is that fixing it is not nearly as difficult as you may think! Follow these simple instructions outlined in this blog post about how to fix torn drywall paper, and you’ll be able to get the job done with ease.
Rick is a handyman who grew up helping his dad with his business. He learned a lot from him about how to fix things, and also about how to work hard and take care of business. These days, Rick is still into fixing things- only now, he’s doing it for a living.
Rick is always looking for new ways to help people grow and develop. That’s why he started contributing to this blog: to share all his experience and knowledge so that he can help people who are interested in DIY repair.