
A toilet that flushes on its own, often referred to as “ghost flushing,” can be both an annoying and wasteful problem. This issue is typically caused by a faulty component within the toilet tank, leading to an unnecessary flow of water and increased utility bills. Thankfully, diagnosing and fixing the cause of a self-flushing toilet is usually straightforward and can often be accomplished with some basic tools and guidance.
In this guide on how to fix toilet that flushes on its own, we will walk you through the common reasons behind this issue and provide simple steps to resolve it, ensuring your toilet returns to proper working order without the need for costly repairs.
Why Does a Toilet Flush on Its Own?
Before we dive into the steps to fix this issue, let’s first understand why a toilet may flush on its own. The most common culprits behind ghost flushing include:
Faulty Flapper Valve:
This is the rubber flap located at the bottom of the toilet tank that regulates water flow from the tank to the bowl. When it becomes warped or damaged, it can lead to constant leaking and consequently, self-flushing.
Water Level Too High:
If the water level in the tank is set too high, it can cause an overflow and result in a self-flushing toilet.
Faulty Fill Valve:
The fill valve, also known as the ballcock or float valve, is responsible for refilling the tank after each flush. If this component malfunctions, it can cause constant running and ghost flushing.
Now that we know what causes a toilet to flush on its own let’s move on to fixing it.
Needed Materials
To successfully fix a self-flushing toilet, you will need the following materials:
Screwdriver:
To open the lid of the toilet tank.
Adjustable Wrench:
For loosening and tightening nuts.
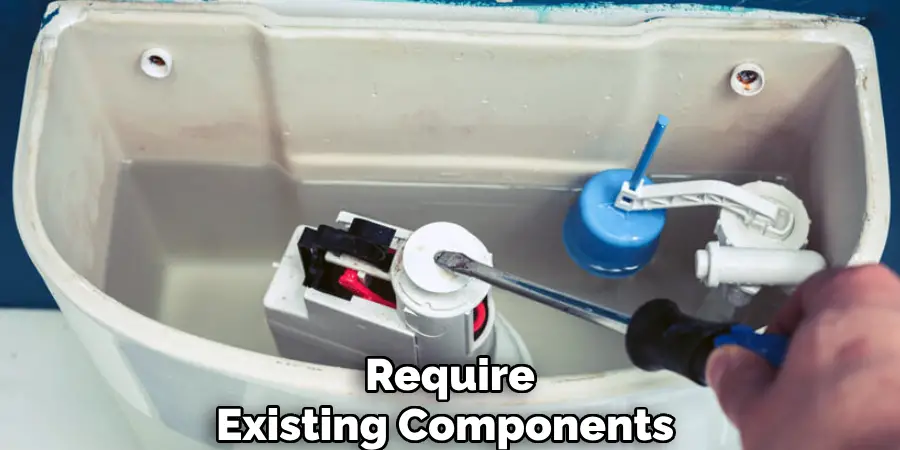
Replacement Flapper Valve or Fill Valve (If Needed):
In case the existing components are damaged and require replacement.
8 Step-by-step Guides on How to Fix Toilet That Flushes on Its Own
Step 1: Turn Off the Water Supply
The first step to fixing a toilet that flushes on its own is to turn off the water supply to the toilet. Locate the shut-off valve, which is typically found on the wall or floor behind the toilet. Turn the valve clockwise until it is fully closed.
This action will prevent water from flowing into the toilet tank, allowing you to inspect and repair the internal components without causing further water waste or mess. Once the water supply is turned off, flush the toilet to empty the tank.
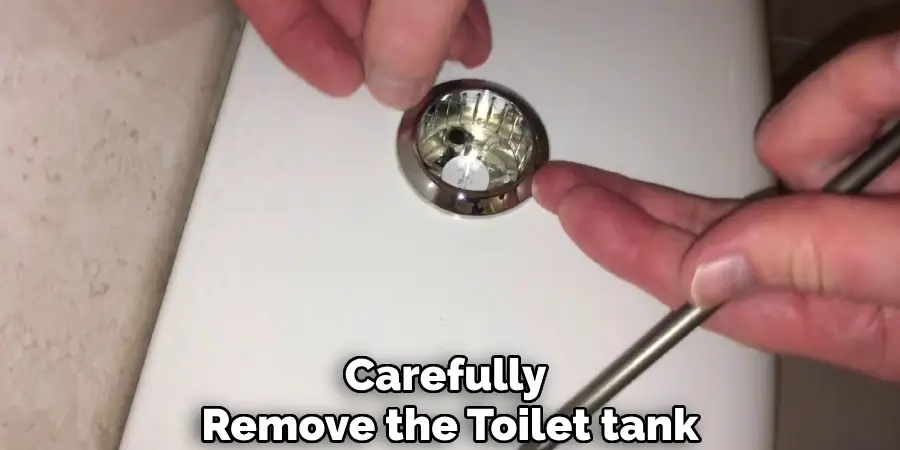
Step 2: Remove the Toilet Tank Lid
Carefully remove the toilet tank lid and place it on a stable surface where it won’t be in the way or accidentally knocked over, as these lids are often made of heavy porcelain and can crack easily.
Taking off the lid will give you full access to the internal components of the tank, allowing you to inspect the flapper valve, fill valve, and other parts that may need adjustment or replacement. Handle the lid with care, ensuring it is securely positioned to avoid damage during the repair process.
Step 3: Inspect the Flapper Valve
With the tank lid safely removed, focus your attention on the flapper valve at the bottom of the tank. This valve is a critical component as it controls the flow of water from the tank into the toilet bowl. Check the flapper for signs of wear and tear, such as warping, cracks, or brittleness, as these can lead to improper sealing and cause ghost flushing.
Gently lift the flapper valve and let it drop to see if it fits snugly onto the valve seat without leaving gaps. If the flapper appears damaged or does not form a tight seal, it will need to be replaced to prevent further water wastage. Remember to also inspect the chain connecting the flapper to the flush handle, ensuring it is not too loose or too tight, which could affect the flapper’s function.
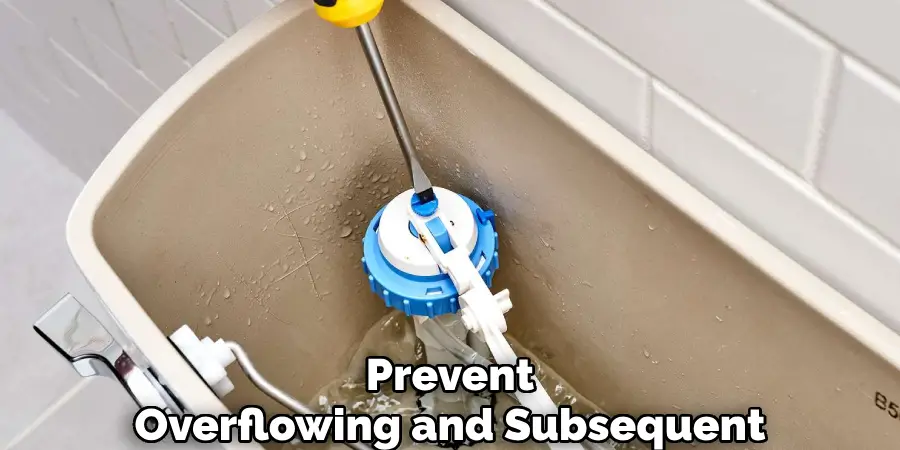
Step 4: Adjust the Water Level
If the flapper appears to be in good condition, the next step is to check the water level within the tank. You can do this by marking the current water level with a pen or tape and then flushing the toilet. After flushing, observe how high the water rises before it stops filling.
Ideally, the water should stop about an inch below the top of the overflow tube. If it exceeds this level, adjust it accordingly using either a screwdriver (for older models) or turning adjustment screws (for newer models). This will help prevent overflowing and subsequent self-flushing.
Step 5: Check and Adjust Fill Valve (Optional)
If the water level is within the normal range, but your toilet still flushes on its own, then the problem may lie with the fill valve. To inspect this component, try flushing the toilet while keeping an eye on how long it takes for the tank to refill. If it takes longer than usual or does not stop refilling at all, you may need to adjust or replace the fill valve.
It is best to refer to the manufacturer’s instructions for specific steps on adjusting or replacing the fill valve, as there are various types and models available.
Step 6: Remove and Replace Flapper Valve (If Needed)
If the flapper valve appears to be damaged, it will need to be replaced. Begin by turning off the water supply again and draining the tank completely. Then, remove the chain linking the flapper to the flush handle and carefully detach the flapper from the overflow tube. You may need to use an adjustable wrench or pliers to disconnect any bolts or nuts holding it in place.
Next, install a replacement flapper by following the same steps in reverse order. Ensure that the new flapper is securely attached and forms a tight seal with the valve seat.
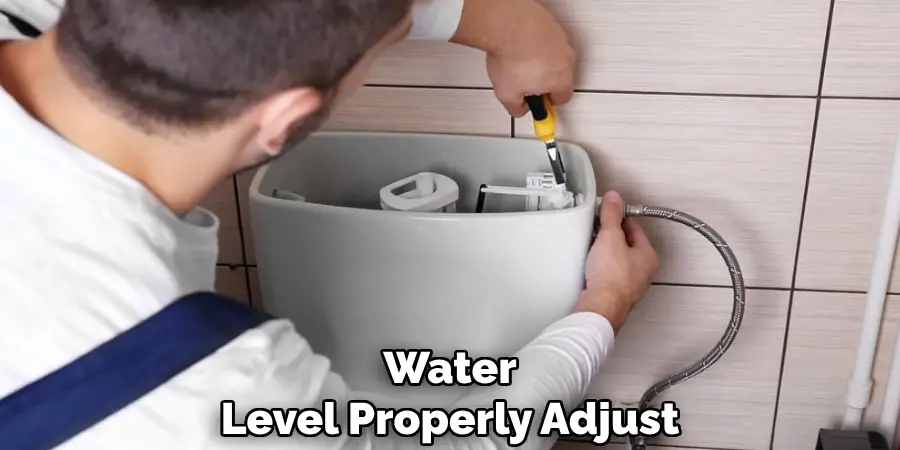
Step 7: Turn the Water Supply Back On
After all adjustments or replacements are complete, turn the water supply back on by turning the shut-off valve counterclockwise. Once you have turned on the water, allow the tank to refill completely before testing whether the issue has been resolved.
The water level should be properly adjusted, and the flapper valve should be sealed tightly to prevent self-flushing.
Step 8: Test the Toilet
Finally, test your toilet by flushing it a few times and observing whether it refills normally or continues to flush on its own. If the problem persists, you may need to seek professional help or consider replacing the toilet altogether.
With proper maintenance and timely repairs, your toilet should function correctly without any ghost flushing episodes in the future.
Following these steps can help you fix a toilet that flushes on its own and save you from potential water waste and high utility bills. Remember to always take proper safety precautions when working with plumbing, and don’t hesitate to seek professional assistance if needed. A properly functioning toilet is crucial for maintaining a clean and hygienic bathroom, so it’s essential to address any issues as soon as they arise.
Additional Tips for Maintaining Your Toilet
- Regularly check and clean the inside of your tank to remove any buildup of minerals or debris that could affect the functioning of internal components.
- Avoid using harsh chemical cleaners or flushing items like wipes, paper towels, or feminine hygiene products that could clog your toilet and cause malfunctions.
- Consider installing a dual flush system to increase water efficiency and reduce the risk of ghost flushing. This allows you to choose between a low or high volume flush depending on your needs.
- If you notice any unusual noises or leaks coming from your toilet, address them promptly to prevent potential damage and costly repairs in the future.
- Educate everyone in your household on proper toilet usage, such as not using it as a trash can and only flushing appropriate materials. This will help prevent future issues and promote responsible water usage.
- Schedule regular maintenance check-ups with a professional plumber to catch any potential problems before they escalate into more significant issues.
By following these additional tips on how to fix toilet that flushes on its own, you can ensure your toilet remains in good working condition and avoid any unnecessary repairs or replacements.
Frequently Asked Questions
Q: Why Does My Toilet Keep Flushing on Its Own?
A: There are several possible reasons for this issue, including a damaged flapper or fill valve, improper water level adjustment, or mineral buildup in the tank. The steps outlined in this guide can help you identify and address the root cause of the problem.
Q: Can I Fix a Self-Flushing Toilet Myself, or Do I Need to Hire a Professional?
A: Depending on the severity of the issue, you may be able to fix it yourself by following the steps outlined above. However, if you are unsure or uncomfortable with handling plumbing repairs, it is best to seek professional assistance to prevent causing further damage.
Q: How Can I Prevent Ghost Flushing in the Future?
A: Regular maintenance and proper usage play a significant role in preventing self-flushing toilets. Additionally, installing a dual flush system or scheduling regular check-ups with a plumber can also help prevent future issues.
Conclusion
Maintaining a well-functioning toilet is essential for the smooth operation of your household and the conservation of water. By understanding the possible causes of self-flushing toilets and following the steps outlined in this guide, you can save time and resources while preventing unnecessary water waste.
Regularly inspecting and adjusting components like the flapper and fill valve, cleaning the tank, and opting for a dual flush system can effectively minimize the risk of ghost flushing. Always prioritize safety and seek professional help when needed to ensure your plumbing system operates efficiently.
Practicing responsible toilet maintenance not only enhances your bathroom’s hygiene but also contributes to sustainable water management in your community. Thanks for reading this article on how to fix toilet that flushes on its own.
About
Angela is the chief editor of Indoorense. She began her career as an interior designer before applying her strategic and creative passion to lifestyle and home.
She has close to 15 years of experience in creative writing and online content strategy for housekeeping and cleaning,home decorations as well as other efforts.
She loves her job and has the privilege of working with an extraordinary team. She lives with her husband, two sons, and daughter in Petersburg. When she’s not busy working she spent time with her family.